
Buying guide / Packing, storage and care
Choosing a Roof Box Wall Mount: Support, Space and Fixings
Choose a roof-box wall mount around permitted shell supports, adjustment, handling space and the actual wall. Compare two Amazon packages without assuming universal fixings.
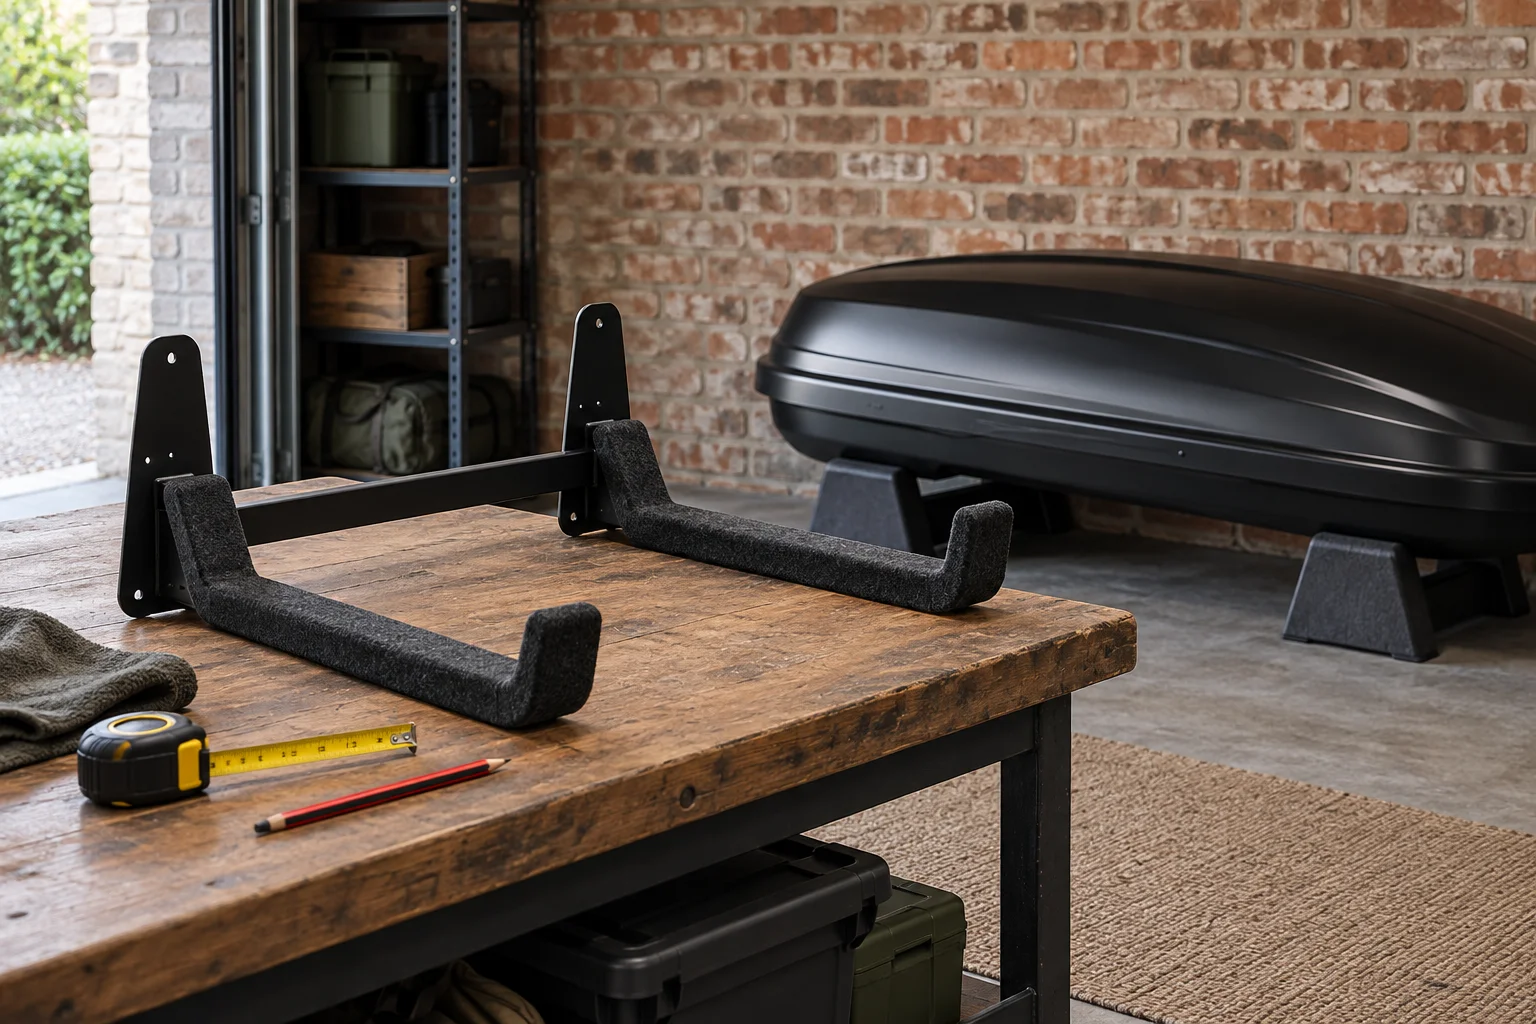
Quick answer
Choose a wall system only after confirming the box’s permitted orientation and contact points. Compare the real bracket geometry, complete load, wall construction, fixings and the space needed to handle the shell. A stated 40kg limit does not certify a wall.
Two adjustable wall-support packages
Jump to the full specs table ↓FISCHER roof-box wall mount
- Two pivoting supports
- 40kg stated total limit
- 320–520mm stated adjustment
Only where the box maker permits the support orientation and the wall/fixings are verified for the complete installation. Supplied screws and plugs are not approval for every wall.
View on Amazon UK ↗Read the full comparison ↓QLS adjustable roof-box wall mount — black
- Two arms and mounting kit
- 33–57cm listing range
- 40kg stated listing limit
For an indoor storage arrangement confirmed suitable for the box and supporting wall. The listing range does not establish where the two supports should sit along the shell.
View on Amazon UK ↗Read the full comparison ↓| Package | Stated adjustment | Stated total limit | Must confirm |
|---|---|---|---|
| FISCHER 751820 | 320–520mm; box height to 52cm listed | 40kg | Box orientation, support geometry and wall fixings |
| QLS black selected listing | 33–57cm | 40kg | Full instructions, geometry, box permission and substrate |
Ratings and adjustment figures describe the selected packages. They do not establish structural capacity or a universal support-spacing rule. The QLS figures are supplier-listing claims pending its full installation instructions.
What each selected package provides
FISCHER roof-box wall mount
A pair of pivoting metal wall supports with a stated 40kg total load limit and surface protection. The maker lists 320–520mm adjustment and boxes up to 52cm high; check the drawing for the dimension being adjusted.
Only where the box maker permits the support orientation and the wall/fixings are verified for the complete installation. Supplied screws and plugs are not approval for every wall.
- Two pivoting supports
- 40kg stated total limit
- 320–520mm stated adjustment
Why consider it
- Two supports in the selected package
- Protective contact surfaces
- Arms can move aside when unused
Keep in mind
- Box support orientation still needs permission
- Adjustment is not a longitudinal support-spacing rule
- Wall material and fixings need separate assessment
QLS adjustable roof-box wall mount — black
The selected manufacturer listing describes two powder-coated steel arms with PE foam contact surfaces, a 33–57cm adjustment range and a 40kg limit. Obtain the full instructions before planning installation.
For an indoor storage arrangement confirmed suitable for the box and supporting wall. The listing range does not establish where the two supports should sit along the shell.
- Two arms and mounting kit
- 33–57cm listing range
- 40kg stated listing limit
Why consider it
- Padded contact surfaces
- Selected black two-arm package
- Adjustment may suit an approved storage envelope
Keep in mind
- Box permission and full installation instructions required
- Listing dimensions do not prove wall capacity
- Included mounting kit is not universal substrate approval
Get permission for the storage orientation first
Before comparing bracket prices, find how the exact box may be stored and where it may be supported. Some wall systems change the shell’s orientation from its travelling position. Do not assume that a padded arm or a retailer photograph approves that position for every lid, hinge and base construction.
Record the model and generation, then ask the box maker about the proposed contact arrangement if its instructions do not answer the question. Be specific about which surfaces would bear on the supports and how the box would be retained. A generic enquiry about whether a brand’s boxes can hang on a wall may not resolve the actual geometry.
The two options above are packages to investigate after that permission check. Their stated limits and adjustment ranges are starting information rather than a structural design for the garage.
Read the geometry instead of comparing one dimension
Measure the box’s stored envelope, the relevant thickness or height, and the permitted support locations. Then use the mount’s drawing to identify its reach, opening, adjustment and wall projection. A single range on a listing does not explain all of those dimensions.
FISCHER lists 320–520mm adjustment and boxes up to 52cm high. The selected QLS listing gives 33–57cm adjustment. Do not treat either range as the distance to place two supports along a 190cm shell without checking what the drawing actually measures.
Contact surfaces must sit at the approved areas and retain the box as intended. Foam can protect a finish from direct abrasion, but it cannot compensate for a narrow unsupported edge, an unsuitable hinge contact or the wrong storage orientation.
Confirm the complete load and wall construction
Empty the box for storage unless the exact arrangement explicitly permits another load. Add anything that remains supported with it and compare the result with the mount’s stated system limit. A 40kg total rating does not mean 40kg on each arm, and it is not the same as the box’s driving luggage rating.
Identify the supporting wall construction and its condition. A fixing designed for one masonry type may be unsuitable for another, while a lined wall can hide the structure and services. The load acts through the projecting support geometry, so the shell being light is not enough to approve an unknown wall.
Obtain competent installation advice where the substrate or fixing design is uncertain. A written assessment for the actual mount, wall and load is more useful than a generic online claim that a particular plug holds a large weight.
Treat supplied fixings as part of a package to verify
Both selected listings describe mounting hardware, but that does not make the kits universal. Check the manufacturer’s complete instructions, including the permitted substrate, fixing positions and required supporting condition. Confirm that the supplied pieces match the actual package before installation.
For the QLS option, obtain the full supplier instructions before relying on the listing’s dimensional and load claims. If the seller cannot establish the necessary installation information for the proposed surface, choose an alternative with the required evidence rather than improvising a fixing pattern.
Do not select screws, plugs, hole depths or substitute spacers from this comparison alone. Those decisions depend on the specified system and the actual structure. Do not drill the box to create an attachment point or alter a support to avoid a clearance problem without the maker’s approval.
Plan a usable garage layout
Mark the stored box’s full length, wall projection and any moving arms on a scale sketch. Check doors, shelving, switches, pipes, lights and the route around a parked car. Include the room needed to lift the box into and out of the supports, not just its final position.
| Check | Record | A reason to change the plan |
|---|---|---|
| Box | Permitted orientation and support zones | Proposed arms bear on an unapproved surface |
| Mount | Actual geometry and complete load limit | Adjustment range is being guessed |
| Wall | Construction, condition and approved fixings | Load-bearing substrate cannot be established |
| Access | Controlled lift and removal route | Shell must be twisted through a cramped gap |
| Daily use | Doors, walking route and nearby storage | Garage operation would contact the box |
A mount high on the wall may save floor space while making handling difficult. Try the movement at a manageable height before committing to an elevated position, keeping the box supported and following its handling instructions. Use help where required for controlled placement.
Compare the stored projection with the space the car still needs
A folded empty wall bracket and a bracket carrying a roof box occupy different space. Plan around the full stored projection while the garage is being used, not the size of the bare bracket.
Inputs and assumptions. Fictional clear garage widths 3.00m, 3.20m and 3.40m; actual parked-car envelope assumed 1.80m; chosen route allocation 0.75m; full wall-to-stored-box projection 0.55m. The route allocation is a scenario choice, not an accessibility or legal minimum. Door opening and turning movements are not included.
| Assumed garage width | Car envelope | Chosen route allocation | Full stored projection | Unallocated width |
|---|---|---|---|---|
| 3m | 1.80m | 0.75m | 0.55m | -0.1m |
| 3.2m | 1.80m | 0.75m | 0.55m | 0.1m |
| 3.4m | 1.80m | 0.75m | 0.55m | 0.3m |
The 3.00m case is 0.10m short even before door opening or lifting movements are considered. A 3.20m garage has only 0.10m left under these assumptions, so it would be misleading to judge the plan by the folded bracket alone.
Measure the actual stored shell in its permitted orientation, including brackets and retention parts. Check the full car-door and garage-door movement, support zones, wall and fixings independently; do not interpret an adjustment range as the installed projection or support spacing.
Calculation method and sources
Unallocated width = garage clear width − parked-car envelope − chosen route allocation − stored-box projection. A negative result means this particular width budget cannot be met. Positive leftover width does not approve the installation or demonstrate usable access.
- FISCHER 751820 information: Check the actual support geometry, box permission, complete load and wall construction.
- Thule roof-box safety instructions: Complete roof load, restraint, fit and operating checks remain separate requirements.
Download the inputs and workings (CSV). Source review: October 2026.
Keep the support and retention arrangement complete
Follow the exact mount instructions for placing and retaining the box. Do not leave out a retention component because the shell appears to balance on the arms. Conversely, do not wrap an unapproved strap around the lid to compensate for a poor fit.
Keep protective contact pieces in their correct positions and inspect them for grit or damage. The arms and shell should meet as designed without trapped hardware, hinges or handles taking unintended load. Stop and reassess if the box can shift into an unsuitable contact area.
Store the box clean and dry, with the original mounts and restraints accounted for. The off-car storage guide explains the wider removal, drying and parts-management sequence.
Inspect the installation and reconsider changes
Follow the mount’s inspection and maintenance schedule, including fixings, moving parts, padding and retention pieces. Stop using damaged or loose equipment and obtain the specified replacement or repair route. Do not tighten or reposition parts beyond the instructions to disguise wear.
Recheck the layout after adding shelves, changing the garage door or replacing the box. Keep the mount instructions and box identity together so a future owner does not assume the same setup accepts any shell.
If wall construction or handling makes this method unsuitable, compare a permitted floor arrangement or a properly assessed ceiling hoist. Saving floor space is useful only when the whole storage routine remains workable.
Sources checked October 2026: FISCHER 751820 manufacturer information, the selected QLS package described above and the box care guidance. The actual box permission, wall assessment and installation instructions remain necessary.
Frequently asked questions
Will any roof-box wall mount fit my box?
No. Check the box maker’s permitted orientation and support areas, then the mount’s geometry, adjustment and load limit. A broad compatibility claim cannot establish those details for every shell.
Does a 40kg mount rating mean my wall can support 40kg?
No. That figure describes the product’s stated limit under its intended installation. The wall material, fixings, condition and loading geometry need their own assessment for the complete arrangement.
Can I use the screws supplied with a wall mount?
Only where the instructions and supporting surface make those fixings suitable. Included screws or plugs are not approval for every masonry, timber or plasterboard construction.
Is the adjustment range the spacing between the two supports?
Do not assume so. Check the exact drawing and identify which dimension is adjustable. A stated range such as 33–57cm can describe bracket geometry rather than where supports sit along a long box.
How high should I fit a wall mount?
Choose a permitted installation position where the box clears surrounding objects and can be placed and removed under control. There is no single correct height for every person, box and garage.