
Troubleshooting guide / Boxes and accessories
Roof Box Won’t Close, Lock or Release the Key: Safe Checks Before Forcing Anything
Work through packing, lid alignment, locking points and key retention without forcing the mechanism. Know when to stop and seek exact-model manufacturer support.
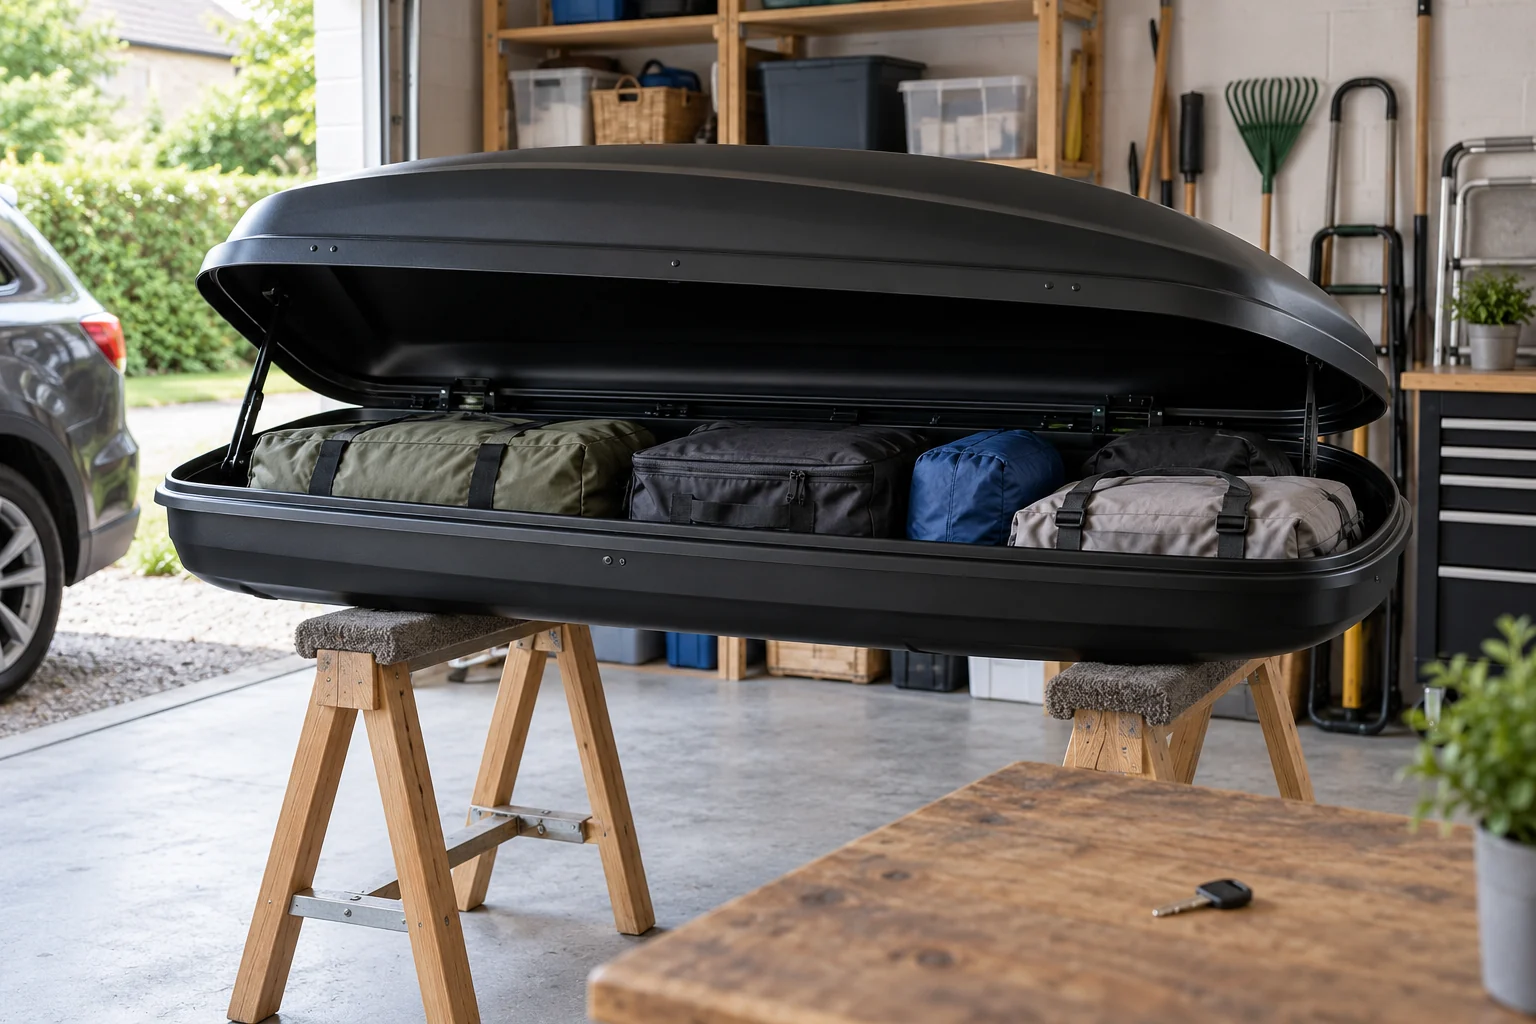
Treat closure, locking and key retention as one sequence
A roof box can look closed while one locking point is still obstructed. The symptom may be a lid that rebounds, a key that will not turn or a key that remains captive. Work through the complete closing sequence before deciding that the lock cylinder itself has failed.
Park in a safe, level location with room to handle the luggage. If the problem appears during a journey, reach a suitable stopping place and follow road-specific assistance advice where you cannot safely continue. Do not inspect from a live lane or stand where passing traffic can strike you.
The aim is normal operation with the manufacturer’s prescribed checks completed. An extra strap over the outside, a key left in place or a partly engaged latch does not establish a roadworthy workaround. If you cannot obtain the required secure condition, change the journey plan.
Identify the exact system before moving anything
Find the brand, model, size and identification label, then open the matching instructions. Different generations can use different handles, central locks and key positions even when the shell looks familiar. Do not copy a video’s clockwise or anticlockwise instruction without matching your mechanism.
Note where the difficulty occurs: bringing the lid down, operating the handle, turning the correct key or withdrawing it afterwards. Check whether the problem is on one side of a dual-opening box or appears after packing a particular item. These observations make a support request more useful without dismantling anything.
Keep the correct key separate from similar vehicle and rack keys. A key entering the cylinder does not prove the code matches. For a genuinely missing or misidentified key, use the replacement-key identification guide rather than experimenting with unrelated keys.
Remove the load as the first useful comparison
If the lid can be opened and controlled normally, remove luggage and loose accessories in a sheltered location. Look for a duffel pressed against the curved lid, a hard suitcase corner above the usable height or a strap tail crossing the rim. The box’s headline litres do not establish closing clearance.
Check the whole perimeter from a safe position. A small object close to a latch can prevent engagement even when the centre of the load is low. Keep hands out of the latch path and do not hold a locking point open while someone else operates the handle.
Try the normal empty closing sequence only where the lid and supports are behaving correctly. If it works empty but fails with luggage, repack below the approved envelope and secure the contents properly. If it still fails empty, treat it as a mechanism, alignment or condition problem needing further assessment.
Inspect the rim and visible locking points
With the box safely accessible, look for caught fabric, dirt, loose luggage or a displaced removable liner where the lid meets the base. Remove only ordinary loose obstructions you can reach without taking apart the mechanism. Follow the cleaning instructions for the actual materials.
Compare the visible gap around the lid. A persistent uneven gap after unloading can indicate that the problem is more than bag height. Record its location and any recent contact with a garage entrance, storage support or open boot. Do not bend the shell back, enlarge holes or realign a latch by force.
If a lid will not stay open or its support looks damaged, stop the closure investigation and use the lid-support guide. A torch improves visibility; it does not make working beneath an unstable lid safe.
Check normal operation without escalating force
Follow the manual’s sequence for closing the handle and operating the key. Some designs retain the key while unlocked; others use a different arrangement. A retained key can therefore be a useful indication that the prescribed sequence is incomplete, but it cannot tell you which component is responsible.
Use the normal hand action only. Stop if the key bends, the handle binds, a locking point visibly misses its receiver or the shell needs substantial pressure to align. Do not use pliers, a longer key grip, a screwdriver or body weight to complete the motion.
Avoid repeatedly cycling a failing mechanism. Once an empty, unobstructed attempt still fails, gather the details and obtain the manufacturer’s diagnosis. Repetition can turn a recoverable jam into a broken key or damaged handle without proving the box is safe.
Separate weather and contamination from a confirmed fault
Cold weather, ice or contamination may coincide with a difficult lock. That timing does not establish a universal chemical remedy. Use the product maker’s method for the exact lock and keep any permitted lubricant away from surfaces it may damage.
Do not pour boiling water over the lock or warm the shell with an uncontrolled heat source. Avoid general-purpose sprays simply because they are available in the garage. The snow and ice guide covers controlled access and inspection as a separate winter task.
If the key is broken, the cylinder is seized or the mechanism is inaccessible, contact an appropriate manufacturer service or qualified lock professional familiar with the product. Give them the model and ownership details. This guide does not provide a bypass procedure.
Use the symptom to decide the next step
| Observation | Next step |
|---|---|
| Works empty; fails packed | Measure and reduce the packed height; clear straps and corners |
| Uneven gap remains empty | Record alignment and impact history; seek manufacturer assessment |
| Correct key binds or starts bending | Stop turning; obtain model-specific lock support |
| Key stays captive after apparent closure | Verify the full prescribed sequence; do not assume all points engaged |
| Lid, hinge or shell visibly damaged | Stop using the box and follow the damage route |
Do not order a replacement component from appearance alone. A cylinder, handle, locking rod and lid receiver are different parts. The same range name may cover revisions with different fittings, so use the identification label and approved exploded diagram or written manufacturer confirmation.
Complete the journey check before using it again
After a simple packing obstruction has been corrected, check every required locking point, handle and key-removal step. Recheck the internal straps and the box-to-bar installation too. Repacking can conceal a mount or leave a loose strap tail in the rim again.
If a part has been replaced, follow the exact installation and functional checks supplied with it. Do not treat one successful key turn as approval of a box that has suffered an impact or shell damage. The pre-journey checklist is the final routine once the fault is genuinely resolved.
Keep passports, essential medicines and journey documents accessible elsewhere. That is useful planning even for a healthy roof box: a closure problem should not leave you unable to access essentials while arranging safe assistance.
Sources checked October 2026: Thule Force 3 instructions, Motion 3 instructions, roof-box safety and manufacturer spare-parts lookup. Use the manual for your exact box; symptoms above are an inspection pathway, not a remote diagnosis.
Frequently asked questions
Why will my roof-box key not come out?
Some systems deliberately retain the key until the lid and lock complete the prescribed closing sequence. That is not a diagnosis for every model. Check the exact manual, remove packing obstructions and stop if normal operation still fails; do not pull with pliers.
Can I drive with the key left in the lock?
Do not set off unless the exact instructions’ closed, locked and key-removal requirements are met. Thule’s roof-box safety instructions require the key removed before driving. A lid that appears shut is not enough if you cannot verify the prescribed secure condition.
Should I push harder on the lid to turn the key?
Use only the normal closing action shown for your model. If unusual force is needed, reopen safely and remove the load obstruction or seek support. Do not kneel, sit or stand on the shell, twist the key harder or use the key as a lever.
Will a replacement lock fix a box that will not close?
Not necessarily. Bag height, a trapped strap, shell distortion or a latch fault can prevent closure even when the cylinder works. Diagnose the mechanism through the manufacturer before buying a precisely matched part; a new cylinder is not a general remedy for a trapped key.
What should I record before asking for help?
Record model and identification label, key code if known, which side fails, whether it operates empty, recent impacts and photographs of the visible gap or obstruction. Keep fingers clear of moving parts and avoid repeatedly forcing the fault to make a demonstration video.