
Measurement guide / Loading, driving and travelling
Measuring Your Car’s Total Height with Roof Equipment
Measure the complete ground-to-highest-point height of your fitted roof equipment. Avoid double-counting, record uncertainty and plan bookings and clearance.
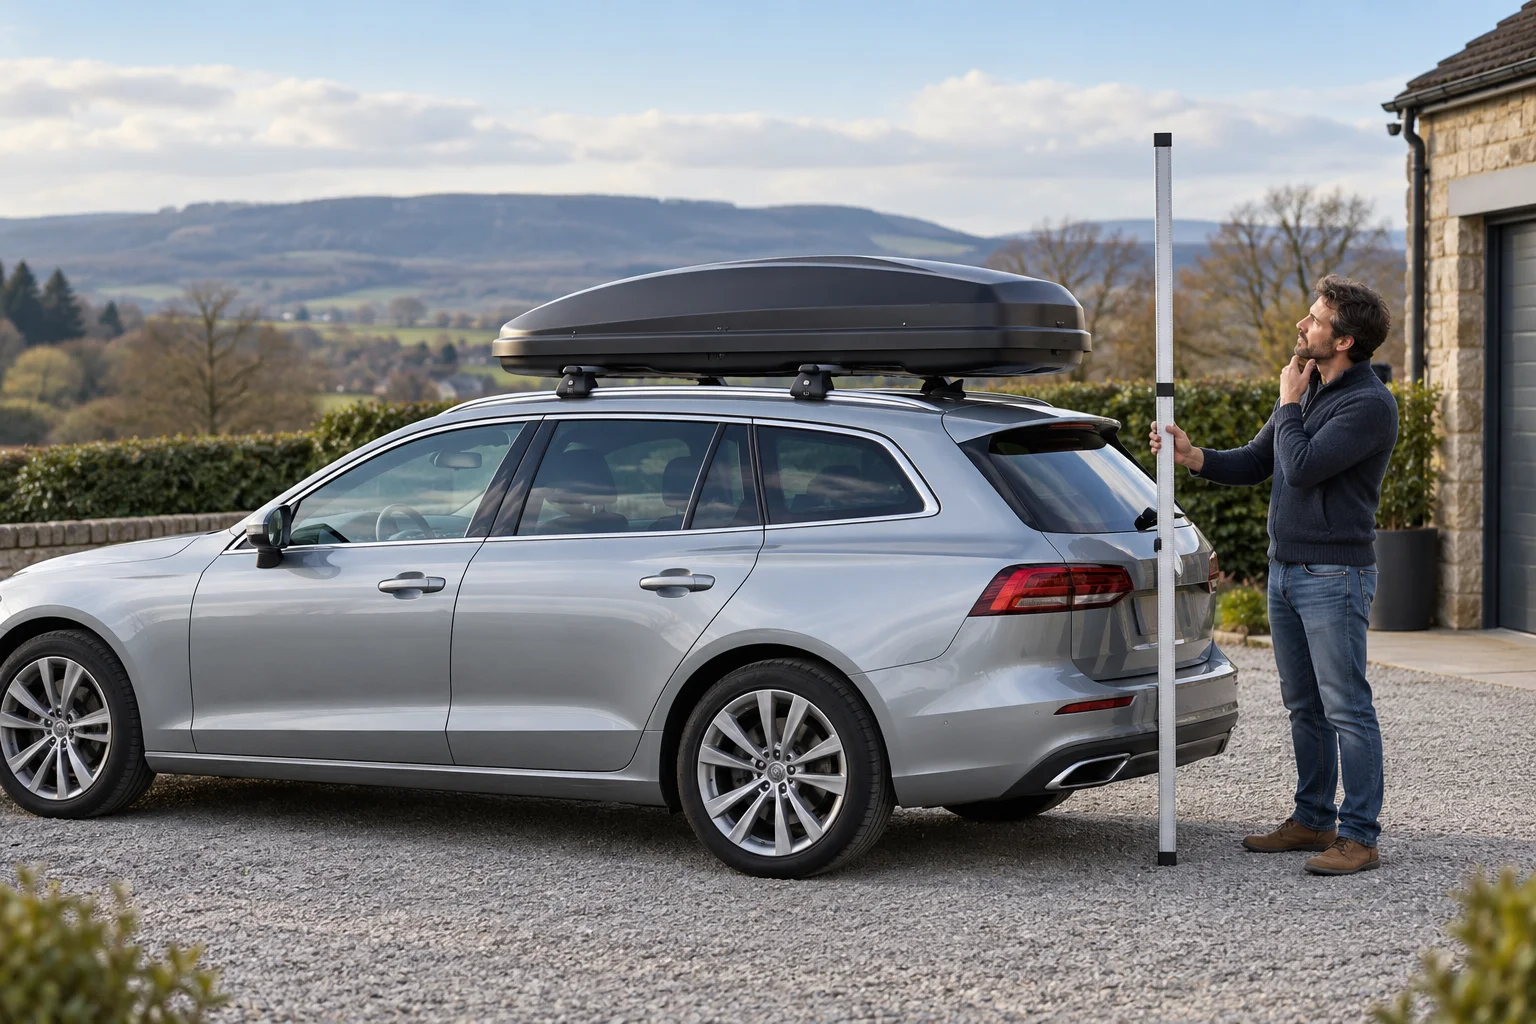
Measure the travelling setup from the ground
Establish the highest point of the complete fitted equipment on level ground and measure its vertical height. Record the configuration and measurement uncertainty. Catalogue car height plus external box height can omit rack parts or count overlapping dimensions twice.
Decide which configuration you are measuring
Measure the equipment that will actually travel: the complete rack, box, bike carrier, bicycle or other load. Close the box in its correct travelling condition and position every accessory as the instructions require. Do not record the height of empty bars if a taller carrier will be added later.
Include the vehicle’s actual roof and suspension configuration. Follow the maker’s tyre-pressure and loading instructions and avoid relying on temporary compression from luggage to make an entrance appear usable. If ride-height settings or load changes affect the result, establish a suitably conservative travelling height with the vehicle maker or a competent specialist.
A useful record names the car, roof, bars, feet, kit, box and any other carrier. Without that context, a height remembered from last year can be misleading after changing a rack or adding a bike. Recheck rather than treating the registration number as a permanent measurement of the complete setup.
Choose level ground and a safe measuring arrangement
Park on a suitable level, firm area with room to work around the car and away from traffic. Uneven ground can tilt the car and the measuring reference, producing a result that does not represent the travelling height. A driveway that looks flat can still slope enough to make a close clearance decision unreliable.
Use stable access and appropriate help. Do not stand on the car, lean your body weight on roof glass or balance a heavy straightedge on the box lid. If you cannot establish the reference safely, ask a fitter or another competent service to measure it rather than guessing from an inaccessible point.
Identify the true highest point
Look at the complete arrangement from more than one side. The crown of a curved box may be higher than its front or rear edge. A bicycle, raised carrier section, antenna or other correctly installed component may stand above the box itself. Measure the highest relevant point rather than the component easiest to reach.
Check that removable parts are in the travelling condition specified by their maker. Do not leave an accessory half folded, loosen a mount or alter tyre pressure to obtain a lower number. Any approved change to the setup must be completed correctly and assessed in its final form.
Record whether there is any uncertainty about a hidden or curved top surface. A photograph can help document the configuration but cannot replace a measured vertical distance.
Establish a horizontal reference and measure vertically
Use a suitable level straightedge or another appropriate measuring arrangement to establish a horizontal reference at the highest point, without loading or damaging the equipment. Measure vertically from level ground to that reference beside the car. Keep the tape upright rather than running it diagonally along the body.
Know which edge of the reference you are reading. Measuring to the top of a thick straightedge when its underside represents the highest point introduces an offset. Likewise, an unmeasured air gap above the equipment should not be subtracted by guesswork. Record the actual reference and use a conservative result or obtain a clearer measurement.
Repeat the measurement and compare the readings. Resolve a noticeable difference before relying on a marginal clearance. Keep enough detail to reproduce the check: location, configuration, reference, units and any uncertainty. The aim is a reliable record, not a falsely precise number from an awkward angle.
Keep the reference offset separate from the highest recorded height
A straightedge has thickness, and repeated readings can differ. A useful measurement record shows the raw reference, any known correction and the uncertainty you still need to resolve, rather than averaging everything into a lower-looking number.
Inputs and assumptions. All readings below are invented millimetre examples. The top of an 18mm-thick straightedge is measured while its underside represents the equipment top. A separate 10mm uncertainty bound is assumed only to show the arithmetic; it is not the tape’s accuracy specification or a recommended universal clearance margin.
| Illustrative reading | Top-edge reading | Known thickness | Corrected height | Assumed uncertainty | Upper recorded estimate |
|---|---|---|---|---|---|
| Reading 1 | 2035mm | 18mm | 2017mm | 10mm | 2027mm |
| Reading 2 | 2042mm | 18mm | 2024mm | 10mm | 2034mm |
| Reading 3 | 2038mm | 18mm | 2020mm | 10mm | 2030mm |
The largest corrected height is 2024mm and the largest upper estimate in this record is 2034mm, or 2.034m. Measuring to the top edge without recording the reference would confuse the equipment height with the measuring aid.
These figures are a way to organise a measurement, not approval for a 2.04m opening. Unknown measurement error, slopes, door travel and lower structures along the route remain unresolved. Use the actual travelling setup and obtain a clearer measurement whenever the record is uncertain.
Calculation method and sources
Corrected equipment height = top-edge reading − known straightedge thickness. Upper recorded estimate = corrected height + the declared uncertainty bound. Keep the greatest applicable upper estimate, then verify the complete route and actual measurement. Repeated-reading spread alone cannot establish the uncertainty bound.
- Thule roof-box safety instructions: Complete roof load, restraint, fit and operating checks remain separate requirements.
- Motion 3 family instructions: PDF pages 14–15: exact Sport, XL and XL Low rows; maximum dimensions do not describe the whole packing envelope.
Download the inputs and workings (CSV). Source review: October 2026.
Avoid adding incompatible catalogue dimensions
A car’s published height can use a different reference from the box specification. It may include particular roof equipment or describe a vehicle version different from yours. A box’s external height is not automatically the height it adds above the crossbar. Feet, rails and the box base can overlap the dimensions being added.
A rough calculation can help shortlist equipment only when every reference is understood. As a hypothetical example, 1.70m from ground to bar top plus a correctly specified 0.33m rise above that bar top gives 2.03m. Adding another rack height would count the rack twice; using an external shell dimension with a different reference can also distort the answer.
Low external shape also does not prove that your luggage fits. The box’s usable interior, mounting intrusions and load allowance remain separate checks. Our low-profile comparison explains those compromises before purchase.
Record units and avoid rounding a borderline result down
Write the height in a clear form such as 2.03m or 2030mm, and make sure another driver understands it. A decimal metre is not a decimal foot. If an operator requests another unit, convert carefully and check the form’s category boundaries rather than choosing a lower-looking option.
| Record | Equivalent | What remains to check |
|---|---|---|
| 2.03m complete travelling height | 2030mm | The measurement reference, uncertainty and full clearance route |
| 2.00m posted restriction | 2000mm | A 2.03m setup exceeds it; do not attempt entry |
| 2.10m posted restriction | 2100mm | A nominal 70mm difference does not assess slopes or lower structures |
Do not round an uncertain result down to obtain a cheaper transport category or entry beneath a barrier. Use the operator’s instructions for entering dimensions and ask it to resolve a category boundary where necessary. A measurement is evidence for the decision, not permission to ignore a separate roof-accessory declaration.
Apply the number to the whole journey
For ferries, declare the complete vehicle dimensions and roof items as the operator requires. For LeShuttle, roof accessories are a separate allocation question; being below a particular height does not remove the declaration requirement.
For parking, check the complete approach, ramps, interior route and exit rather than the entrance beam alone. Slopes and changes in angle can affect how the equipment approaches a structure. The height-barrier guide explains why an equal or marginal figure should not be treated as a reassuring pass.
Keep the height note visible to the drivers who need it, without obscuring the vehicle controls or view. Include hotels, service areas, drive-through facilities and the place where you will unload. A route that is convenient for an unmodified car can be inappropriate with roof equipment fitted.
Recheck after changes and keep weight separate
Measure again after changing bars, feet, box, carrier or bike position, or a relevant vehicle configuration. Repeat if the previous reading was uncertain. Record the final travelling arrangement after any approved adjustment rather than keeping the lowest number obtained during a trial.
Height does not tell you whether the car can carry the load. Use the calculator with verified dynamic limits, then complete the departure checklist. The useful outcome is an approved, restrained setup with both its weight and clearance properly planned.
Guidance and products checked October 2026 using Thule box safety guidance, Motion 3 instructions, Stanley’s model specification table and the linked travel-operator guidance.
Frequently asked questions
Where is the highest point measured from?
Measure vertically from level ground to the highest point of the complete equipment as it will travel. The top of a bike, carrier or antenna can be higher than the roof-box lid.
Can I add the catalogue car height and box height?
Only if the reference dimensions are compatible and account correctly for rails, feet, bars and the box base. Direct measurement of the fitted setup avoids common gaps and double-counting.
Does a centimetre below a barrier guarantee clearance?
No. Measurement uncertainty, the approach angle, ramps and lower structures along the route can matter. Treat a marginal or uncertain result as a reason to choose another route or ask the operator.
Can loading the car make an unsuitable entrance usable?
Do not rely on suspension compression, tyre deflation or another improvised change to create clearance. Measure an appropriate conservative configuration and follow the vehicle’s tyre and loading instructions.
When should I measure the fitted height again?
Repeat it after changing the rack, box, carrier, bike position or relevant vehicle configuration. Also recheck if the earlier measurement was uncertain or no longer matches the travelling arrangement.