
Checklist / Loading, driving and travelling
Roof Box and Roof Rack Pre-Journey Checklist
Use this roof-box and roof-rack checklist before departure and at stops. Check mounts, load, restraints, closure, clearance and travel bookings in order.
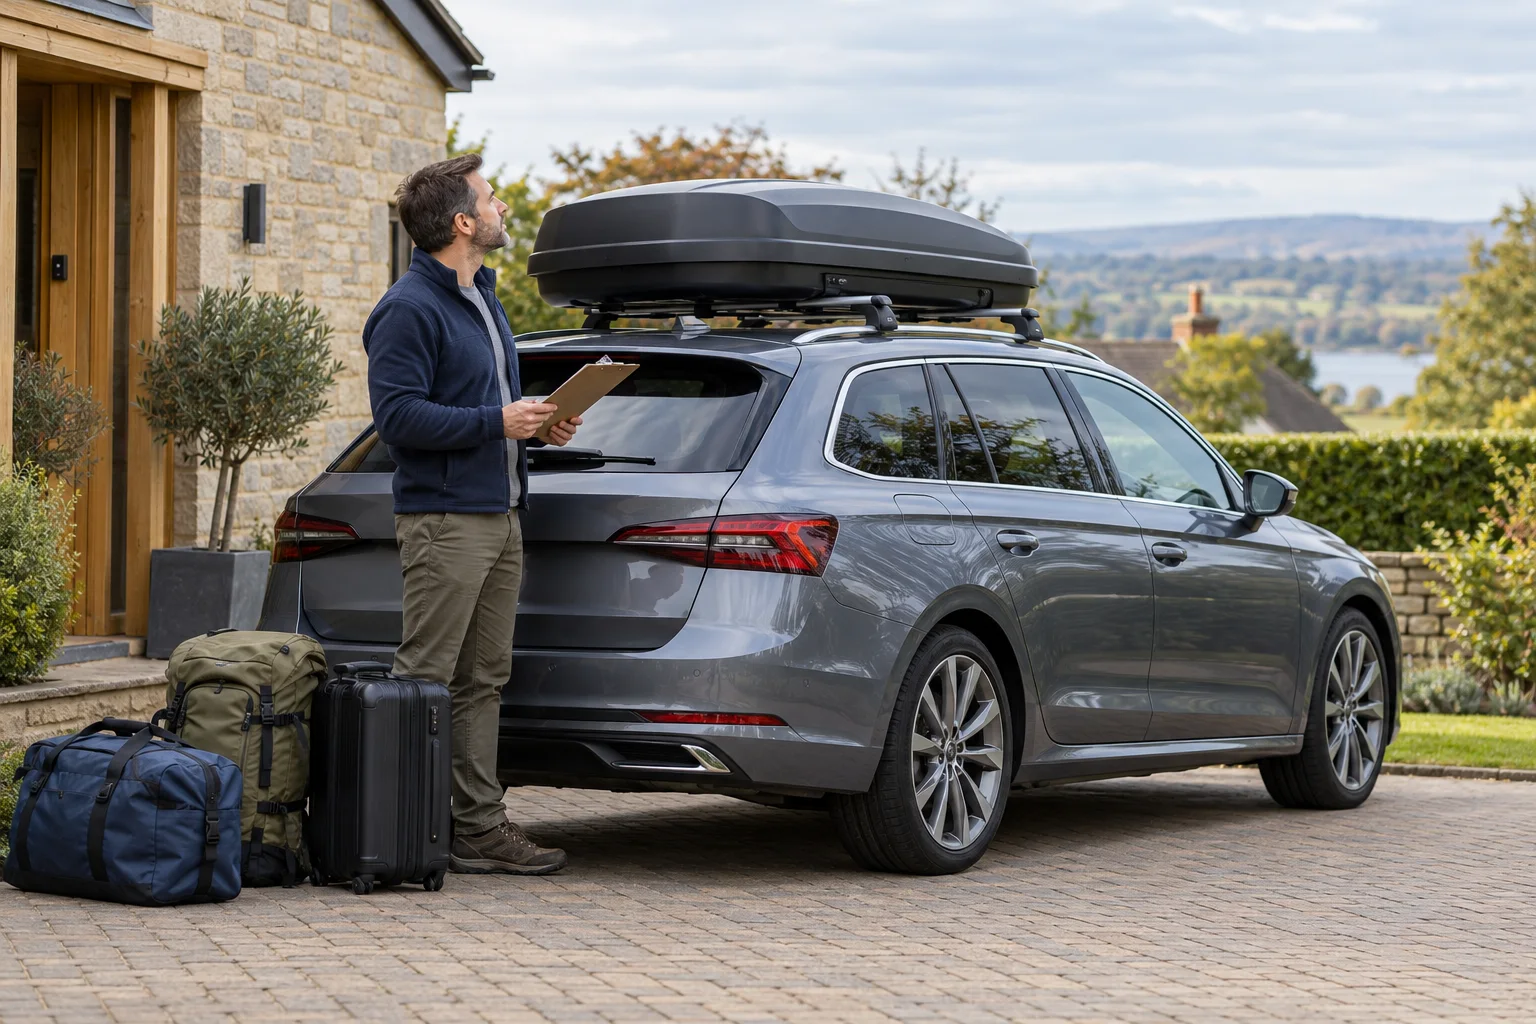
Check the connections in order
Before departure, confirm the approved vehicle fit, permitted load, rack attachment, box mounts, internal restraint, closure and complete height. Check again as the instructions require during the trip and after changes. A locked lid or tightening click cannot answer every part of that sequence.
Keep the right documents and tools beside the setup
Use this checklist with the actual vehicle handbook and the instructions for the bars, feet, fitting kit, box and other carriers. Keep exact model codes and the fit result available, particularly if the equipment is hired, borrowed or has been moved from another car. This page organises checks; it cannot approve a combination that has not been verified.
Read the fitting sequence before starting and identify any maker-specified tools or torque indications. Do not borrow a tightening value from another kit or assume every fastener uses the same setting. Resolve missing parts and unclear instructions before the departure time becomes a source of pressure.
Choose a suitable place to fit and inspect, with stable access and help where needed. Do not work on a live roadside or support your weight on roof glass. Allow time to repack or change plans if something fails a check; the aim is to leave with a resolved setup, not simply a completed list.
Before the first installation and after any manufacturer notification, check for safety notices affecting the actual model or batch. Thule’s recall page is one starting point; use the relevant maker’s route for other equipment. Resolve any applicable action before using the part.
Confirm the vehicle, roof and complete rack
Match the actual car’s body, year and roof option to the saved fit result. Check every bar, foot and kit identifier and the required quantities. If the vehicle or roof configuration has changed, obtain a new result rather than relying on the previous trip.
Inspect the specified vehicle contact areas and equipment condition. Follow the instructions for clean surfaces, mounting positions, part orientation and tightening. Unexpected gaps, damaged pads, incomplete engagement or movement that fails the maker’s security check need resolving before the box is loaded.
Use the roof-bar buying guide to check package completeness and the fit checklist for the wider arrangement. A familiar brand name does not make mismatched components an approved system.
Confirm the load with the final packed contents
Use verified dynamic limits and the complete equipment weights in the calculator. Include feet, kit, adapters, the empty box and every other carrier and its load. Check overall vehicle loading and relevant axle limits separately. If the empty arrangement exceeds a limit, stop and revise the equipment plan.
Recheck the total after adding coats, wet equipment, last-minute items or purchases for the return trip. A bag list is useful only while it matches what is actually travelling. Do not assume that spare space under the lid means spare weight allowance.
Inspect box mounts and the permitted position
Confirm the exact box hardware accepts the bar profile and actual centre-to-centre spacing. Check all required mounts, not just the ones easiest to reach from the pavement side. A mechanism that is obstructed by a rack foot or another carrier needs an approved solution, not extra tightening force.
Follow the box’s securing sequence and inspect engagement as instructed. A click-indicating clamp must still be in the correct position on compatible bars. An adapter must be the approved one for the actual box generation and bar channel, with its complete hardware present.
Check the box’s relationship to the hatch, spoiler, antennae and any glass roof. Only use bar or shell adjustments that the exact instructions permit. The spacing guide and hatch guide help with these separate measurements.
Check distribution, restraint and useful access
Arrange the luggage according to the exact box’s loading diagram, keeping controls and closure areas clear. Use the specified internal straps and anchor points. Bags organise contents but do not replace the restraint. Look for trapped fabric, loose objects, damaged straps and a load that can shift despite the lid being shut.
Do not use a strap around the outside of a box to compensate for failed closure. If the lid does not sit correctly, remove the obstruction or repack. Replace damaged or missing parts through the appropriate approved route before travel.
Close, lock and check the actual travelling height
Follow the exact closing and locking sequence, including both sides where the system requires it. Confirm that every closure point is properly engaged and remove the key before driving as instructed. Keep the correct key accessible to a responsible adult, rather than packed inside the box.
Measure or confirm the complete ground-to-highest-point height for the actual setup. A bicycle can be higher than the box, and rack changes can invalidate an earlier measurement. Check the destination garage, parking entrance and route, including ramps and lower structures beyond the first barrier.
Confirm any ferry or LeShuttle booking has the actual vehicle dimensions and roof accessories declared. A correct transport category does not approve the driving roof load, and a load calculation does not allocate transport space. Keep both checks complete.
Use this final departure table
| Stage | Confirm before moving | If unresolved |
|---|---|---|
| Vehicle and rack | Exact approved parts, roof option and positions | Obtain the correct fit information or parts |
| Weight | All applicable limits and final equipment/bag totals | Revise the load or approved equipment plan |
| Box mounts | Compatible profile/spacing and every required engagement | Resolve the actual mount or position issue |
| Contents | Specified distribution and internal restraint | Repack or replace approved restraint parts |
| Closure | All required points engaged, locked and key removed | Clear obstructions or repair before travel |
| Journey | Fitted height, access plan and correct transport booking | Choose another route or update the booking |
| Driving | Applicable limits, conditions and planned checking stops | Adjust the plan before departure |
Keep this review available to another driver. A shared understanding of height and equipment restrictions is useful when someone else parks the car or takes over on the motorway. Do not rely on the person who fitted the box being present at every later decision.
Recheck at suitable stops and after changes
Follow the rack and box makers’ checking intervals and additional requirements for the road conditions. Thule’s box safety guidance includes checks before and during each journey and after the equipment has been left unattended. This is not a reason to invent a single mileage that replaces all model instructions.
At a suitable safe stop, inspect attachment, restraint, closure and any loose ends or signs of damage. Revisit the checks after changing the load, moving approved components or noticing a new noise. If you suspect insecure equipment, do not continue on the assumption that travelling more slowly will contain the problem.
Use the noise troubleshooting guide for a stationary inspection sequence. Keep hands and tools away from moving traffic, and seek assistance where the situation or equipment cannot be checked safely.
Repeat the essentials for the return journey
The return load can differ from the outward one. Reweigh changed bags where needed, include additional carriers or wet equipment and confirm the distribution again. Check the return booking and parking arrangements against the setup that will actually travel.
After removal, store the equipment and labelled small parts as instructed. Record any wear or replacement needed before the next trip instead of discovering it on departure morning. A complete check today also makes the next installation easier to verify.
Checklist checked October 2026 against Thule roof-box safety guidance, rack safety guidance and Highway Code vehicle-maintenance guidance. Follow the exact supplied instructions for the actual equipment.
Frequently asked questions
How often should I recheck the roof box during a journey?
Follow the rack and box makers’ intervals and additional checks for the conditions. Recheck after fitting, at suitable stops and after loading changes or an unexplained noise, without inventing one universal mileage.
Does a tightening click prove the whole rack is secure?
No. It relates to the relevant mechanism’s prescribed sequence. Check the vehicle attachment, every box mount, load restraint and closure independently using the actual instructions.
Do I need the box key accessible during travel?
Keep the correct key accessible to the driver or another responsible adult, away from the packed roof box. Remove it from the lock before driving as the manufacturer instructs.
Should I recheck after leaving the car unattended?
Yes. Inspect the attachment, locks and load as required by the product guidance before setting off again. A previously correct setup can have been disturbed or changed.
Can this checklist approve my vehicle fit?
No. It helps organise departure checks after an approved fit has been established. Keep the exact vehicle, feet, kit, bar and box instructions as the basis of the installation.