
Maintenance guide / Packing, storage and care
Cleaning a Roof Box Before Storage: Shell, Seals and Mounts
Clean a roof box for storage using its permitted wash method. Inspect shell, seals, mounts and restraints, dry thoroughly and choose a compatible indoor cover.
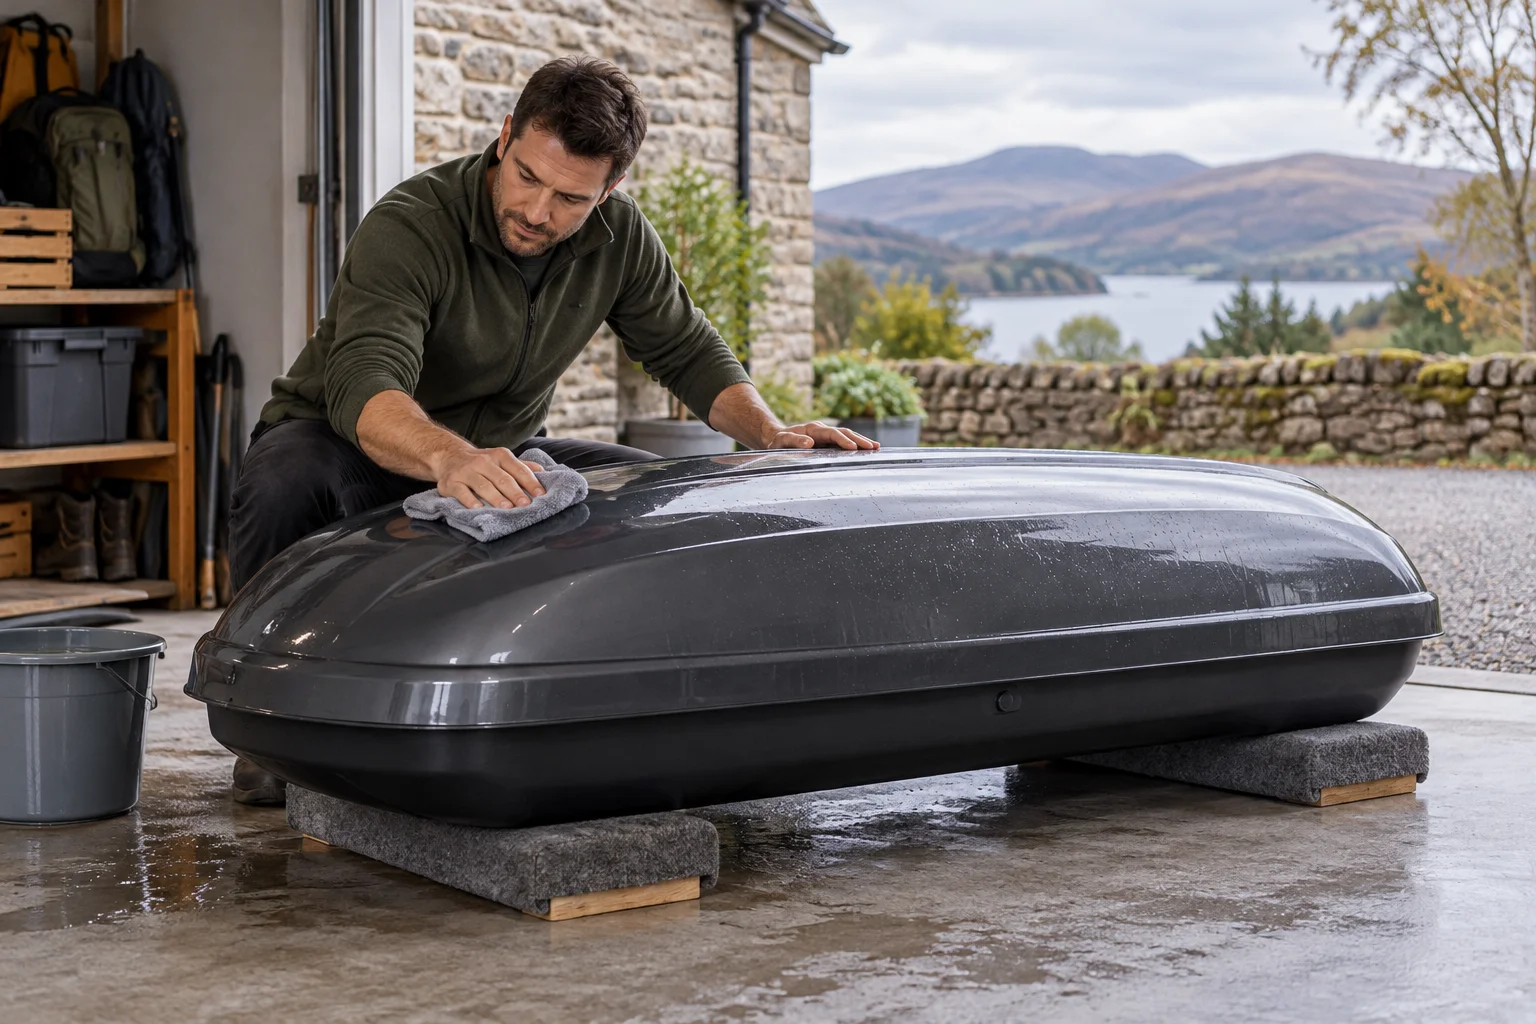
Wash gently, inspect separately and dry completely
Follow the exact box maker’s cleaning method, then inspect the shell, lid edge, mounts, hinges, locks and restraints before storage. Keep unsuitable chemicals and contaminated cloths away from the surface. Dry the interior and retained parts as well as the lid before fitting a compatible indoor cover.
Find the instructions for the actual surface
Start with the box model and its current care guidance. A glossy, textured or otherwise finished shell may have specific restrictions, and permission for a car’s painted body does not automatically apply to a plastic roof-box lid. Treat seals, webbing, metal parts and locks as separate components with their own requirements.
Read the cleaning product’s ingredients and intended use where the box instructions specify exclusions. A label saying suitable for cars or plastic does not override the box maker. Do not begin with a strong cleaner simply because the surface has winter road residue or an old stain.
Thule’s cited instructions describe a gentle water-and-washing-liquid solution without alcohol, bleach or ammonium additives and exclude cockpit sprays. Use that as guidance for the covered Thule equipment, then check other brands individually rather than applying it as a universal formula.
Prepare a stable working position
Empty the box and place or retain it in a supported position permitted by its instructions. Plan access to the underside, mounts and interior without leaning your weight on the lid or putting the shell on a projecting clamp. Use help where needed for controlled removal and handling.
Keep original straps and loose fittings accounted for. Note how model-specific pieces are arranged before removing anything the instructions permit you to detach. Do not dismantle a hinge, lock or mounting mechanism merely to make it easier to reach with a cloth.
Set aside clean washing and drying equipment. Grit from a wheel-cleaning cloth or residue from a previous polish can damage or contaminate a surface even when the cloth itself feels soft.
Remove dirt using the permitted gentle method
Follow the maker’s sequence for loosening dirt and washing. Avoid dragging dry grit across the finish or using force to remove a stubborn mark. Keep cleaning liquid away from components where the instructions prohibit it and do not soak mechanisms on the assumption that more water will improve their operation.
Do not infer pressure-washer approval from the fact that the box travels in rain. A concentrated jet and ordinary weather exposure are different conditions. Use only equipment and pressure expressly permitted by the box maker, and remove the rack/box before an automatic car wash as the relevant instructions require.
If a mark remains after the permitted wash, ask the manufacturer about that specific surface and contaminant. Scraping, solvent escalation or polishing a textured finish can create a second problem without solving the first.
Inspect the shell and lid edge after washing
With dirt removed, look for cracks, deformation, damaged hinges or lid lifters and changes around mounting areas. Check whether the lid sits and closes normally without pressure from luggage or trapped webbing. A clean surface can make a defect more visible; it does not make the defect less significant.
Do not use adhesive, filler or a cosmetic polish to declare a cracked shell ready for travel. Obtain the maker’s assessment and any specified repair or replacement route. Keep damage notes separate from ordinary scratches or finish marks so a later fitting check does not overlook them.
Inspect the lid edge and any seal arrangement according to the actual design. Avoid assuming every box has a replaceable rubber seal or that a generic seal product is compatible. A new strip that looks similar can change closure and drainage rather than restore the original function.
Check mounts, restraints and locking parts
Examine the bar mounts and their contact surfaces for damage, missing pieces, contamination or abnormal movement. Follow the manufacturer’s allowed maintenance and replacement procedure; do not substitute bolts, pads or clamps because they appear to fit.
Inspect internal straps, buckles and their original anchors. Store the correct components with the box and use the restraint guide if a replacement must be identified. Cleaning damaged webbing does not restore its original capacity.
For locks, use only the product and application method permitted for the exact mechanism. Thule’s guidance says to prevent lubricant reaching the plastic surface. Do not spray a general treatment over the entire handle, lid edge or interior, and do not treat a stiff lock by forcing the key.
Separate drying from surface wiping
A lid can look dry while moisture remains inside, around mounts or in webbing and fabric. Check those areas and let the complete arrangement dry in a permitted position before closing it for the season. Do not put damp bags or cloths back inside simply to keep the garage tidy.
| Area | What to check | Next action if uncertain |
|---|---|---|
| Shell and lid | Clean, dry, normal shape and closure | Maker assessment for cracks or deformation |
| Hinges and lifters | Intact and operating as instructed | Specified service or replacement |
| Mounts | Complete, clean and undamaged | Confirm original parts and correct operation |
| Restraints | Sound webbing, buckles and anchors | Obtain exact replacements before travel |
| Locks | Normal key operation and permitted care | Identification or service for a failing mechanism |
| Interior | No damp luggage or retained moisture | Dry before closing and covering |
Do not accelerate drying with heat or a chemical treatment that the instructions do not permit. The aim is a clean, dry and inspected box, not a new coating or an artificially restored gloss.
Fit only a model-compatible indoor cover
Choose the cover after the support and drying checks. It must suit the exact lid and be intended for the storage environment. A soft indoor cover does not make outdoor storage appropriate or support the shell on a wall or hoist.
The cover buying guide explains the size references and the Force 3 L Sport discrepancy in detail. Keep the selected cover’s care instructions with the box record.
Prepare for the next fitting
Store keys, original hardware, restraint parts and instructions so they remain identifiable and dry. Record any fault that still needs service; putting the box away should not turn an unresolved issue into a forgotten one.
Before the next journey, remove the cover and inspect the stored shell and support contact areas again. Confirm the exact vehicle rack and complete roof load, especially after changing the car or bars. Cleaning is preparation for those checks, not proof that the equipment remains correctly fitted from a previous trip.
Sources checked October 2026: Thule care and original-parts instructions, Meguiar’s X2020EU cloth specification and Thule cover compatibility. Follow the exact box and component guidance before applying any product.
Frequently asked questions
Can I use ordinary washing-up liquid on a roof box?
Follow the exact maker’s instructions. Thule’s cited guidance permits water with standard washing liquid without alcohol, bleach or ammonium additives; do not generalise that permission to every brand or specialised finish.
Can I use polish or cockpit spray to restore the finish?
Do not assume car-detailing products are approved for the box. Thule’s cited guidance excludes cockpit sprays. Ask the exact box maker about persistent marks or finish changes instead of escalating to stronger products.
Should I lubricate roof-box seals and mounts?
Use only the maintenance product and application method specified for the exact component. Do not apply a general silicone, oil or grease treatment across seals, plastic surfaces and mounting mechanisms by default.
Can I cover the box as soon as the lid looks dry?
Check the interior, lid edge, mounting areas, restraints and any retained parts as well. Let the complete arrangement dry in a permitted position before closing or covering for storage.
What if cleaning reveals a crack or damaged fitting?
Stop using the affected arrangement and obtain the manufacturer’s assessment or specified replacement. Cleaning, polish, adhesive or a storage cover cannot establish that structural or locking damage has been repaired.