
Measurement guide / Watersports carrying
Can You Carry a Roof Box and Kayak Together? Measuring the Complete Setup
Measure a shared roof-box and kayak setup using usable bar zones, full hull cross-sections, box-lid sweep, independent strap routes and a worked load calculation.
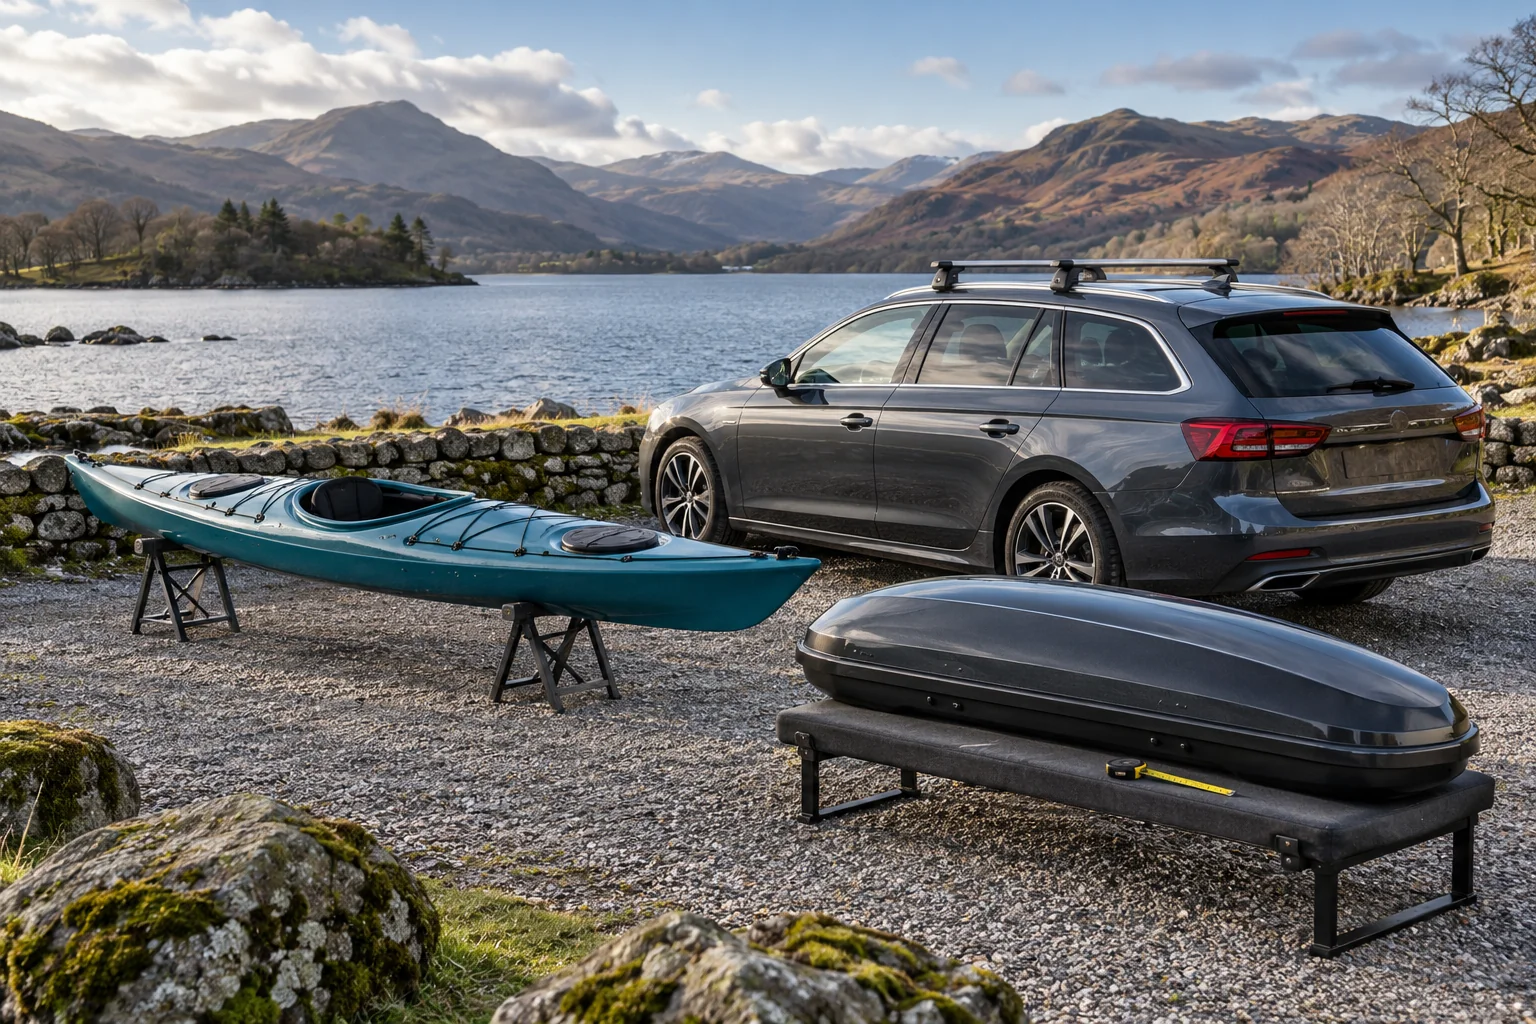
A roof box and kayak can share bars only when their mounting areas, full shapes, loading routines and load limits all agree. A narrow shell can help with space, but it does not guarantee enough usable width for the boat or enough room to open the box.
Start with the exact car, rack, box, kayak and carrier. Record their dimensions and instructions before choosing positions. The layout needs to work during loading and inspection as well as in its final travelling state.
Establish the complete approved rack first
Confirm the vehicle’s permitted bars, feet and fitting kit, including bar length and prescribed mounting positions. Factory rails alone are not transverse supports, and overall bar length is not the same as an unrestricted accessory mounting area.
Measure the usable zones across both bars. Mark feet, end fittings, track areas that cannot be used and any required separation between attachments. Keep the rack in its approved vehicle position rather than moving feet to create an attractive gap.
Then compare the actual bar-centre spacing with the requirements of both box and kayak carrier. Each has its own range. A span suitable for the box does not establish the boat’s support requirement, and a carrier requirement does not override the vehicle fit.
Draw both attachments at the front and rear bars
Record the box clamp positions and the kayak carrier’s mounting footprint at each bar. Check full seating, hardware clearance and access to all fastenings. Do not place a clamp partly beyond a permitted mounting area to gain room.
A simple plan-view sketch can show where the attachments collide before you lift anything. Keep front and rear measurements separate, especially where the vehicle roof or foot positions change the usable span.
For example, a 127cm bar and a 63cm-wide box do not prove there is 64cm of usable kayak space. That subtraction ignores feet, clamps, hull overhang, opening movement and any required gap. Treat it only as a rough sketch to investigate.
Measure the whole kayak above its supports
Measure the hull in the orientation the kayak maker permits. Include its beam, angled sidewall, cockpit rim, handles and other fittings that remain attached. A compact carrier base can support a boat whose widest section extends much farther toward the box.
Check cross-sections near both bars and wherever the hull approaches the box. A raised bow, cockpit or changing beam can create a clash away from the main support locations. Do not rely on a single overhead measurement at the kayak’s midpoint.
Include the roof-box lid’s complete movement
Measure the closed shell and the lid’s permitted opening sweep. Check the loaded kayak, carrier upright, straps and fittings against that movement. A few centimetres of closed-lid space can disappear as a dual-side lid moves upward and outward.
Do not assume that opening only the far side solves every conflict. Confirm the box’s permitted operation and that you can reach its internal restraints, mounting controls and luggage. Loading the box first is not a remedy for a layout that cannot later be inspected or unloaded correctly.
Check the loading path as well as the final position
A rear-loaded kayak can pass through space occupied by a box before reaching its final supports. A side-lowered lift arm can need clearance beside the vehicle and across a bar that appears free when folded. Check the entire movement with the exact system’s instructions.
Rehearse a controlled loading order on level ground with enough working space. You must be able to secure and inspect every interface without leaning an unsecured boat on the box or reaching through an unstable load. If that cannot be done, change the layout or carrying method.
Keep every attachment and restraint independent
The box needs its prescribed bar attachment and internal luggage restraint. The kayak needs its carrier attachment, main load straps and any required end lines. One item’s hardware does not become an approved anchor for the other.
Trace each kayak strap around its specified bar or carrier route. Check that the box clamps and feet do not obstruct it, and that the buckle can be reached and protected as required. Do not run the strap around the box shell to avoid a blocked mounting point.
Use the bow/stern line guide for suitable craft and vehicle anchors. A line that clears the box while parked must still remain correctly routed through the permitted travelling arrangement.
Calculate what remains for box luggage
Count all fixed roof equipment before loading luggage. In this hypothetical example, the vehicle roof allowance is 75kg, the complete rack weighs 5kg, the empty box is 15.4kg, the kayak carrier is 3.1kg and the kayak is 26kg.
The remaining vehicle allowance for box luggage is 75 −5 −15.4 −3.1 −26 =25.5kg. This assumes no other roof load. Check the rack’s carried-load definition, the box payload ceiling, the kayak carrier’s limit and any lower component restriction separately.
In the roof-load calculator, enter the 3.1kg carrier plus 26kg kayak as 29.1kg of other roof equipment and its load. With a 75kg rack carried-load rating and 75kg box payload ceiling in this illustration, the vehicle allowance governs at 25.5kg. Replace every value with the actual verified figures.
The tool cannot approve the width, distribution, hull support, bar positions or restraints. Keep the measurement and load checks separate rather than treating a positive luggage allowance as a fit result.
Calculate the luggage trade-off between two kayak supports
An angled carrier can change the shape of a shared-roof layout while using more weight allowance. Comparing the carrier mass separately from the hull helps you see that trade-off without treating either support as an approved combined fit.
Inputs and assumptions. Assumed roof and rack carried-load limits 75kg; 5kg complete rack; Force L Sport planning mass 15.4kg and box contents limit 75kg. Hypothetical kayaks weigh 22, 26 or 30kg. DockGrip uses 3.1kg planning mass and XTR 5.6kg in its one-boat mode. Extra adapters and restraints not included in those masses must be added to your own calculation.
| Assumed kayak | Support | Other roof load | Vehicle luggage remainder | Final box-luggage ceiling | Single-boat weight screen |
|---|---|---|---|---|---|
| 22kg | DockGrip | 25.1kg | 29.5kg | 29.5kg | 18kg below carrier ceiling |
| 22kg | XTR J mode | 27.6kg | 27kg | 27kg | 12kg below carrier ceiling |
| 26kg | DockGrip | 29.1kg | 25.5kg | 25.5kg | 14kg below carrier ceiling |
| 26kg | XTR J mode | 31.6kg | 23kg | 23kg | 8kg below carrier ceiling |
| 30kg | DockGrip | 33.1kg | 21.5kg | 21.5kg | 10kg below carrier ceiling |
| 30kg | XTR J mode | 35.6kg | 19kg | 19kg | 4kg below carrier ceiling |
With a 26kg kayak, the model leaves 25.5kg of box luggage with DockGrip and 23kg with XTR. The 2.5kg difference comes entirely from the declared carrier masses; it says nothing about which hull orientation or complete layout is permitted.
If only an angled arrangement can satisfy the actual geometry, the lighter horizontal support is not a usable substitute. Add every required adapter, separate restraint and fitted accessory once, then revisit both the width plan and weight calculation.
Calculation method and sources
Other roof load = kayak + kayak carrier. Calculate the minimum remaining allowance under vehicle, rack and box limits. Independently compare the craft with the carrier’s single-boat ceiling: 40kg for DockGrip and 34kg for the selected XTR mode.
- Force 3 family instructions: PDF pages 14–15: dimensions, spacing, mass and contents limit; model labels must match.
- DockGrip 895000 specifications: 3.1kg page mass and 40kg craft ceiling. The older manual gives 2.5kg; retain at least 3.1kg for planning.
- Hull-a-Port XTR 848004 instructions: PDF page 3: 5.6kg carrier, 34kg one-boat and 59kg combined two-boat configurations.
Download the inputs and workings (CSV). Source review: October 2026.
Check the complete vehicle before travelling
Measure actual loaded height using whichever item is highest. Check the kayak’s full length, hatch and spoiler sweep, and any front/rear projection. Use the real loaded dimensions for parking, route restrictions and travel bookings.
Complete the pre-journey checklist and the required journey inspections. Recheck the layout after changing a box, kayak, carrier or bar system. A previously successful trip does not approve a new hull shape or an extra bag in the box.
If no position satisfies the combined requirements, split the load differently or choose another approved transport method. A narrower box or angled carrier is useful only where the complete arrangement works.
Sources and selected Amazon packages checked October 2026: Force 3 L Sport, XTR instructions, DockGrip specifications and DockGrip instructions. Confirm the exact box, kayak, rack and vehicle instructions together.
Frequently asked questions
Does a narrow roof box leave enough room for a kayak?
Not automatically. The shell width is only one measurement. Check usable bar mounting areas, the kayak’s full shape in its permitted orientation, carrier attachments, box-lid movement, straps and loading access. A nominal gap between objects does not establish fit.
Can I subtract box width from total bar length to find kayak space?
That is only a rough initial sketch. Feet, end fittings, unusable track, clamps and required clearance reduce the usable area, and the hull can extend beyond the carrier footprint. Measure front and rear mounting zones and the complete loaded envelope.
Should I use a J-carrier to make more space beside a box?
Only where the kayak maker permits that orientation and the exact carrier, rack and loading method fit. A narrower-looking final footprint is not enough if the hull conflicts with the lid, the straps are inaccessible or you cannot control the loading movement.
Where do I enter the kayak in the roof-load calculator?
For the shared-box example, enter the kayak and its carrier together as other roof equipment and its load. Keep the complete bar system in rack weight and the empty shell in box weight. The calculator checks remaining box-luggage allowance; it cannot confirm the shared layout or kayak fit.
Can the kayak and roof box share a strap?
Use each item’s prescribed independent attachment and restraint. Do not route a kayak strap around the roof box or use box clamps, lid hardware or internal anchors as unapproved boat attachments. Resolve each load path and any required bow/stern anchors separately.