
Accessory guide / Roof bars and upgrades
Replacement Roof Bar Parts: Matching End Caps, Rubber Strips and Contact Pads
Match roof-bar replacement parts by model, generation and position. Compare exact WingBar Evo end caps and strips, and identify vehicle-specific contact pads.
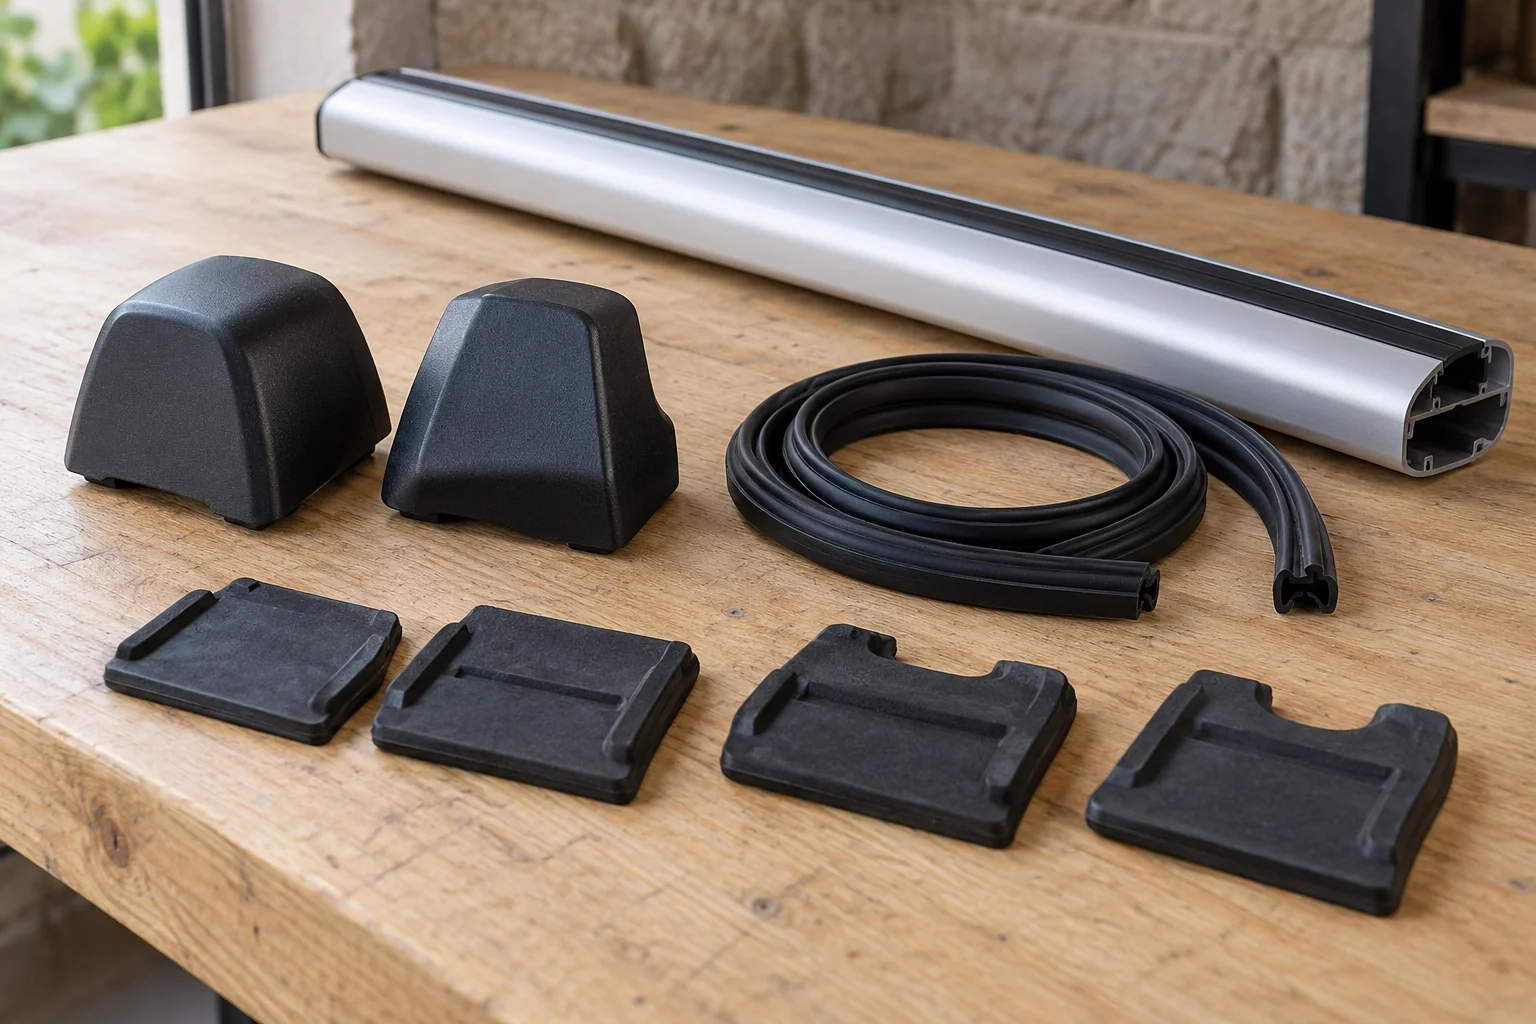
Order roof-bar spares by exact part number, system generation and position. Start with the bar, foot or vehicle-kit diagram, then identify the missing component. A cap or strip that looks close in an Amazon photograph may belong to an entirely different arrangement.
The practical distinction is between restoring a documented component and trying to make damaged or mismatched equipment work. A genuine replacement still needs a sound receiving part and the correct fitting method.
Identify the parent component before searching for the spare
Find the bar family and full model number. For foot covers and contact pads, identify the foot pack and vehicle kit as well. Keep the installation instructions, parts diagram and any product revision together.
A name such as WingBar can refer to different generations. Do not carry a number from an old diagram into a current Evo or Edge system without confirmation. If a label is missing, ask the manufacturer to identify the component before buying spares.
Photograph the part and where it sits, but use the photograph to support identification rather than establish compatibility. Note whether the problem is a missing piece, a worn piece or damage to the surrounding assembly.
Separate caps, top strips, lower covers and pads
These pieces are not interchangeable categories of protective plastic or rubber. Their locations and purposes differ, and some profiles are specific to a particular bar length, side or vehicle attachment.
| Part type | Identify from | Common mismatch |
|---|---|---|
| Bar end cap | Bar model, generation and handedness | Buying a foot cover or older-family cap |
| Top-track strip | Exact channel and bar diagram | Using a similar rubber profile |
| Lower cover strip | Underside diagram and fitting method | Confusing it with the top-track interface |
| Position/scale piece | Bar length and system instructions | Transferring a piece from another length |
| Foot contact pad | Vehicle kit and required position | Choosing by thickness or appearance |
| Fastening component | Exact assembly and part reference | Substituting an ordinary bolt or knob |
If several parts are missing, use the used-rack inventory checklist to assess whether the system can be completed sensibly.
Match WingBar Evo end caps by side and generation
The Thule WingBar Evo diagram identifies left cap 52996 and right cap 52997 for the listed 711xxx bars. The longer article numbers add the 15000 prefix. Match the manufacturer's orientation diagram instead of translating “left” into a guessed driver/passenger label.
Before fitting, inspect the receiving end for deformation or damage. If the new part will not retain as instructed, resolve the underlying cause rather than adding glue, a screw or tape.
Identify the correct top-track replacement
For the same WingBar Evo diagram, 52989 identifies the QuickAccess top interface. Match the part to the actual bar family and read the method for separating, placing and sizing the strips where applicable.
Do not stretch, trim, split or bond a replacement based on a generic tutorial. Some interfaces are designed to part around a fitting, while others use a different access method. Follow the instructions supplied for the exact system.
Keep removed fragments until the replacement is identified, but do not use their damaged shape as the sole measurement reference.
Treat the lower cover and scale pieces separately
The linked Evo diagram gives the lower cover strip its own number, 52990. It also identifies different Smart Scale references for different bar lengths. Those are separate from the top interface and end caps.
Check why the part is missing before replacing it. A gap can result from an incomplete installation, a lost component or the wrong piece being used. Reconstruct the arrangement from the correct instructions rather than filling every opening with generic rubber.
If the receiving section is damaged or the foot cannot be positioned correctly, a replacement cover is not a repair for that problem. Ask the maker for the appropriate assessment and component.
Match contact pads through the vehicle fitting kit
A shaped pad beneath a foot forms part of the intended vehicle contact arrangement. Identify its vehicle-kit number and position. Front/rear or left/right components can differ even when their general silhouette is similar.
Do not add another layer of foam or cut a household rubber sheet to imitate a missing pad. Extra material can change how a bracket bears and fastens. If a pad has marked the vehicle or become distorted, inspect both the contact surface and the surrounding attachment.
Clean contact areas as instructed and check the roof condition before refitting. Replacement pads do not establish permission to mount on modified or damaged roof surfaces.
Check locks, fasteners and covers for their actual role
A foot cover, lock cylinder, tightening knob and structural clamp can be separate items. Identify the assembly rather than buying a part whose name resembles the symptom. The matching-locks guide covers compatible cylinders; it does not approve a substitute foot mechanism.
Use the exact specified fastening components or an expressly approved alternative. Thread diameter alone does not establish the required length, material, head or retaining features. Avoid changing hardware to accommodate a mismatched bar.
If a part is seized or stripped, stop before forcing it. A replacement knob may not address a damaged thread deeper in the foot. Give the supplier the full component identity and a clear description of the fault.
Fit, verify and keep a useful parts record
Follow the correct removal and fitting sequence. Do not disturb a load-bearing connection unnecessarily to replace a nearby trim piece, but do complete any refitting and engagement checks that the instructions require.
Confirm the replacement is seated and retained as intended. Check that it does not obstruct the accessory track, foot operation or required inspection points. If the bar was removed, refit the whole rack according to the vehicle instructions and repeat its specified checks.
Keep the spare's full number, quantity and diagram with the rack record. If noise remains after a missing piece is restored, use the motorway-noise troubleshooting guide instead of continuing to replace unrelated parts.
Parts and selected Amazon packages checked October 2026. Primary references: the linked Evo spare-parts diagram, Kit 145026 and roof-rack safety guidance. Confirm the exact model and supplied revision before ordering.
Frequently asked questions
Will any rubber strip fit my roof bars?
No. Top-track strips, underside covers and vehicle contact pads have different profiles and functions. Match the exact bar or fitting-kit reference and use the manufacturer's specified replacement and fitting method.
Which end caps fit the WingBar Evo models shown here?
The linked WingBar Evo diagram identifies 52996/1500052996 as the left cap and 52997/1500052997 as the right cap for the listed 711xxx bars. Check the exact generation and manufacturer orientation before ordering.
Is WingBar Evo part 52989 the underside strip?
No. Part 52989 is the QuickAccess top-track interface in the relevant diagram. The lower cover strip is identified separately as 52990, while the length-specific Smart Scale pieces have their own numbers.
Can I cut a generic rubber pad to replace a damaged roof-foot pad?
Do not substitute hand-cut padding for a vehicle-kit component. Its shape and position contribute to the intended contact and attachment geometry. Identify the approved kit and ask for the correct replacement part.
Will a new end cap fix a damaged crossbar end?
A cap replaces the identified cap only. If the receiving bar, retention feature or nearby attachment is cracked, distorted or damaged, obtain an assessment and the correct remedy before using the rack.