
Troubleshooting guide / Boxes and accessories
Roof Box Clamps Feel Loose: Inspection, Compatibility and Replacement Decisions
Trace movement through roof-box mounts, bars and feet. Check approved geometry and tightening methods, identify exact replacement parts and know when the setup cannot travel.
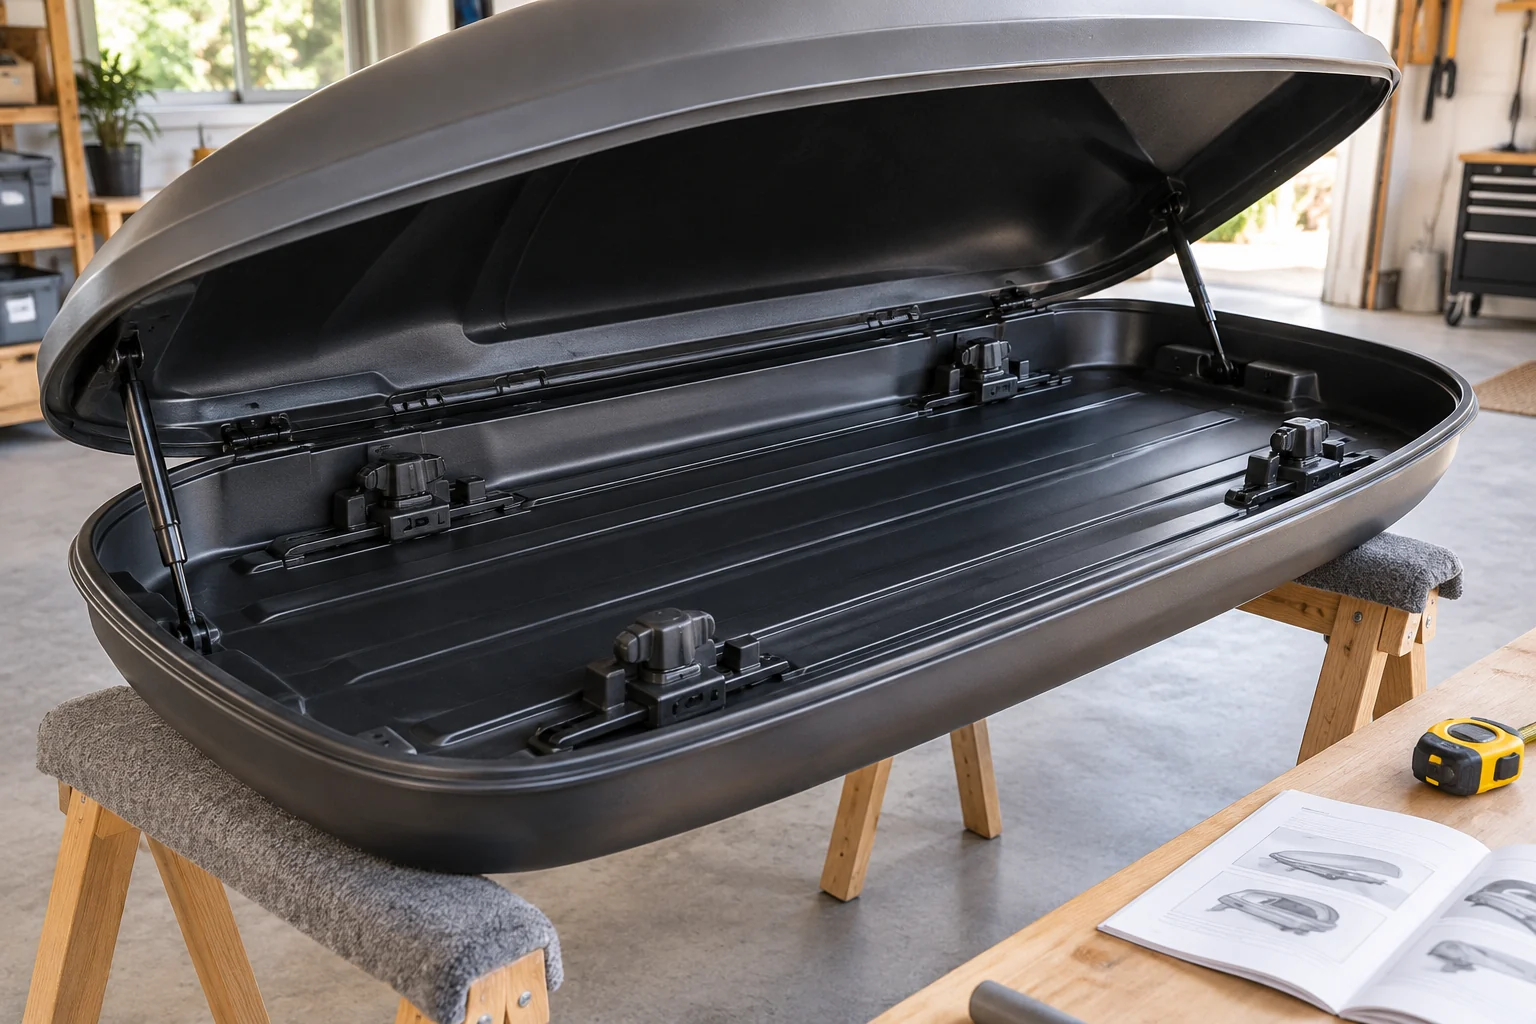
Find where the movement starts before tightening
A loose-feeling roof box can have several causes. The box might move on a bar, the bar might move in a foot or the complete rack might move at the vehicle attachment. Repeatedly turning the box knobs cannot correct every one of those interfaces.
If movement appears during a journey, reach a safe stopping place without abrupt manoeuvres. Do not continue simply because the luggage is still inside or the lid is locked. If the installation cannot be made secure under its actual instructions, arrange assistance or an alternative carrying plan.
Work with the box unloaded where safe, stable access is available. Keep people clear of traffic and avoid pulling hard enough to damage the car or destabilise yourself. The manufacturer’s inspection method takes priority over an improvised shake test.
Trace the complete chain from luggage to vehicle
Check the load separately from the mounting system. An unsecured bag can knock inside a secure shell, while a loose rack may be felt as movement of everything above it. Record what moves relative to what rather than describing every sound as a clamp rattle.
Inspect the box-to-bar attachment, then the bar-to-foot connection and the foot’s approved attachment to the car. Use the correct instructions for each component. Do not loosen the whole installation speculatively while a loaded box remains on top.
Look for a missing fastener, damaged thread, cracked housing, displaced jaw or obvious impact mark. If any part is broken or its condition is uncertain, stop. Cleaning dirt away or making a knob click does not reverse damage to a load-bearing component.
Confirm the bars and mounting range
Identify the exact bar profile and the box’s permitted attachment method. A clamp needs the prescribed contact around the bar and clearance below it. A wide aero bar, a low gap above the roof or an unsuitable foot position can prevent the intended engagement even when the knob feels tight.
Measure the bar spacing using the references in the box manual and check the vehicle’s permitted rack positions. The two ranges must overlap. Do not force the mounting sliders to their ends, move feet outside the fit result or place a clamp partly over a foot to gain hatch clearance.
Read the bar-spacing guide if the reference points are unclear. Compare the actual units, not only a retailer’s generic compatibility icon. A previously successful installation on another car does not establish the fit on this one.
Inspect contact before using the tightening indication
Follow the exact order for positioning and engaging all prescribed mounts. Check that the jaws or fasteners sit where the manual shows, with no luggage strap, liner edge or loose cover trapped in the contact area. Inspect all mounts; one correctly seated corner does not approve the other three.
For PowerClick-equipped boxes, use the indication exactly as the model manual describes. Do not turn the knob with pliers or apply an additional invented torque after the expected signal. Other clamp systems and U-bolts may have a different tightening method entirely.
If the indication occurs but the box remains insecure, stop and identify the cause. A damaged or incorrectly assembled mechanism can produce a sound without making the intended contact. Do not diagnose a safe installation from a click alone.
Look at the mounting floor and tracks
Inspect visible areas around the mounts for cracks, elongation, distortion or signs of unauthorised drilling. A sound replacement clamp still relies on the box’s mounting structure. Damage there belongs in the shell and structural assessment route.
Use adequate light and avoid reaching into a mechanism while someone else adjusts it. Keep the lid controlled normally; a support fault needs its own assessment before inspection beneath it. Do not remove reinforcement plates or track components just to see whether the box feels stiffer without them.
Reject packing pieces and exterior strap fixes
Do not add a homemade rubber shim, timber block, extra washer stack or adhesive pad to compensate for an incompatible bar. Those changes alter the intended grip and can conceal the underlying problem. Only a specified insert or adapter for the exact combination should be considered.
An extra strap over the shell is not a general substitute for approved mounts. Thule’s box safety instructions prohibit attaching further loads to the exterior, and the prescribed box fastening still has to be secure. An emergency-looking arrangement is not evidence that it is safe for the motorway.
Keep the internal luggage restraints doing their own job. They secure permitted contents to the box’s approved points; they do not secure the box to the vehicle. The mounting-systems comparison explains those different functions.
Match replacement hardware through the box identity
Record the full model, size and identification label, plus the bar type and any existing adapter references. Use the maker’s parts diagram or written support confirmation to identify the exact clamp assembly and required associated hardware.
Ask whether the selected package includes one clamp, a complete set, plates, bolts or only an adapter. Model generations can share familiar names while using different fastening details. A marketplace title saying compatible with Thule is not enough to approve the match.
If an approved T-track alternative exists, treat it as a new specified installation with its own compatibility check. It does not rescue a cracked mounting floor or permit an otherwise unsuitable bar system. Avoid buying an adapter simply because it is cheaper than the correctly identified replacement.
Verify the resolved installation before loading again
Complete the manufacturer’s security checks with the prescribed components and method, then load and restrain the luggage within all limits. Check that the load does not hide an adjustment point needed during the journey. Recheck at the intervals and after the circumstances the instructions require.
Record recurrent movement rather than repeatedly tightening it away. If the same mount loosens again, stop using the setup and report the complete installation to the manufacturer. Include photos of the actual bar contact and label, not just the top of a knob.
Use the pre-journey checklist only after the underlying fault is resolved. Routine checks complement a correct fit; they do not turn a known defect into an acceptable recurring maintenance task.
Sources checked October 2026: Force 3 mounting instructions, Motion 3 mounting instructions, roof-box safety and official parts identification. Exact-model instructions govern geometry and tightening.
Frequently asked questions
My PowerClick knob clicks but the box still moves. Is that normal?
A click is part of a prescribed tightening system, not a complete fit check. Stop and identify whether movement is between box and bar, bar and foot or rack and vehicle. Incorrect contact, incompatible geometry or a damaged part needs correction before travel.
Can I keep tightening until all movement disappears?
Do not exceed the exact tightening method or torque. Extra turns or an improvised tool can damage parts without fixing incorrect contact. If the prescribed installation remains insecure, unload where safe and obtain model-specific help.
Can I add rubber packing under a loose clamp?
Only use an insert or adapter explicitly approved for the exact box, mount and bar combination. Homemade rubber, timber or stacked washers alter the contact and fastening geometry. A loose fit needs a verified installation or correctly matched replacement.
Will a T-track adapter repair a damaged clamp?
No. An approved T-track kit can provide a specified alternative attachment for a compatible combination. It does not repair a cracked floor, damaged mounting track or uncertain bar installation. Verify all parts and instructions before choosing that route.
Should I replace all four clamps if one is faulty?
Follow the manufacturer’s assessment and replacement instructions. The required quantity, revision and associated hardware depend on the box. Do not assume that one visually similar second-hand clamp or a generic four-pack is an approved match.