
Practical guide / Bikes and sports equipment
Carrying a Rigid SUP on Roof Bars: Supports and Restraints
Plan rigid SUP transport with board-width checks, padded supports, bar spacing, load straps and required end restraints. Compare verified Amazon carrier options.
Match the supports to the board
A rigid SUP needs permitted support points, suitable padding and a complete restraint arrangement on an approved vehicle rack. Check actual board width, construction, travelling weight and bar spacing before choosing a dedicated carrier or saddles. Follow the board and carrier instructions for position, straps and any end lines.
Record the board you are actually carrying
Begin with the rigid board’s model, length, maximum width, construction and travelling weight. Note its fin arrangement and any transport restrictions. An inflatable board packed into a bag is a different load; advice about that bag cannot establish how to support a long rigid hull on crossbars.
Check the board maker’s guidance on orientation, support areas, spacing, padding and restraint pressure. Boards of similar outline can have different constructions and vulnerable surfaces. Do not assume that adding a thicker pad allows any support position, or that a cover automatically protects the board from unsuitable clamping or strap tension.
Measure the actual width relevant to the carrier’s adjustable supports, not a narrower convenient point near the nose. Keep these dimensions with the roof-rack details so you can compare both sides of the fit.
Choose the support method before the straps
A dedicated board carrier can provide a defined support shape and integrated webbing. Adjustable saddles provide another possible method where their contact and restraint arrangement is permitted for the board. Basic pads and separate straps are a further system to verify, rather than interchangeable substitutes for every dedicated carrier.
A board outside the width range fails that carrier’s initial dimensional check, even if it is light. A board within the range still needs suitable contact surfaces, the permitted orientation and enough room for the complete restraint sequence. Where more than one board is permitted, apply the combined load and the stacking instructions.
Confirm the car rack and support spacing
Obtain the exact vehicle-approved bars, feet and fitting kit. The board carrier then needs to accept the bar profile and resulting positions. A long board on closely spaced bars can create a different support problem from a compact piece of luggage, so compare the board’s requirements with the carrier and vehicle instructions together.
Do not move fixed points, use the longitudinal rails as crossbars or select an unapproved bar length to make the board fit. Around-bar hardware needs clearance below the bar; T-track hardware needs the correct slot and approved fasteners. Read the mounting-method guide if the interface is unclear.
Check the board’s position relative to the hatch and antenna as well as the roof itself. Include the fin and the space needed to place and remove the board. If a second accessory is fitted, its mounts and the full width of the board must clear each other throughout loading.
Follow the specified orientation and strap route
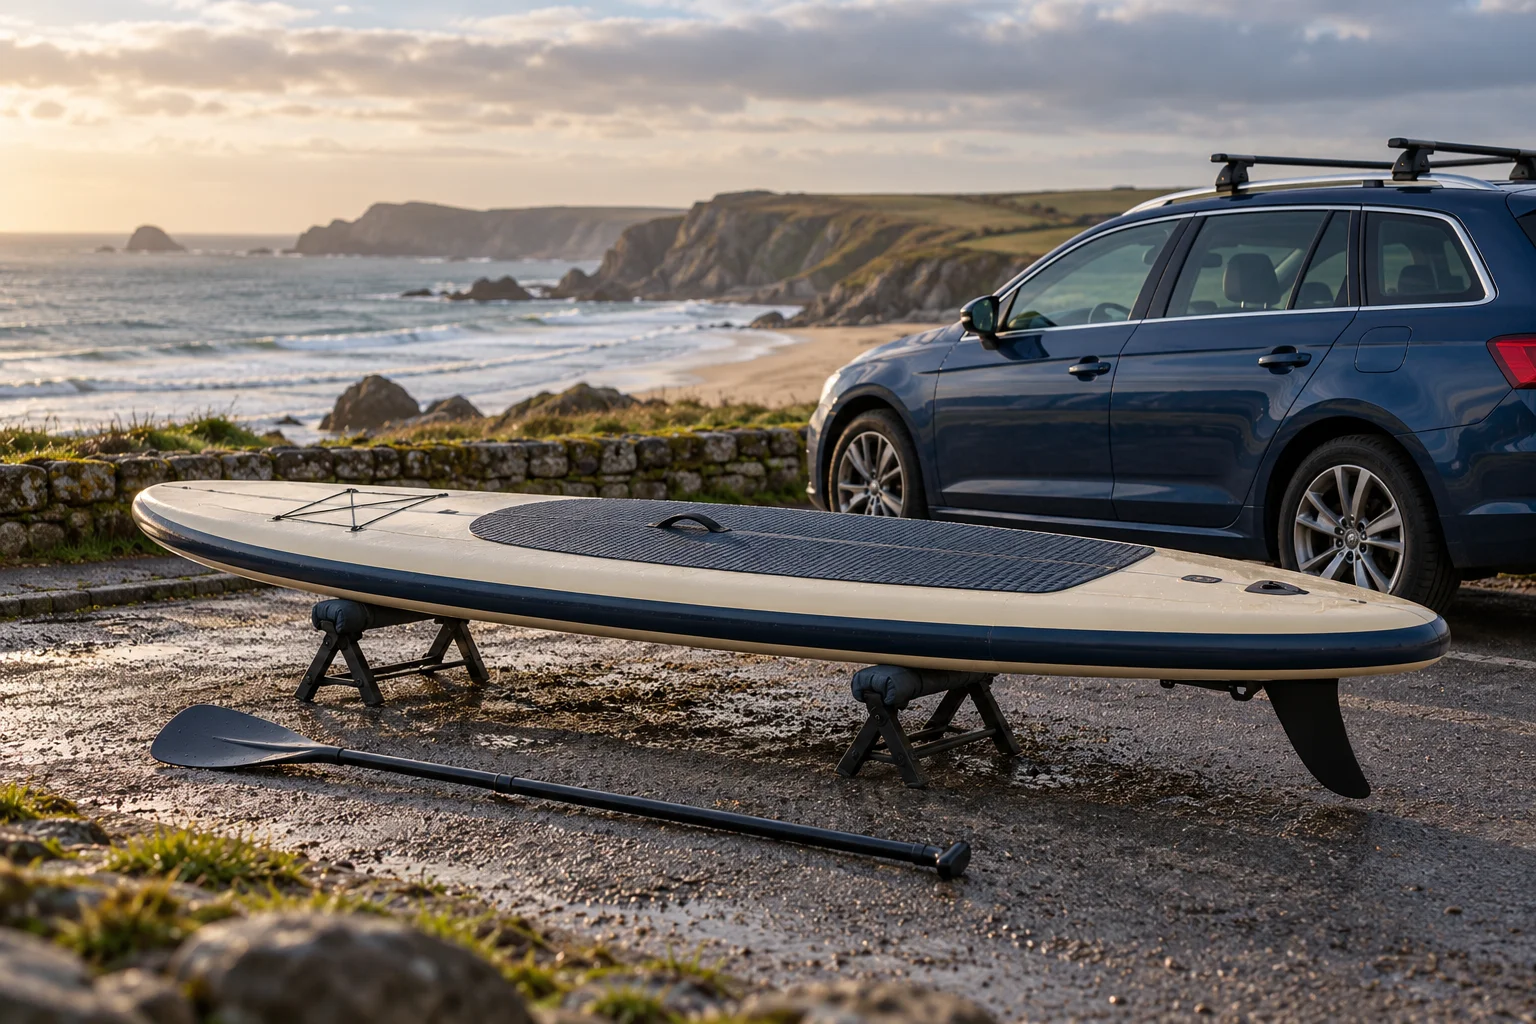
Position the board exactly as its maker and carrier instructions require. Generic advice such as “always fin forwards” or “always deck down” is too broad when support designs and board shapes differ. Check the actual diagram rather than copying the hero photograph, which shows an off-car planning scene.
Main straps must retain the board to the rack through the prescribed route. Buckles should operate correctly, padding should be clean and correctly positioned, and loose strap tails must be secured. Avoid running a strap over an unsuitable edge, accessory or fin, and do not use extra tightening to compensate for an incorrect support position.
The board’s permitted pressure matters as much as the strap’s strength. Follow the specified tensioning method. Do not substitute a powerful ratchet, or pull until the surface deforms, simply to obtain a feeling of security. Reposition an unsuitable setup within the instructions or choose a compatible system.
Add end restraint where the instructions require it
Required front and rear lines are additional to the main carrier straps. They need suitable craft attachment points and approved vehicle anchors. An attractive-looking trim opening or a convenient handle is not automatically an appropriate anchor; verify the complete arrangement before departing.
Check that lines cannot interfere with wheels, steering, lights, cooling openings or other vehicle functions. Protect painted surfaces as instructed and avoid over-tension that could distort the board or its support. If the necessary anchors are not available for the actual vehicle, resolve that before treating the carrier purchase as complete.
Calculate weight and practise handling
Add the complete rack, board supports, actual board and separate hardware to the roof load. For illustration, a 5kg rack,7.6kg dedicated carrier and 12kg board total 24.6kg. A hypothetical pair of 14kg boards would exceed that carrier’s 25kg combined equipment limit before considering the car, even if the roof allowance were otherwise sufficient.
These examples explain the separate limits; they do not approve a board or vehicle. Use the roof-load principles and keep the carrier’s own width and load limits alongside the vehicle and rack figures.
A long rigid board can catch wind while you are lifting it. Rehearse the permitted loading movement with enough room beside the car and help where needed. Consider the launch location and return journey, where wet surfaces or wind may make an already awkward routine worse.
Check the travelling outline before setting off
Measure the total fitted height and inspect the front and rear projection. Check hatch opening, garage access and the space needed to manoeuvre around nearby cars. A low-looking board can still have a fin or carrier part above the main deck height.
Follow the carrier’s required initial and subsequent restraint checks, and stop to investigate movement or unusual noise. Clean and dry padding, webbing and hardware as the makers direct after the trip, particularly after salt-water use. Store the board using its own support guidance rather than leaving it under travelling strap tension indefinitely.
Sources checked October 2026: SUP Taxi XT specifications, SUP Taxi instructions, DockGrip instructions and Starboard transport guidance. Obtain the instructions for your exact board.
Add a second board only after checking the complete stack
Use the two-SUP stacking guide for both boards’ permission, combined carrier limits, separators, fins and strap reach. For a different board shape, compare surfboard supports and pad packages rather than assuming a SUP carrier accepts every narrow surfboard.
Frequently asked questions
Can I carry a rigid SUP directly on roof bars?
Only use a support and restraint arrangement permitted by the board and rack makers. Bare crossbars can create unsuitable pressure points; check the required pads, carrier, bar spacing and strap routing for your board.
Do I need a dedicated SUP carrier?
That depends on the board, bars and approved transport method. A dedicated adjustable carrier can provide specified supports and restraints, while another approved arrangement may use suitable saddles or pads with separate straps.
Is the SUP Taxi XT load limit per board?
No. Its published 25kg equipment limit applies to the combined carried board load. Any permitted stacking arrangement must also satisfy the width, restraint, vehicle and complete-rack requirements.
Can I use ratchet straps on a rigid SUP?
Use the strap type and tensioning method specified by the board and carrier makers. Do not substitute a high-force ratchet because it seems stronger; excessive pressure can damage a board.
Should I remove the fin before roof transport?
Follow the exact board and carrier instructions. Fin size and orientation can affect clearance and handling; do not assume a photograph or a generic rule settles the correct transport position.