
Practical guide / Loading, driving and travelling
How to Pack a Roof Box: Weight Distribution and Load Restraint
Pack a roof box around actual weights, approved distribution, internal restraint and access. Includes packing bags, strap checks, examples and five FAQs.
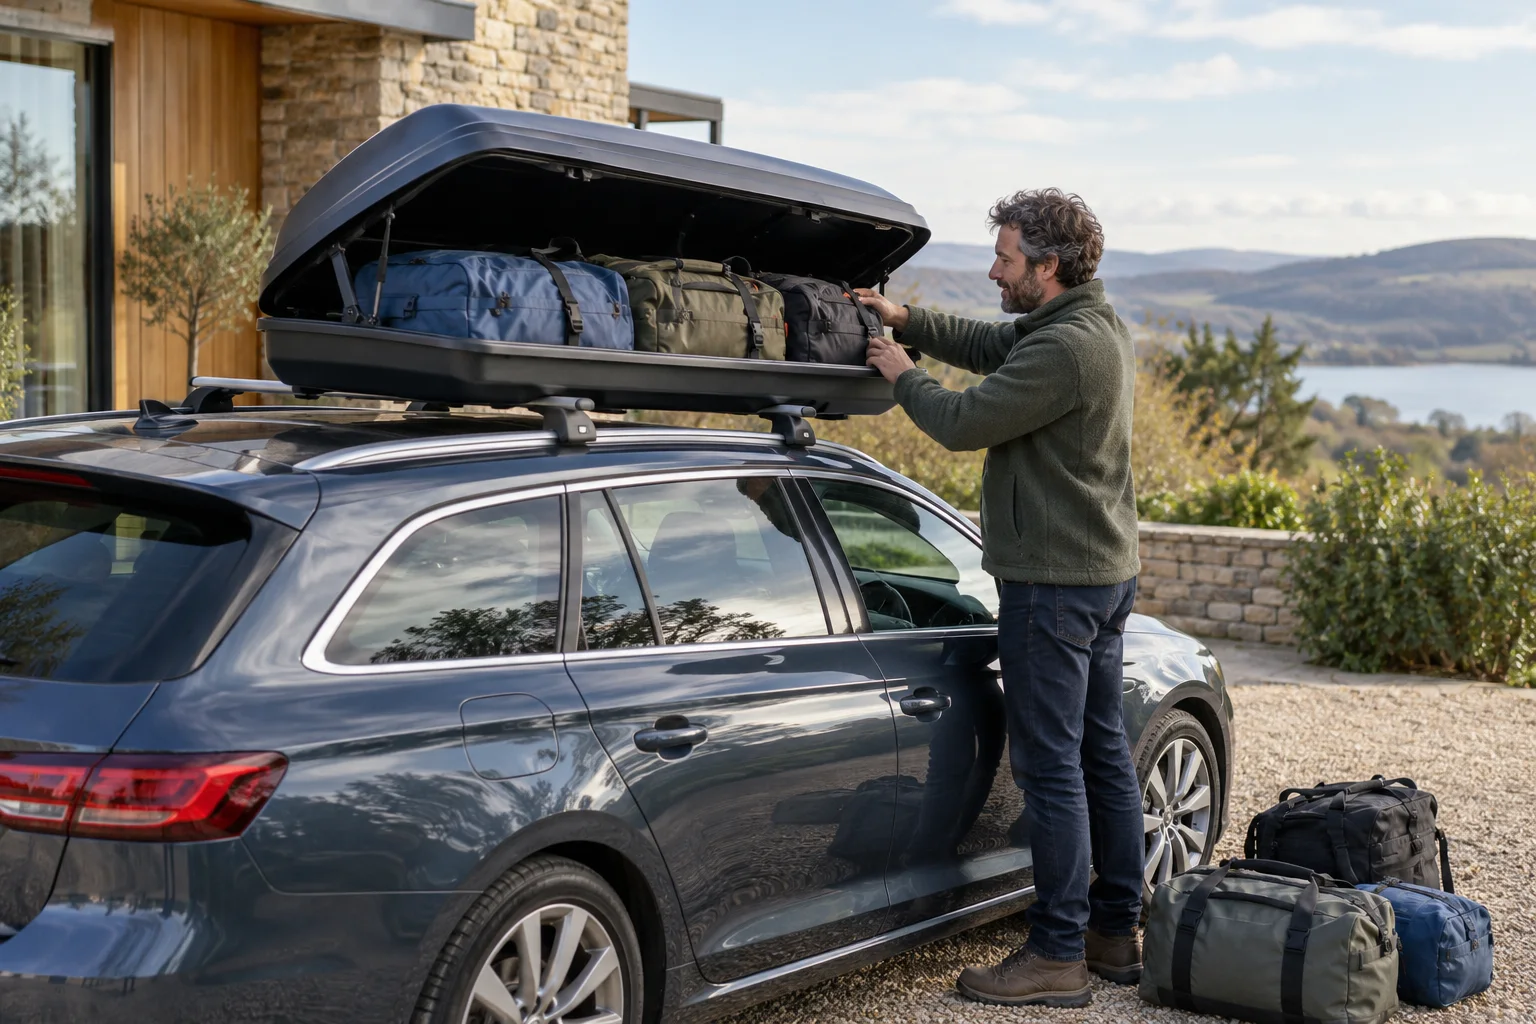
Weigh, arrange, restrain, then close
Pack within the calculated luggage allowance, follow the exact box’s distribution diagram and use its approved internal restraint. Soft bags help organise space, but neither bags nor the locked lid replace load restraint. If the lid needs force, stop and repack.
Plan what belongs on the roof before filling the box
Start with the roof-load calculation and the actual luggage. A box’s nominal litres describe capacity, not permission to carry every item that fits inside. The remaining vehicle and rack allowances can be much lower than the box’s own luggage limit.
For many family trips, bulky clothing, bedding and other suitable lighter items are more useful roof-box candidates than small dense objects. Keep essential journey items accessible in the car where practical, and consider what you need at service stops, ferry terminals and your first overnight stay. Moving suitable dense items to the boot can help the roof plan, but they still count towards overall vehicle loading.
Measure rigid items such as a folded pushchair or travel cot. Include wheels, handles and any protruding parts in the actual packed shape. Do not assume a suitcase that fits through the opening can lie clear of the mounts or fit beneath the tapered lid once the rest of the luggage is added.
Lay out and weigh manageable bags
Pack bags on the ground first, then weigh them and record the total. Include the bags themselves and any separate items going inside the box. Use consistent units and retain the list so additions made just before departure do not escape the calculation.
Arrange the bags in a trial layout that reflects the box’s actual interior. Leave access to mount controls and restraint points. A bag that can be squeezed into a corner when empty may expand into the lid or obstruct a latch when fully packed. The internal-dimensions guide explains why rectangular measurements and litre totals cannot describe every usable space.
Follow the model’s weight-distribution diagram
Identify the front and rear bar locations relative to the box, then follow its own loading instructions. Thule’s general packing article describes placing half the luggage weight centrally between the bars, with a quarter towards each end. Treat that as the cited manufacturer’s guidance alongside the exact supplied box instructions, not a universal rule for every shell.
For a hypothetical 20kg luggage load under that arrangement, the weight shares are 10kg centrally and 5kg at each end. They are weight shares, not equal bag counts or volumes. Two same-size bags can weigh very different amounts, and an empty section of the box is not a reason to concentrate dense objects there.
Keep the load low and balanced across the box in the manner specified. Do not rely on a soft nose or a tapered lid to wedge objects in place. If the intended items cannot be arranged and restrained properly within the permitted load, change the packing plan rather than forcing the desired bag count.
Use packing bags for organisation and access
Group items by when you will need them rather than making every bag equally full. A clearly identifiable overnight bag can save unpacking the whole box at a stop, provided its position still follows the distribution and restraint requirements. Do not place a dense bag at one end merely to make it the first one you reach.
Check whether bag handles and zips remain clear of hinges, latches and the mounting mechanisms. Avoid loose cords or fabric trapped across the closing edge. Bags should be secured by the box’s approved arrangement; their convenient handles are not automatically load-rated anchor points for an improvised strap route.
Separate box restraint from other load straps
The box’s supplied or approved internal straps secure the contents to its designated points. The box mounts secure the shell to the bars. External sports-carrier restraints secure their particular equipment. These are separate jobs with different interfaces and instructions.
| Job | Use | Do not substitute |
|---|---|---|
| Luggage inside the box | Specified internal straps and designated anchor points | An unverified long strap, bag handles or the lid |
| Box on crossbars | Complete approved box mounts or conversion | A belt around the outside of the shell |
| Boat or board on its carrier | Carrier-approved restraints and any additional lines it requires | Box luggage straps or elastic bungees as primary restraint |
Inspect the actual restraint for wear, damage, missing parts and the correct fastening method. Keep the route clear of sharp edges and follow the tightening instructions. If an internal strap or anchor is damaged, resolve it through the manufacturer’s approved parts route before using the box, rather than adding an unrelated external strap.
Keep mounts, hinges and closure areas clear
Load using suitable access and help where needed. Do not stand on the vehicle, support your weight on roof glass or use the open lid as a handhold. A roof box on a tall car may make smaller manageable bags more practical than one large heavy object, but lifting decisions still depend on the people and equipment available.
Before closing, check all areas identified in the manual, including the far side. Follow the required closing sequence for dual-side systems. A lid that will not sit correctly can indicate a high bag, trapped fabric, loose strap or other obstruction. Do not use the lock to pull an overfilled lid down.
Check the closed setup before driving and at stops
Carry out the prescribed checks for mounts, restrained load, closure and locks. Remove the key as instructed and keep it accessible to a responsible traveller. Follow the maker’s recheck guidance, including appropriate checks after loading changes, unattended stops or an unexplained sound.
If something shifts, use a suitable safe stopping place to inspect and repack. Do not reach out of a moving vehicle, open the box beside fast traffic or continue because the lid is still locked. A change in sound can reflect airflow, a loose component or movement inside; the sound alone cannot diagnose it.
Recalculate if the contents change during the trip. Wet kit, extra purchases and a reorganised bag can alter weights and access. Keep fuel, hazardous goods and other restricted items out of assumptions about ordinary luggage; check the vehicle, box and transport operator’s specific rules for anything unusual.
Make the packing plan match the rest of the journey
Record the complete fitted height and check parking, accommodation entrances and transport bookings. Pack a separate small bag for items needed while access to the car or roof box is restricted. Our ferry guide and LeShuttle guide explain why travel allocation and luggage access need their own planning.
Finish with the pre-journey checklist. A well-organised box still needs an approved car/rack fit, compatible mounts, correct loading and a securely closed shell before it is ready for travel.
Packing guidance and products checked October 2026 using Thule’s packing guidance, Force 3 instructions, GoPack specifications and strap specifications.
Adapt the plan to the equipment and the return
Use the camping roof-versus-boot allocation guide for fabrics, poles, sleeping equipment and first-night access. Plan wet and dirty kit separation before departure, and check whole-vehicle payload and axles as well as the roof calculation.
Frequently asked questions
Should heavy luggage go at the front of the roof box?
Follow the exact box’s distribution diagram. Do not concentrate weight in the nose by habit; prioritise a low, balanced arrangement and move suitable dense items to the boot within the vehicle’s limits.
Do packing bags replace the internal straps?
No. Bags organise contents; the approved internal restraint secures them. Use the specified anchor points and strap routing, keeping mounts, hinges and closure mechanisms clear.
Can I use any long strap inside a roof box?
No. Length alone does not verify strength, buckle, routing or anchor compatibility. Use the supplied or explicitly approved replacement restraint for the actual box and its instructions.
Will four 75L bags fit in a 300L roof box?
Not necessarily. Packed dimensions, lid taper, mount intrusions and strap access determine the useful arrangement. A sum of nominal bag volumes is not a guarantee of box fit.
What should I do if the lid needs force to close?
Stop and repack. Check bag height, trapped straps and obstructions around the latch and hinge areas. Do not use the lid or lock mechanism to compress an overfilled load.