
Restraint guide / Watersports carrying
Kayak Bow and Stern Lines: Approved Anchor Points and Suitable Equipment
Check the complete kayak bow/stern restraint chain: approved craft points, vehicle anchors, line hardware, main load straps and inspection before travelling.
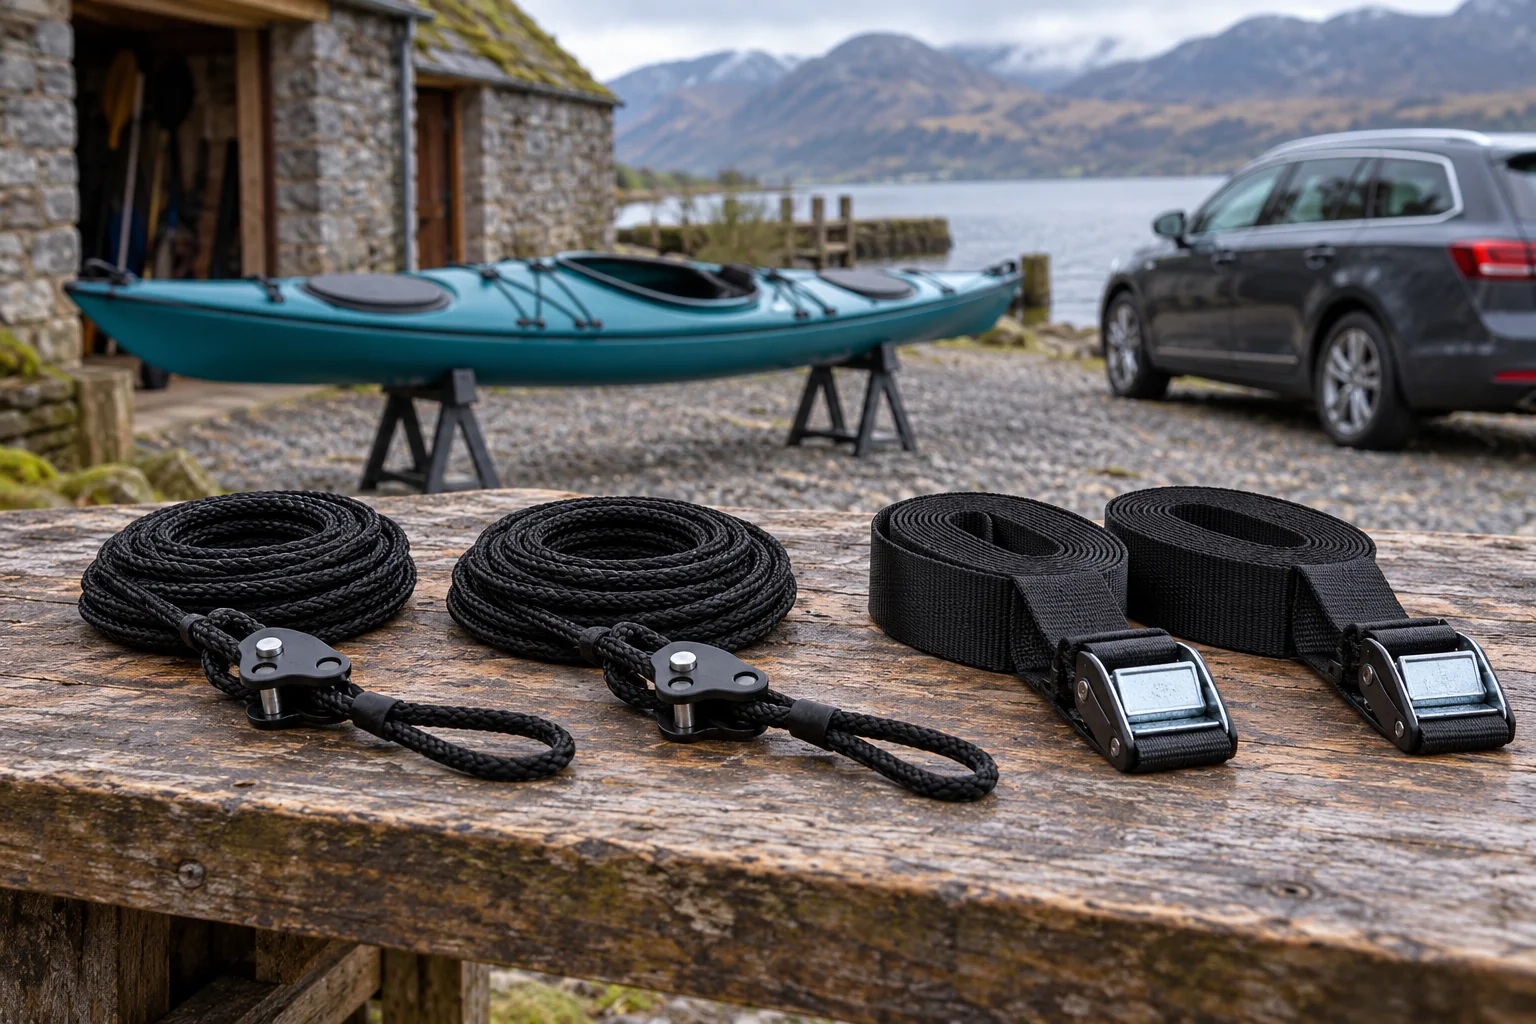
Bow and stern lines are part of a complete restraint system, not a substitute for the main straps holding the kayak to its carrier. Where the instructions require them, verify the craft attachment, vehicle anchor, line and tensioning hardware as one continuous load path.
Do that before loading the boat. Finding that a hook reaches a loop after the kayak is on the roof does not establish the point’s suitability, the line’s direction or the complete restraint arrangement.
Read the craft and carrier requirements together
Start with the instructions for the exact kayak and carrier. Identify the main load straps, required end lines and the prescribed attachment routes. Some systems include end-line equipment; others specify additional pieces. A general photograph of a roof-loaded boat cannot replace those requirements.
The craft maker must permit the intended point on the kayak. Check whether the approved attachment is a dedicated transport point or another explicitly permitted feature. Do not infer permission from the fact that a handle is strong enough to lift one end by hand.
Keep the current instruction revision with the equipment. A replacement carrier or a different boat can change the line routing even where the car and bars remain the same.
Trace the load path from boat to vehicle
For each required line, identify its boat attachment, the rope or webbing, tensioning device, hook or connector, and vehicle anchor. Check how the parts align under the prescribed direction of pull. A suitable individual component cannot compensate for an unsuitable anchor elsewhere in the chain.
Look for sharp edges, abrasive contact and points where a connector could sit against paint or trim. Check the line’s route around the bonnet, hatch, roof edge and the boat’s fittings. It must remain correctly positioned without interfering with visibility or vehicle operation.
If a required point cannot be identified, stop and resolve it with the relevant maker. Do not finish the arrangement by selecting a convenient handle, hole or bolt that the instructions do not approve.
Verify the vehicle anchor rather than the hook’s reach
Use the carrier-specified type of structural anchor and confirm suitability in the actual vehicle documentation or with the manufacturer. Recovery fittings and other vehicle points have defined purposes and load directions; their existence is not blanket permission for any end-line arrangement.
Plastic bumper skins, decorative trim and an accessible panel gap are not substitutes for an approved anchor. Do not route a line around a moving component or near an exhaust or other hot part because it appears to be the shortest path.
Check any screw-in fitting’s installation and permitted use exactly. Do not leave it partly engaged or change its orientation using improvised spacers to suit a hook. An uncertain anchor needs a documented answer rather than more line tension.
Distinguish purpose-made bonnet-loop designs
Loop accessories can use different attachment methods. Thule’s Hood Loop example is bolted at a permitted under-bonnet position; its Quick Loop example uses a closed bonnet or hatch arrangement. Those are different systems, not interchangeable instructions for any available bolt or panel.
A suitable loop needs the exact vehicle/accessory approval, the specified position and a panel that closes and latches correctly. Check clearance from seals, latches, hot areas, wipers and moving parts. A powered tailgate or unusual panel construction needs its own assessment.
Do not drill, remove structural fasteners or add washers based on generic advice. Where an approved loop arrangement is unavailable, choose another permitted anchor solution or carrying method before travelling with a system that requires end restraint.
Choose the line package by its actual role
Inspect the selected line and hardware for damage, wear or incomplete components. Use the specified routing and tensioning procedure. A ratchet mechanism on an end line does not approve using heavy ratchet webbing across a vulnerable kayak hull.
Check what is already in the carrier carton before adding another pack. Replacement or second-craft equipment can be useful, but duplicate lines do not improve an arrangement that is missing the correct main straps or approved anchors.
Keep the main load straps in the plan
Main straps secure the boat at its prescribed supports. Route and tension them as shown for that carrier and hull, keeping any protective buckle pieces in the intended positions. Do not substitute the end lines for an inaccessible main buckle.
Avoid treating every rope or strap as interchangeable because it can be pulled tight. The intended contact, engagement and load path govern the selection. Do not use the tensioner’s appearance as a reason to omit an illustrated restraint.
Check each craft separately in a two-boat layout
A two-kayak configuration can require additional lines, connectors and main straps. Follow its exact diagram for both craft. Do not assume one line at the front and one at the rear can be improvised to restrain two boats together.
Use the two-kayak layout guide to check mass, width and loading order. A line for the first boat must not become inaccessible or incorrectly routed when the second is added.
Inspect routing and tension before every departure
Complete the required sequence at the vehicle, rack, carrier and kayak interfaces. Check that connectors are seated correctly, protective pieces remain in place and line tails cannot reach wheels, road surfaces or moving equipment. Manage excess length using the prescribed method.
Use the maker’s tensioning guidance rather than a universal force or a rule to pull until the hull bends. Excessive tension can distort the craft or load an attachment incorrectly. If the line only stays secure after an improvised knot, packing piece or altered connector, reassess the fit.
Follow the required early and in-journey inspections. Stop safely if a line loosens, a fitting moves or a new noise appears. Do not adjust equipment while the car is moving or keep driving with an unresolved restraint fault.
Sources and selected Amazon packages checked October 2026: XTR instructions, DockGrip instructions, QuickDraw, Hood Loop design and Quick Loop design. The loop examples explain different attachment methods; confirm the exact vehicle-approved arrangement.
Frequently asked questions
Do bow and stern lines replace the main kayak straps?
No. Main load straps secure the craft to its prescribed supports. Where the carrier requires bow and stern lines, they add end restraint through suitable craft and vehicle points. Fit the full specified arrangement rather than choosing whichever lines look easiest to attach.
Can I hook an end line to any towing eye?
Confirm the exact vehicle and carrier instructions. A point intended for recovery or another specific purpose is not automatically approved for every continuous transport-restraint direction. Establish the permitted anchor, installation and load path for the actual car.
Can I use a bonnet loop without drilling?
Some purpose-made loop accessories use a closed panel rather than a bolted attachment, but that does not establish fit for every bonnet or tailgate. Check the exact accessory and vehicle approval, panel closure, load direction and clearance from heat, moving parts, seals and latches.
Does QuickDraw provide both front and rear end lines?
The selected 838000 is described as a two-pack for the front/rear restraint role. Confirm the actual package and the craft/carrier instructions. It does not provide the main over-carrier load straps or approve the vehicle and boat anchor points.
Can two kayaks share one bow line and one stern line?
Use the exact approved two-boat arrangement. Do not invent a shared line route or assume the restraints supplied for one craft cover both. Hull-a-Port XTR is described as supplying load straps and bow/stern tie-downs for one boat; the second needs its additional specified equipment.