
Compatibility guide / Roof bars and upgrades
Integrated Fold-Out Crossbars: Checking Roof Box and Carrier Compatibility
Check integrated fold-out roof bars before adding a box or carrier. Understand deployment, latches, permitted accessories, fixed positions, loads and stowage.
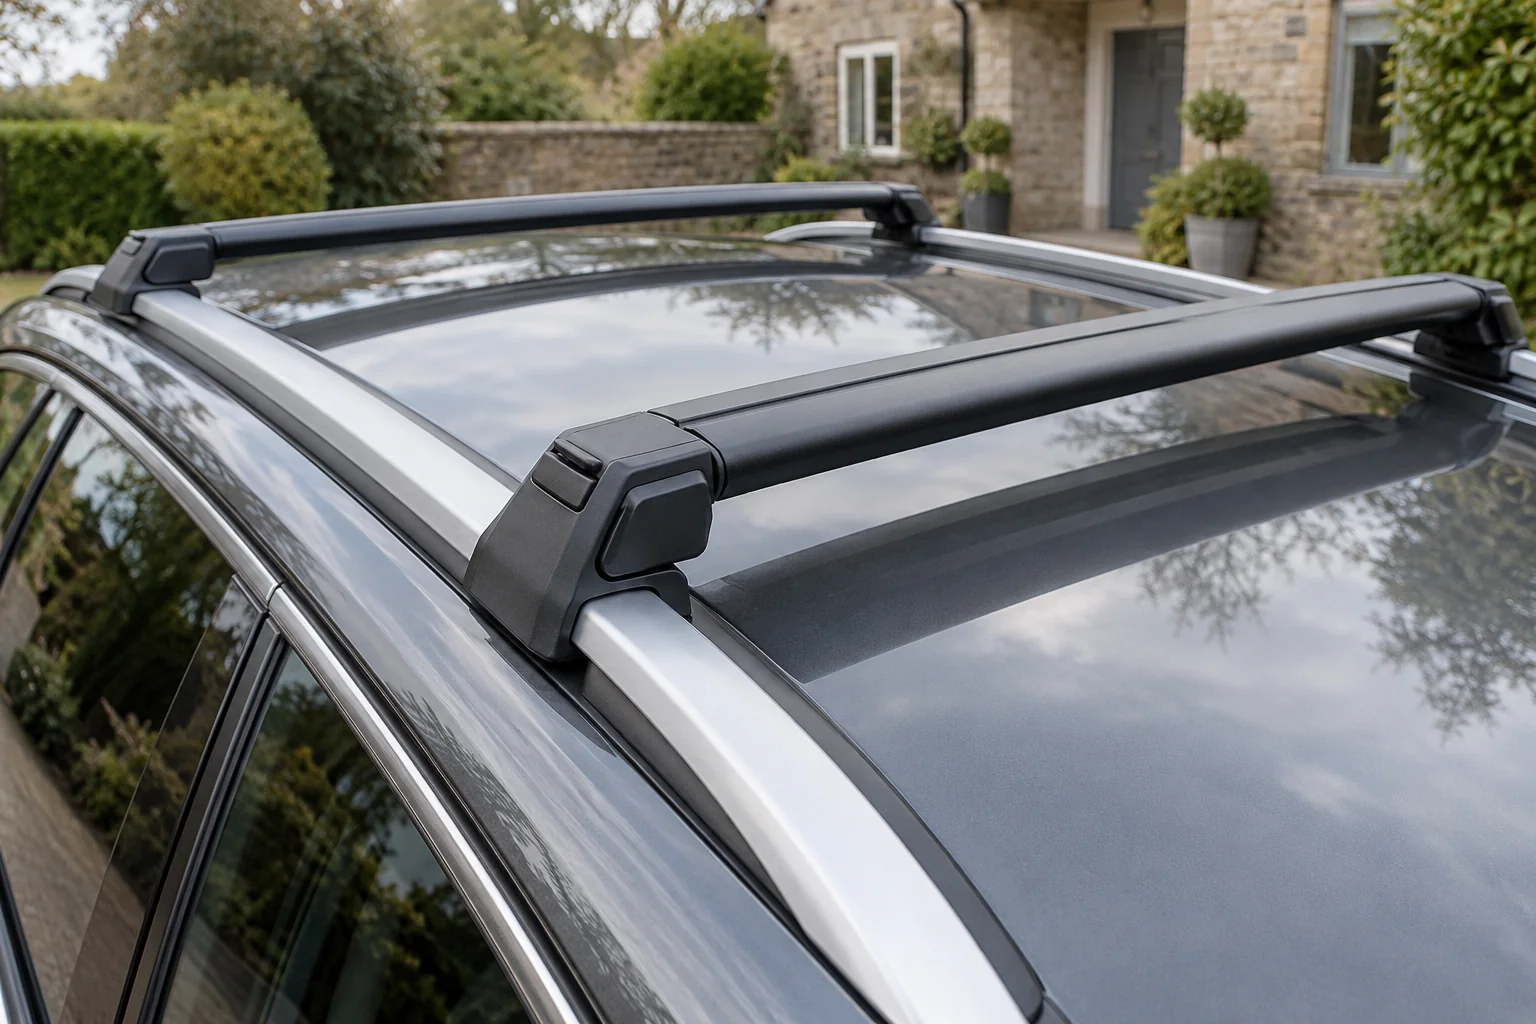
Integrated fold-out crossbars are convenient only when the deployed system suits the accessory. Confirm how the bars lock across the roof, which attachments the vehicle permits and whether the accessory fits those positions. Their ability to fold away does not make them universal supports.
Start with the exact vehicle handbook. These systems can have different instructions and load definitions from ordinary longitudinal rails, even within the same handbook.
Identify the actual roof arrangement
Establish the make, model, model year, market and roof option. Find the section that describes the roof fitted to your car, including any “if equipped” qualification. Do not apply a general rail section simply because the deployed bars connect to rail-like structures.
Inspect the system without loading it. Locate the intended transverse bars, their holders, hinges and latches. Use the handbook to distinguish structural rails from the bars stored alongside them. An appearance-based identification can lead to attaching a second rack to the wrong component.
If you are comparing a replacement system, read the factory versus aftermarket guide. The original equipment's presence does not prove that a different rack may be added above it.
Establish the permitted accessory before measuring
Check what the vehicle maker allows on the integrated bars. Some instructions specify particular accessory attachments rather than allowing any carrier with a clamp of roughly the right size. Obtain confirmation for the intended box or sports carrier if the documents do not establish it.
A useful example is the European Subaru Outback 2025 handbook, printed pages 431–434. Its integrated-crossbar section specifies genuine Subaru accessory crossbar attachments and requires the bars to be deployed and locked. That is not blanket permission for an aftermarket carrier.
The example explains why a carrier brand's general clamp dimensions are only part of the answer. Check the handbook for your own vehicle; different years, markets and roof options can have different requirements.
Deploy and verify engagement exactly as instructed
Use the vehicle's prescribed deployment sequence. Keep fingers and loose objects clear of the moving joints, and stop if covers, holders or latches do not operate normally. Do not force a reluctant part into position or modify a catch so it appears to close.
Confirm each bar is seated and latched as the instructions require before adding an accessory. Use the specified engagement checks rather than inventing a test load. A cover that lies flat is not necessarily proof that the mechanism underneath has engaged.
If the system is damaged, loose or difficult to operate, obtain the correct vehicle repair advice first. Do not use an accessory to brace a questionable bar or hide an unresolved latch problem.
Measure the permitted mounting positions
Record the actual centre-to-centre spacing once the bars are correctly deployed. Compare that with the accessory's permitted range. Include any documented alternative position, but do not assume the bars can move freely along the roof.
The cited Subaru handbook describes a particular rear-crossbar position-change procedure. That example is not permission to reposition other systems or borrow its tools and tightening method. Follow the instructions for the actual car.
If no permitted position falls within the box's mounting range, choose another approved accessory or an approved alternative carrying arrangement.
Check profile and underside clearance together
Compare the bar's width, height and shape with the accessory hardware. Check the full clamp or bracket below the bar, including bolt ends and the route taken while closing the mechanism. Integrated crossbars can sit close to roof panels or have shapes that differ from a conventional straight bar.
Check the intended mounting locations at both ends of the accessory. A fitting may work near the bar centre but clash with a latch housing or holder at the required position. Do not count a moving joint or cover as a usable clamping surface.
| Check | Record | Unresolved result |
|---|---|---|
| Permission | Vehicle-approved accessory arrangement | Ask the vehicle maker before ordering |
| Deployment | Correct bar position and latch engagement | Resolve the mechanism before loading |
| Spacing | Actual centres in a permitted position | Do not move bars outside the instructions |
| Profile | Allowed clamp/channel connection | Obtain an approved fitting or alternative |
| Clearance | Roof, glass, latch housing and hatch | Change only through an approved arrangement |
| Load | Correct limit definition and full weights | Reduce or change the proposed equipment |
A visible groove is not automatically an accessory T-track. Use only the interface the documentation identifies.
Use the correct load definition for this roof
The cited Outback handbook gives a 67.5kg maximum for attachments and cargo on the described integrated crossbars. Its separate ordinary-rail section uses a different 100kg definition. Neither figure should be transferred to another vehicle or roof arrangement.
Record what your own limit includes before entering numbers into the roof-load calculator. Do not omit a component that must count, or subtract an already-included component twice. Check any lower accessory limit separately.
Include the complete travelling load and check the vehicle's overall payload and axle limits where required. Do not treat a parked-load figure as permission for driving.
Check opening movements and the loaded journey
With permission and attachment established, plan the hatch sweep, antenna and any glass-roof restrictions. The accessory may extend far beyond the mounting points, so a compatible connection does not settle those clearances.
Measure total fitted height and record it for the journey. Follow the applicable vehicle and carrier driving instructions, then complete the pre-journey checklist. Recheck the actual latches and accessory connections as instructed.
Avoid driving with unresolved movement, damaged parts or incomplete engagement. A loaded trip is not a suitable experiment for deciding whether a doubtful integrated rack will settle into place.
Remove accessories before the permitted stowage routine
Follow both sets of instructions for unloading, removing attachments and returning the bars to their holders. Do not rotate a bar with a carrier attached unless that precise action is expressly permitted. Watch for clamps or hardware left around the bar after the main accessory has been removed.
Do not use the stowed bars as substitute rails. The cited Subaru handbook specifically warns against that use. Any different rack attaching to the roof needs its own approval for the actual structure and configuration.
Store removed equipment with its original hardware and keep the relevant vehicle section alongside the carrier manual. That makes the next deployment a documented process rather than a reconstruction from memory.
Sources checked October 2026: the linked European Outback handbook, the actual vehicle's own handbook and the selected measuring-product information. The Subaru example illustrates a restriction; it does not establish fit for every Outback or recommend a third-party carrier for that configuration.
Frequently asked questions
Are stowed fold-out crossbars the same as raised roof rails?
Do not assume so. Some vehicle instructions expressly prohibit treating the stowed bars as rails. Establish the actual rail structure and approved carrying arrangement from the exact handbook before adding clamps or another rack.
Can any clamp-mounted roof box attach to integrated crossbars?
No. The vehicle must permit the attachment, and the box's hardware must match the bar profile, spacing and underside clearance. A clamp closing around a bar does not establish approval.
Is the 67.5kg example a limit for every Subaru Outback?
No. It comes from the integrated-crossbar section of the cited European Outback 2025 handbook and applies to the attachments and cargo described there. Check your own market, model year, roof option and attachment instructions.
Can I move a fold-out crossbar to make a roof box fit?
Only use the alternative positions and procedure expressly described for that vehicle. Some systems permit a particular rear-bar position change; that does not authorise arbitrary spacing or moving a hinge or latch.
Can I fold the bars away with a carrier still attached?
Follow the vehicle and carrier instructions for removal and stowage. Do not assume an attached box, rack or clamp can rotate with the bar or remain in the stowed arrangement.