
Troubleshooting guide / Loading, driving and travelling
Roof Box Noise on the Motorway: Checks Before Changing Equipment
Investigate roof-box motorway whistles, rattles and flapping safely. Check attachment, strips, caps and straps before deciding whether equipment needs changing.
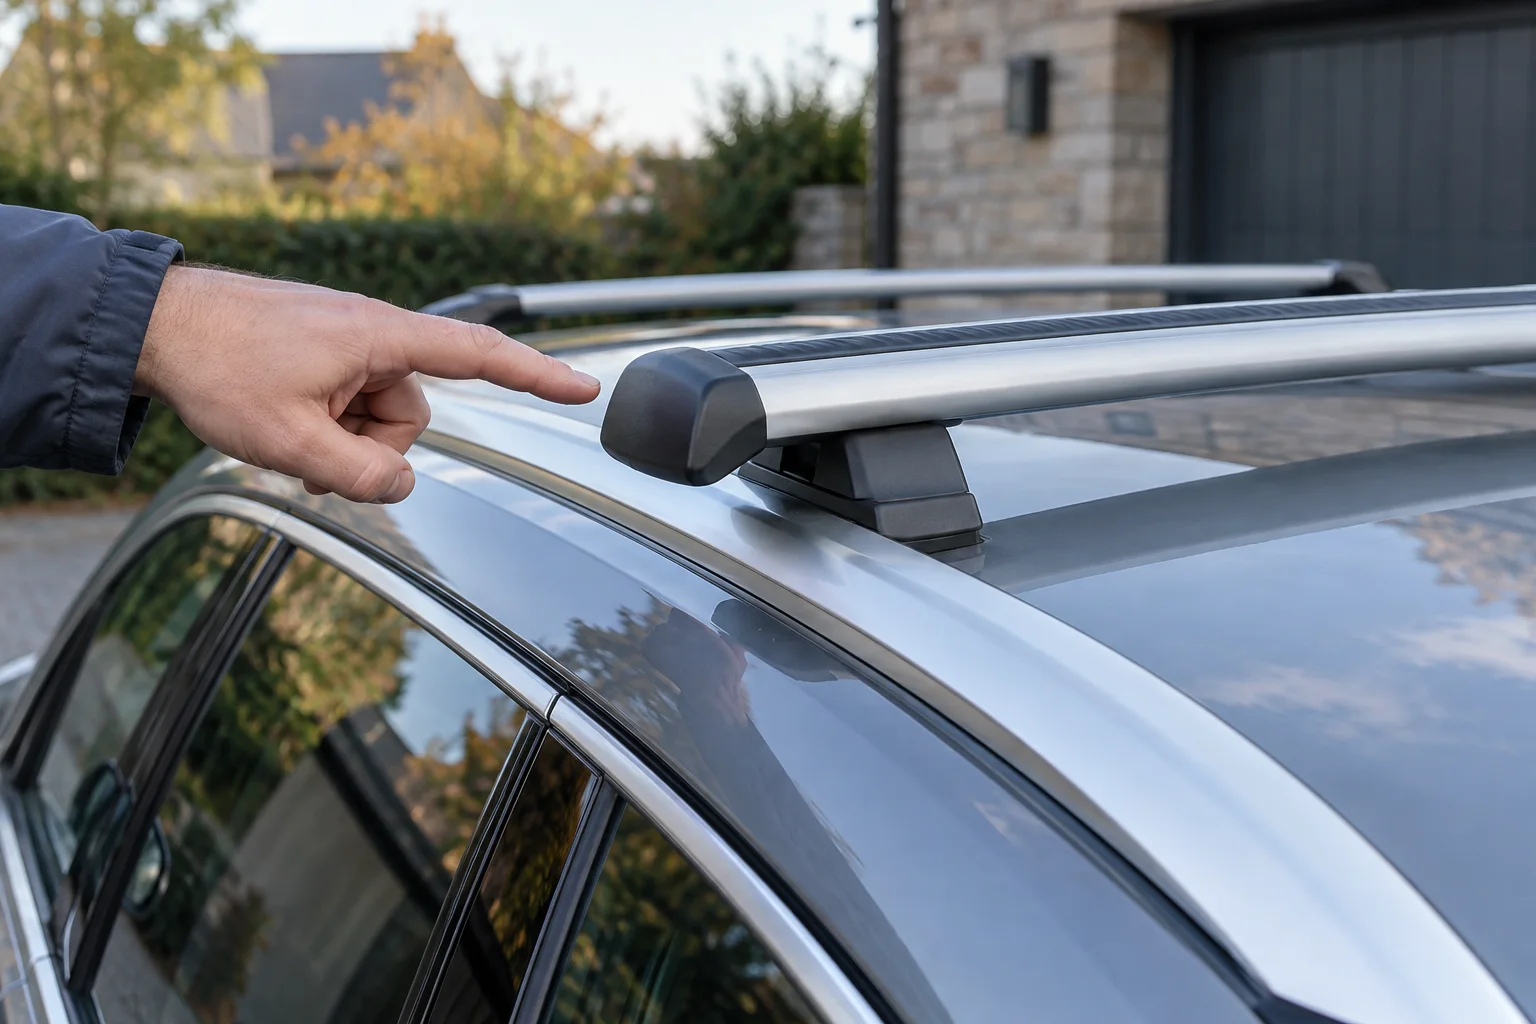
Inspect before buying a quieter-looking replacement
Check the complete attachment, restrained load, closure, bar orientation, specified strips, end caps and loose strap ends in a suitable stationary setting. A new noise is not a diagnosis. Resolve insecure or damaged equipment before continuing; only compare replacement gear after the approved setup is correctly assembled.
Separate an unexplained sound from a confirmed cause
Roof equipment changes the airflow around a car, and the same rack can sound different with and without a box. A whistle may be associated with an exposed gap, while a rattle or flap may come from several different parts. The sound alone cannot prove that the box is secure or identify the part that needs changing.
If the sound is new, do not keep increasing speed to reproduce it. Use an appropriate safe stopping place and inspect the equipment using its instructions. If you suspect immediate insecurity or the situation is urgent, follow the applicable breakdown or emergency guidance and seek help rather than treating the next service area as a guaranteed safe distance to continue.
Do not reach out of a moving vehicle, ask a passenger to hold a strap outside or examine a roof mount beside fast traffic. The useful investigation happens with the car safely stationary and suitable access to the equipment. This guide organises that inspection; it cannot diagnose a particular sound remotely.
Begin with attachment, closure and internal restraint
Check the vehicle-to-rack attachment before focusing on aerodynamics. Confirm the correct feet, kit, bar locations and securing sequence for the actual car. Look for damaged, missing or incorrectly seated parts and carry out the maker’s security check. A component that fails it needs resolving before further travel.
Next check every box mount, the permitted position and compatibility with the bars. Inspect the closure points and locking sequence as instructed. Then check the contents and their internal restraint. A locked lid can coexist with moving luggage, and a quiet shell does not prove that all mounts are engaged correctly.
If the load has shifted, revise the arrangement using the packing guide and repeat the closure and load checks. Do not add an external belt to compensate for a failed lid or substitute extra force for a correctly seated mount.
Inspect orientation and all specified airflow parts
Check the bar model’s instructions for orientation, end caps, top rubber strips and underside covers. Parts that appear cosmetic can be included in the manufacturer’s complete assembly. An open underside slot or missing end piece deserves attention before a decision that the entire rack is inherently noisy.
Do not fill an opening with improvised material or drill, bend or wrap a bar to try to change the sound. A modification can interfere with a mounting surface, intended drainage or the component itself. Obtain the specified replacement strip or cover through the maker’s parts route and follow its fitting instructions.
Track-mounted accessories can change how a rubber strip is handled. Some systems use split strips or other access methods; others specify different infill arrangements. Use the actual bar and adapter instructions rather than cutting or removing the strip based on a photograph of another product generation.
Check straps and loose items without creating a new restraint
Loose ends can move in airflow, but securing them must follow the relevant restraint instructions. Inspect the buckle, routing, tension and condition as well as the spare end. Do not loosen a required restraint to see whether the noise changes, and do not tie an end into an arbitrary part of the vehicle.
For a shared roof, check the sports carrier and load independently of the box. Remove or secure loose accessories only as the relevant maker directs. The complete arrangement may include controls, straps or detachable items that were not present when you last drove with the empty bars.
Use the symptom as a prompt for checks, not proof
| Observation | Checks to prioritise | Avoid |
|---|---|---|
| Whistle that appeared after fitting | Correct orientation, end caps, top strips, underside covers and accessory infill | Assuming it proves either looseness or secure fit |
| Rattle, knock or movement | Every attachment, closure, load restraint and component condition | Continuing with an unresolved security issue |
| Flapping sound | Approved strap routing, excess-end management and loose accessories | Removing a required restraint to quieten it |
| Noise changed after repositioning | Whether the new position is permitted and all affected checks were repeated | Moving bars outside the vehicle fit to chase a quieter spot |
Photograph the stationary assembly and record when the symptom began if you need help from the maker or fitter. Describe the exact car, roof, bars, feet, kit, box and any other accessories. A useful record is more actionable than asking whether an entire product family is “normally loud”.
Keep any position change inside the approved ranges
A different box or rack position can alter airflow, but the vehicle fit remains the constraint. Fixed points and clamp kits may prescribe locations. Even with raised rails, an apparently available stretch of rail may not be a permitted mounting area.
Only make a change expressly allowed by the exact instructions. Afterwards repeat the bar-spacing check, hatch-clearance check, mount engagement and any glass-roof restrictions. A quieter result cannot authorise a position that fails those checks.
Do not turn the box around or leave it partly secured for a road comparison. Use the orientation and mounting sequence required by its maker. A troubleshooting experiment must never replace the approved travelling arrangement.
Compare replacement equipment only after the checks
If the correctly assembled equipment remains unsuitable for your needs, compare approved alternatives for the actual vehicle and accessories. Consider how often you carry the box, remove the rack and change sports carriers. The aero versus square guide covers those decisions without inventing a decibel or fuel-saving claim.
A different box can also change space, weight, hatch clearance and storage requirements. Do not solve an unquantified noise concern by choosing a shell that reduces the remaining luggage allowance below what the trip needs. Revisit the load calculator for any replacement plan.
Finish with a verified travelling arrangement
Once the cause is resolved, repeat the relevant departure checks and follow the maker’s recheck requirements during the trip. Keep the actual instructions and any approved replacement part identifiers with the equipment for next time.
Removing unused equipment after the trip can avoid carrying it unnecessarily, where the maker advises removal. Store it and all small parts properly rather than leaving a partly dismantled system on the roof. If uncertainty remains about attachment, damage or closure, get the equipment assessed before using it again.
Guidance and products checked October 2026 against Thule roof-box safety guidance, rack safety guidance, WingBar Evo specifications and strap specifications.
Frequently asked questions
Is a whistle proof that the box is loose?
No, but a new sound needs a proper stationary check. Airflow around gaps can whistle, while loose parts or load movement can also make noise; sound alone cannot confirm secure attachment.
Can I move the bars to stop the whistle?
Only within positions expressly permitted by the vehicle and rack instructions. Repeat spacing and clearance checks after any approved adjustment rather than treating noise reduction as permission to relocate the rack.
Will aerodynamic bars guarantee a quiet roof box?
No. The complete car, rack, strips, box, mounting position and conditions affect noise. Compare approved options without treating an aerodynamic profile as a promise of silence.
Can I wrap tape around a noisy bar?
Do not improvise changes to a structural or mounting interface. Fit the specified strip, cover or replacement part as instructed and ask the manufacturer if the cause remains uncertain.
When should I stop using the setup?
Do not continue with loose mounts, damaged components, uncertain closure or an unrestrained load. Resolve the cause through the appropriate instructions or specialist support before travelling again.