
Configuration guide / Bike carrying
Carrying Two or More Bikes on Roof Bars: Width, Weight and Loading Order
Plan two, three or more roof-mounted bikes by usable bar width, every carrier’s weight, handlebar clearance, permitted mounting positions and a controlled loading order.
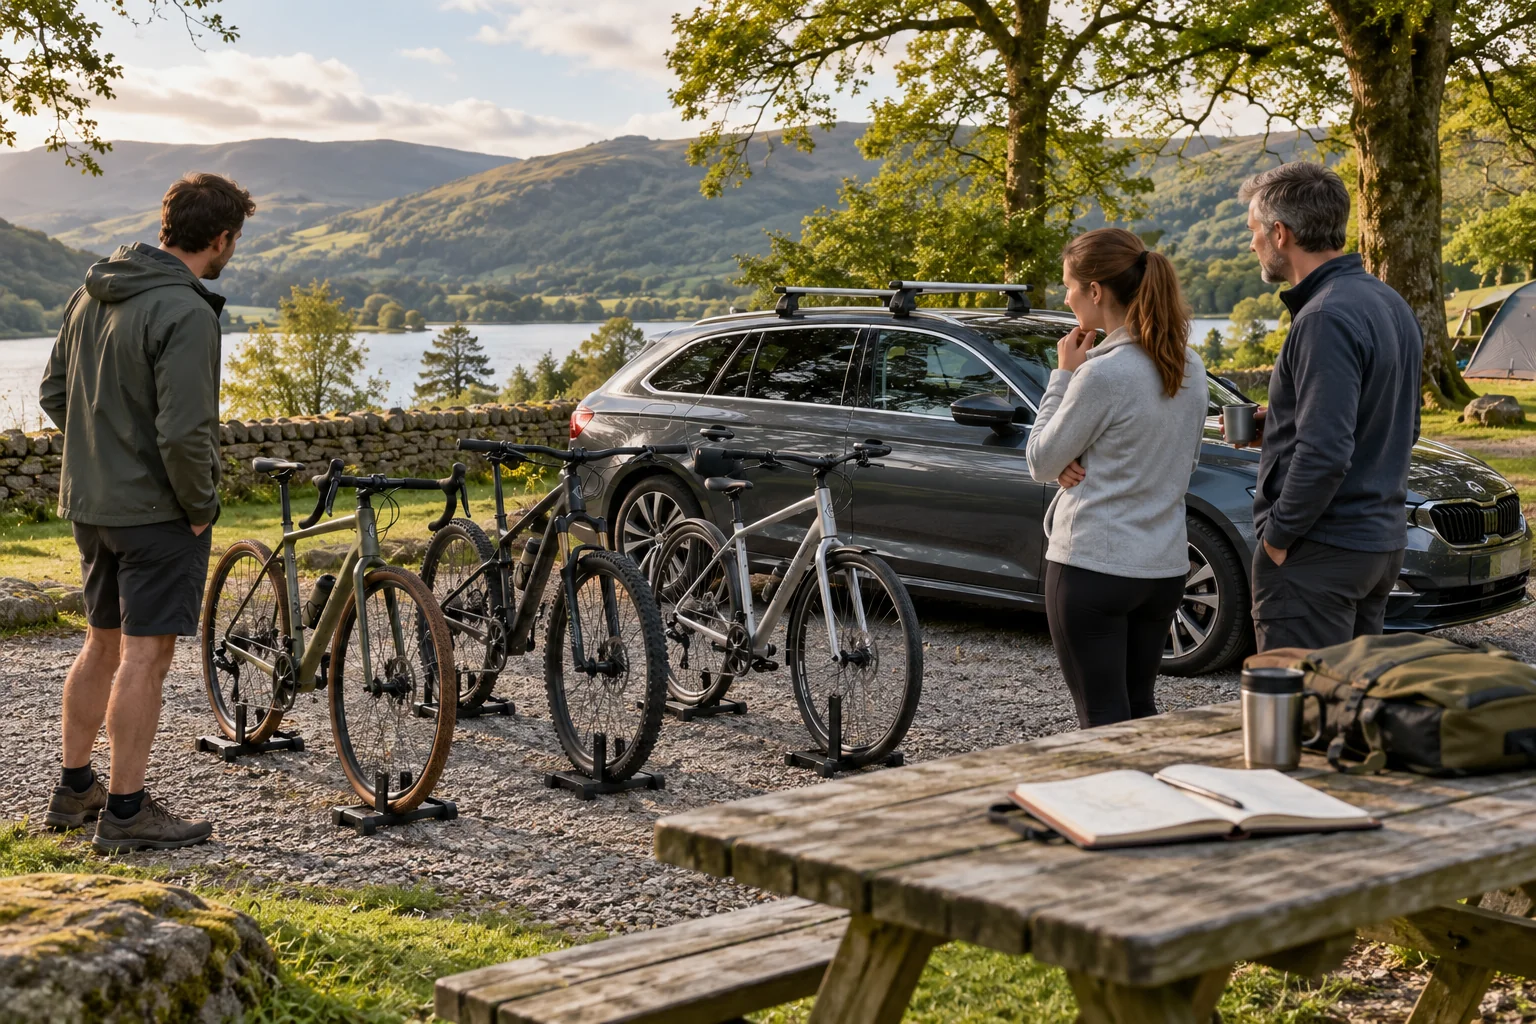
Plan multiple bikes as one complete roof layout, then check every bicycle separately. The number of carriers that appears to fit across a bar is only the start. You also need sufficient roof allowance, compatible mounting positions, clear handlebars and pedals, and a loading routine that leaves every fastening accessible.
Lay out the actual bike sizes before buying another carrier. Two similar bikes can occupy more practical space than expected when their handlebars, saddles and fastening arms meet at the same height.
Make an inventory for each travelling position
Record each bike’s ready-to-travel weight, wheel diameter, tyre width, wheelbase and relevant contact restrictions. Include fitted items that remain on the bike. Label the intended carrier and approved attachment for each one; a suitable adult-bike carrier may still be unsuitable for a child’s smaller wheels.
Then list the complete rack, all carriers and any adapters or separate front-wheel holders. Where a front wheel comes off, decide whether it travels inside the car or on the roof. Its location changes which roof calculation it belongs in, while it remains part of the overall vehicle load.
A simple paper plan with a left, centre and right position can reveal missing information. Leave a position unconfirmed until its bike and carrier fit is established; do not treat the family’s lightest bike as an automatic fit for the spare tray.
Calculate the total before solving the width
Use the vehicle’s permitted dynamic roof allowance and the complete rack instructions, checking their definitions. Include each carrier rather than entering the weight of a single carrier for the entire group. The worked roof-load guide and calculator explain the combined calculation.
For example, assume a 5kg approved rack, two UpRide carriers at 7.7kg each, and bikes weighing 15kg and 17kg. The total is 5 + 15.4 + 15 + 17 = 52.4kg. That is the roof load in this illustration; the two carrier positions must still individually accept their bikes.
Add a third 7.7kg carrier and a 13kg bike, and the total becomes 73.1kg. Against a hypothetical 75kg roof allowance, only 1.9kg remains before any additional roof equipment. Passing that number does not establish the rack limit, bike fit, permitted width or loading access.
Measure usable mounting width across both bars
Measure the areas in which the approved carrier attachments can actually sit. Feet, end fittings, usable T-track and the vehicle’s prescribed bar position can reduce the available space. A 127cm bar does not provide 127cm of unrestricted carrier mounting on every vehicle.
Use each carrier’s mounting footprint and any required clearances at the front and rear bar. Account for controls that need to swing, handles that need to close and clamps that must sit fully on their approved support. Do not place an attachment partly beyond the usable area to gain a few centimetres.
Check bicycle clashes above the bars
A carrier footprint is narrower than the whole bicycle. Handlebars, brake levers, pedals, saddles, racks and mudguards can extend into the next position. Check those parts in the final permitted orientation with each bike restrained as its instructions require.
Allow for the fact that a small change in carrier position can move a handlebar into a saddle or prevent a clamping arm from opening. Soft contact between tyres may look harmless at rest but is not evidence that a touching arrangement is approved. Do not rely on padding to make two incompatible positions usable.
Opposite-facing layouts are an option only if the specific carrier permits that travel direction. A left/right loading conversion changes access, and must not be interpreted as permission to reverse the carrier along the car. Where a layout cannot clear without unsupported positioning, reduce the bike count or choose another approved method.
Choose a carrier mix for the actual bikes
Using the same carrier in every position can simplify the routine, but the bikes may need different interfaces. One may allow frame clamping, another require a wheel-holding design, and a third need a fork mount. Check the combination as a whole rather than assuming the lightest carrier is the best choice for every bike.
Use the children’s-bike guide for small frames and the wide-tyre and wheelbase guide for larger mountain bikes. Keep carbon-frame and electric-bike restrictions in their dedicated guides rather than assuming one group layout covers every version.
Compare carrier combinations before solving the roof width
The carrier mass repeats for every bicycle. Comparing all-frame-clamping, mixed and wheel-holding arrangements shows how the same bicycles can produce a materially different total roof load.
Inputs and assumptions. Two hypothetical travelling bikes weigh 15kg and 17kg; the third-bike cases add a 13kg bike. Complete rack mass 5kg. Published carrier masses are ProRide 4.2kg and UpRide 7.7kg, each with a 20kg bicycle ceiling. The 50kg and 75kg vehicle roof limits are illustrative; extra roof accessories are excluded.
| Illustrative layout | Bike mass total | Carrier mass total | Total roof mass | Headroom at 50kg | Headroom at 75kg |
|---|---|---|---|---|---|
| Two ProRide | 32kg | 8.4kg | 45.4kg | 4.6kg | 29.6kg |
| One ProRide + one UpRide | 32kg | 11.9kg | 48.9kg | 1.1kg | 26.1kg |
| Two UpRide | 32kg | 15.4kg | 52.4kg | -2.4kg | 22.6kg |
| Three ProRide | 45kg | 12.6kg | 62.6kg | -12.6kg | 12.4kg |
| Three UpRide | 45kg | 23.1kg | 73.1kg | -23.1kg | 1.9kg |
The two-bike examples range from 45.4kg to 52.4kg. A hypothetical 50kg roof allowance rejects the two-UpRide mass total even though both bikes are individually below their carriers’ 20kg ceilings.
For three bikes, carrier choice changes the total by 10.5kg. The three-UpRide example leaves only 1.9kg against a 75kg vehicle allowance before additional equipment. Choose the contact method the bikes permit; a lower carrier mass cannot override a frame restriction.
Calculation method and sources
Total roof mass = complete rack + every carrier + every travelling bicycle. Headroom = the chosen vehicle roof allowance − total roof mass. Each bike/carrier pairing, complete rack rating, mounting width, contact restrictions and loading access must be verified independently.
- ProRide 598001 specifications: 4.2kg carrier and 20kg bicycle ceiling; frame, wheel and mounting restrictions also apply.
- UpRide 599001 specifications: 7.7kg carrier and 20kg bicycle ceiling; wheel dimensions and contact restrictions remain separate.
- Thule roof-rack safety guidance: Exact vehicle-kit positions and applicable accessory instructions take precedence over general spacing advice.
Download the inputs and workings (CSV). Source review: October 2026.
Rehearse a loading order that preserves control
Start with a parked car, level working area and enough space on both sides. Decide which person supports each bicycle and who operates the carrier where help is required. Load the position that your tested arrangement allows you to secure without reaching past an unstable bike.
There is no universal inside-first or heaviest-first sequence. The right order depends on reachable controls, permitted load distribution and the bike shapes. An inner carrier that cannot be checked once outer bikes are loaded is a warning to revise the arrangement.
Avoid leaning an unsecured bike against an already loaded one. After securing each position, inspect its required interfaces before adding the next. If the next bike blocks a control or presses on its neighbour, unload and revise the plan rather than forcing the final strap into place.
Inspect the complete layout and record its height
Walk around the finished car. Check every vehicle-to-rack connection, every carrier-to-bar fastening and every bike-to-carrier restraint according to the relevant instructions. Locks and ratchet sounds do not replace those mechanical checks.
Measure the actual total height using the highest fitted bike or equipment. Review the route, parking and access at the destination. Leave enough time for the prescribed early journey checks, and stop safely if a new noise or movement appears.
Keep a note of which bike goes in which carrier and any necessary adapter. That makes the next trip more consistent, but changes in tyres, handlebars or bicycles still require a fresh check. A successful previous trip does not approve a changed layout.
Sources and selected Amazon packages checked October 2026: UpRide specifications, UpRide instructions, ProRide specifications and rack safety.
Frequently asked questions
How many bikes can I carry on a pair of roof bars?
There is no universal number. The vehicle, complete rack and each carrier must permit the arrangement. Add every carrier and bike to the roof calculation, then establish usable mounting width, individual fit and clearance. Enough headline bar length does not prove there is space for another bike.
Can I face alternate bikes in opposite directions?
Only where the instructions for the exact carriers and vehicle arrangement permit it. A carrier that can be configured for left or right loading is not automatically approved to travel backwards. Check the permitted direction before using it to solve handlebar clashes.
Should the heaviest bike go in the middle?
Follow the load distribution and mounting positions specified for the actual rack and carriers. Do not adopt a universal centre-first rule. You must also be able to support each bike, reach its controls and inspect adjacent fasteners without moving an already secured bike unsafely.
Do I count all the bike carriers in the roof-load calculation?
Yes. Two 7.7kg carriers contribute 15.4kg before the bikes and rack. Three contribute 23.1kg. Use the exact equipment weights and the relevant limit definitions; a carrier’s per-bike limit is an additional condition, not a substitute for the combined roof calculation.
Can I move the bars farther apart to make room for more bikes?
Bar spacing runs along the car, while multiple-bike space is mainly across the roof. Keep bars within vehicle-approved positions and every carrier’s permitted spacing. Moving them outside those ranges does not create an approved carrying layout.