
Practical guide / Bike carrying
Loading a Bike onto a Tall Car: Reach, Handling and Practical Alternatives
Assess reach, bike control, carrier fastening and unloading on a tall car. Compare fork-mount routines and lower loading options before buying extra equipment.
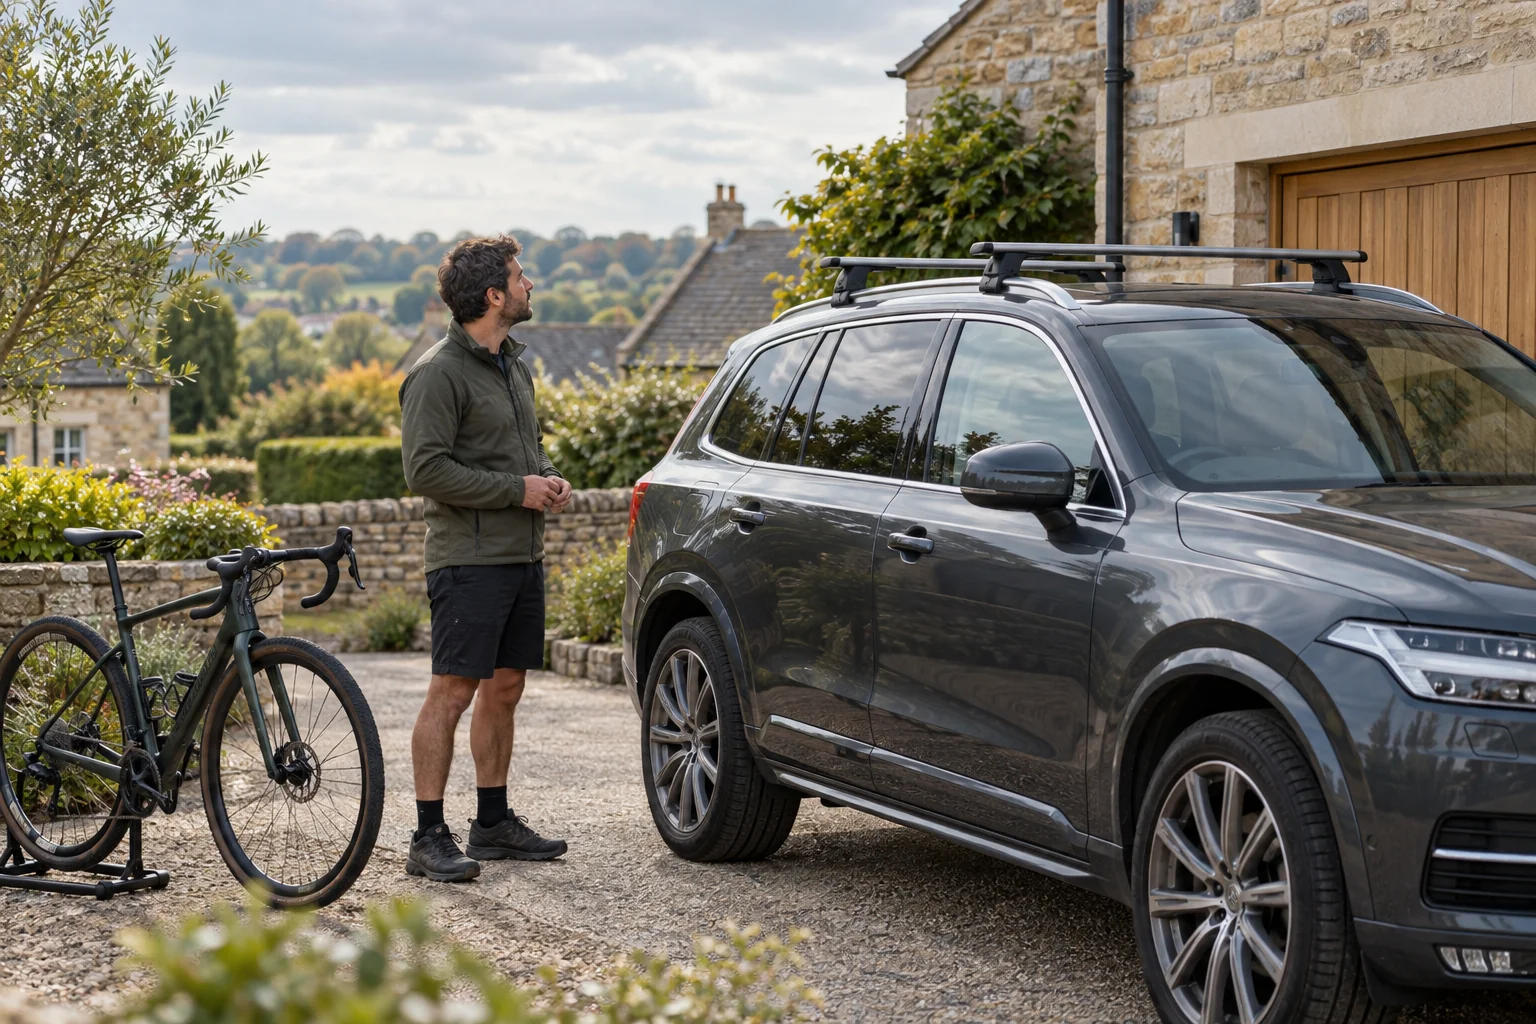
A roof carrier is practical only if you can control the bike and complete every fastening on your actual car. Reaching the first attachment is not enough. You must also restrain the rear wheel, inspect the bar mounts and unload the bike after the journey without losing control.
Assess that routine before buying steps, changing carriers or assuming a lighter model will solve the problem. A tall SUV, a wide bicycle and a short reach can make an otherwise compatible arrangement difficult to use consistently.
Separate lifting ability from fastening reach
You may be able to lift the bike above the car but still be unable to see or reach the final restraint. Conversely, the controls may be reachable while the bicycle is too awkward to support during engagement. Both conditions must be satisfactory.
Record the car’s roof height and the position of the relevant controls on the approved carrier installation. Consider where your hands need to be while the bicycle remains supported. Do not assess the task using an empty carrier alone and assume the loaded movement will be identical.
Check the bike’s ready-to-travel weight and shape. Wide handlebars, a large frame or an awkward centre of mass can matter even where the mass looks modest. Keep the dedicated electric-bike weight guide central for heavier powered bikes.
Rehearse the whole sequence on suitable ground
Park on level, firm ground with space to work, the parking brake applied and the vehicle secured according to its instructions. Identify the controls, open or prepare them as the carrier manual requires, and plan where the bike will be supported before it is restrained.
Do a controlled assessment before a trip, with appropriate help if needed. Stop if the movement requires an uncontrolled overhead hold, contact with the car for balance or a stretch that prevents you from supporting the bicycle. A successful lift once is not proof that the routine will remain manageable when tired or in poor weather.
Think about the destination too. A sloping verge, strong wind, slippery footwear or limited space beside another vehicle can change the task. Plan a suitable unloading place instead of depending on the exact parking bay being convenient.
Assess upright carriers by their actual controls
Frame-clamping carriers keep both wheels fitted, but the frame arm and wheel restraints all need access. The bike must remain controlled while the approved contact is made; do not rely on a neighbouring bike or the car roof as a temporary support.
Where the manual permits left/right conversion, use the correct procedure to place controls on the accessible side. That does not authorise moving the carrier beyond the usable bar area or reversing its travel direction. Keep its prescribed mounting geometry and load distribution.
Compare the fork-mount preparation routine
A front-wheel-off system changes the hand movements and creates a separate wheel-storage task. Some preparation can take place before the bike reaches the roof, but the fork still needs to engage correctly and the rear wheel still needs its restraint.
Use the fork-mount guide to resolve axle and dropout compatibility. Avoiding a frame clamp is not automatic approval for every carbon fork. Prepare a protected and secure location for the removed wheel before lifting the bike.
Decide whether a helper improves control
Where two people are needed, agree the sequence before lifting. Establish who supports the bike, who operates the controls and when the load can be released. Both people need stable positions and clear communication, including an agreed way to lower the bike if the first attempt fails.
Do not ask a helper to release the bike just because a lock turns or a ratchet clicks. Complete the carrier’s specified engagement checks. Keep fingers and loose clothing clear of the moving mechanism and avoid reaching through an unstable bicycle to find a hidden control.
Plan unloading with the same care. Someone who can assist at home may not be available at the destination. If the arrangement only works with help, include that requirement in the trip plan rather than treating it as an occasional convenience.
Avoid solving reach with unapproved climbing points
A door latch, sill, tyre or body panel is not automatically an approved standing surface. A generic step advertisement does not establish permission from the vehicle maker or prove a stable working position for controlling a bicycle.
This guide does not prescribe a universal climbing accessory. If a loading aid is being considered, resolve the vehicle and equipment approvals, ground requirements, reach and handling implications for the actual task. You must still be able to keep the bike under control throughout the sequence.
Where the routine depends on balancing or stretching, change the carrying method. Buying a small accessory is not a useful saving if every journey begins with an awkward, uncontrolled lift.
Investigate a lower loading position
An approved towbar platform can move the bike positions below roof level. It needs its own vehicle, towball, electrical, dimensional and load checks. You must also be able to handle and attach the platform itself, which can be heavier and bulkier than an individual roof carrier.
Compare the complete setup in the roof-versus-towbar guide. A lower rack is not a universal heavier-bike solution, and a tilt feature does not guarantee hatch clearance on your vehicle.
Finish with a realistic trip decision
Once the bike is secured, complete the prescribed inspection at the vehicle, bars, carrier and bike interfaces. Measure the actual loaded height, and plan access to the garage, car park and destination.
Use the pre-journey checklist to make the final routine consistent. If reach, control or inspection remains uncertain, stop and revise the arrangement before travelling. The useful system is one you can load, check and unload reliably with the people and conditions the journey actually involves.
Sources and selected Amazon packages checked October 2026: ProRide instructions, TopRide instructions, TopRide specifications and VeloCompact 924/925 instructions. Follow vehicle and bicycle guidance for the actual equipment and task.
Frequently asked questions
Will a fork-mounted rack make a tall car easy to load?
It changes the contact and wheel-removal routine, but the bike still needs lifting and controlling at roof height. TopRide’s adapter can be attached to the fork before docking; that does not guarantee you can safely reach or operate every fastening on your car.
Can I stand on a door sill or use a door-latch step?
Do not assume the vehicle or an accessory permits that use. This guide does not recommend a universal door-latch step or standing on unapproved vehicle surfaces. If the routine depends on climbing or an unstable reach, choose an approved lower loading method or obtain an assessment of suitable equipment.
Is a second person enough to solve an awkward roof lift?
Only if both people can maintain control throughout a planned loading and unloading sequence on suitable ground. Agree who supports the bike and who operates each fastening. A helper cannot make an incompatible carrier, unsuitable lifting position or prohibited vehicle contact acceptable.
Does a lighter carrier mean the bike is easier to lift?
A lighter carrier can preserve roof allowance, but it usually remains fitted while you lift the bike. The bike’s mass, shape, handholds, car height and control access govern that lift. Carrier mass and handling difficulty are separate decisions.
What should I compare if I cannot reach the rear wheel strap?
First check the carrier’s permitted left/right configuration and approved mounting position. Do not leave a restraint incomplete or shift equipment outside approved areas to reach it. If the fastening remains inaccessible, investigate a lower carrying method that fits the car and bike.