
Detailed packing guide / Journey and ownership
Packing Camping Equipment in a Roof Box: What Goes on the Roof and in the Boot?
Allocate tent fabrics, poles, sleeping bags and camping luggage by packed size, mass, restraint and access. Plan the roof box and boot together, including the wet return.
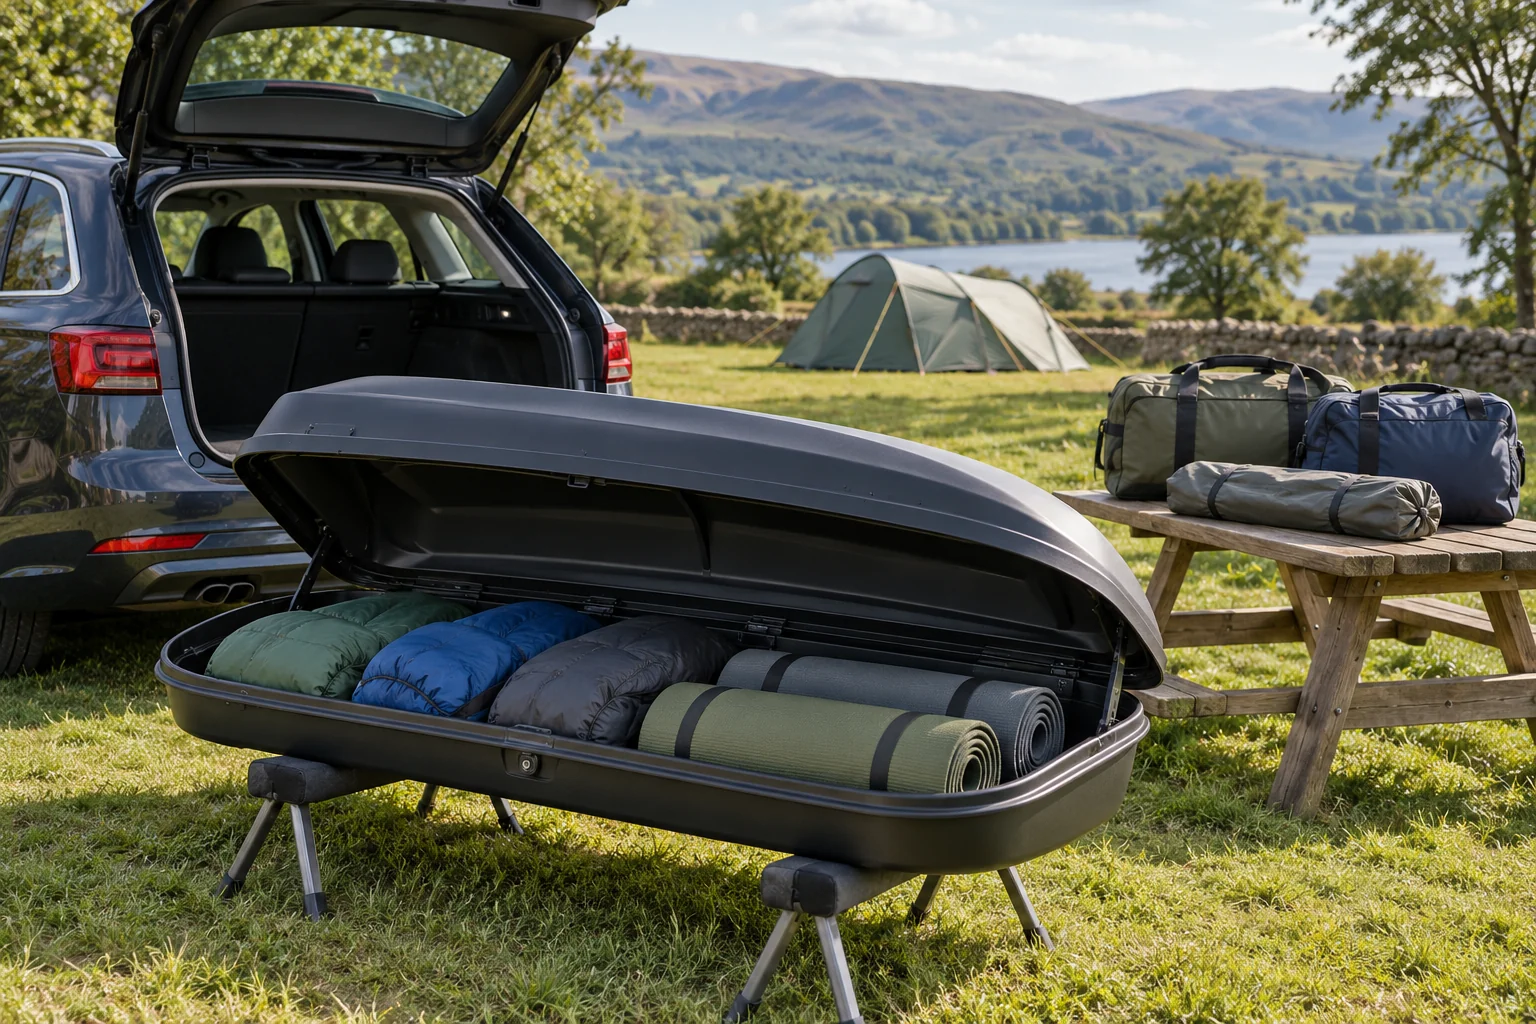
Plan the roof box and boot as one load
A useful camping plan allocates each item by mass, shape, fragility and when it will be needed. It does not simply move everything that misses the boot onto the roof. Start with the complete vehicle payload and roof allowance, then decide which permitted items belong where.
List the equipment for the actual trip: tent, sleeping systems, chairs, table, clothing, food, water and any other necessities. Remove duplicates and weigh the packed groups. The car’s passengers, rack and empty box already use part of the vehicle’s total allowance.
Use the vehicle payload guide for the whole car and the roof-load calculator for the separate roof subset. If the vehicle is too heavy overall, redistributing luggage does not solve that total-mass problem.
Make an allocation list before loading
The following table is a starting point for ordinary camping luggage, subject to the actual vehicle, box and equipment instructions. Hazardous goods require their own transport plan rather than a convenient empty space.
| Item | Likely planning question | Check before loading |
|---|---|---|
| Sleeping bags and clothing | Can light bulk move to the roof? | Dry inner protection, actual bag shape and restraint |
| Tent fabric | Does the packed fabric fit without pressure? | Wet-return size, care instructions and packed mass |
| Poles and pegs | Can rigid/heavier pieces be secured low? | Protected ends, suitable boot restraint and access |
| Water, food and heavy equipment | Can mass remain appropriately low? | Vehicle/axle allowance and secure boot position |
| First-night essentials | Can these be reached immediately? | Safe access without emptying the entire box |
| Fuel or gas cylinders | What separate transport rules apply? | Supplier, vehicle and journey-operator instructions |
A tent’s stated person capacity says little about its packed weight or length. A compact family tent with heavy poles may be a worse roof candidate than separate light fabric bags. Record the real packed equipment rather than relying on a generic camping checklist.
Measure bags in their travelling shape
Measure length, width and height after packing, including bulging pockets and handles. Compare that envelope with the box’s usable interior around clamps, tapers and lid supports. The maximum published interior rectangle is not necessarily available at every point.
Try the arrangement on the ground where practical, with the box supported as its instructions allow. Check that the internal restraint points remain reachable and that no bag presses on a hinge, mount or lock. The lid should close through its normal method without compression being used to force an oversized load inside.
Use the internal-dimensions guide when the lid’s taper or mounting hardware makes a bag fit uncertain. Avoid buying a larger box solely to accommodate one rigid bag if a different permitted packing arrangement meets the need.
Put light bulk in the roof where permitted
Sleeping bags, clothing and suitable tent fabric are often useful candidates because of their bulk relative to their mass. Protect dry items with appropriate inner packing and follow the box’s load-distribution instructions. Light does not mean loose: every permitted item still needs secure restraint.
Spread the contents as prescribed instead of building a heavy pile at one end. Separate bags can make access easier, but they must not create hidden unsecured pockets or obstruct the mounting controls. Keep closures and loose handles clear of the shell seal.
Keep valuables, medicines and items requiring controlled conditions in a suitable accessible location. A roof box can experience heat, cold and moisture; its lock and hard shell do not establish suitable storage conditions for every item.
Keep heavier and rigid equipment appropriately low
Where the vehicle permits, place heavier camping equipment low in the boot and secure it using suitable load points and restraints. Protect sharp or rigid ends and do not rely on a pile of soft bags to stop a pole bag moving during braking.
A folding chair or table can be long, heavy and awkward rather than simply flat. Check its folded size, hinges and potential pressure points. If the only way it fits the roof box loads the lid or prevents proper restraint, allocate it elsewhere or leave it behind.
Keep the passenger compartment safe. Do not place heavy loose items on seats or fill space above the load area in a way that defeats the vehicle’s permitted cargo barrier or restraint arrangement. The total and individual axle limits still apply.
Treat fuel and cooking equipment separately
Fuel and gas cylinders are not part of this guide’s suggested roof-box load. Follow the supplier’s carriage instructions, including cylinder position, valve protection and ventilation requirements, plus the actual vehicle and travel operator’s rules. A waterproof sack is not a hazardous-goods transport container.
Let cooking equipment become fully cold and safe before packing according to its instructions. Residual heat, fuel residue and sharp edges need proper handling; a roof box is not a place to conceal a hot stove after the last meal at camp.
Calor’s published cylinder guidance is a supplier-specific starting point, not an approval for every camping cartridge or every location in a car. Check the actual fuel product and any ferry or shuttle declaration before departure.
Build a weighed roof plan
Weigh each manageable packed bag and include any inner bags and protective items. Add the complete rack and empty box before comparing the sum with the vehicle roof limit. Separately check the rack’s definition of carried load and the box’s luggage ceiling.
Save the inventory so the return can be compared with the outward plan. Wet canvas, mud, extra food or campsite purchases can change both mass and the bag shapes. A box that closed easily over neatly rolled dry fabric may not accept a hurried damp bundle in the same way.
Compare roof allocation with the same camping load kept lower
A packing plan is more useful when it shows the mass assigned to each location. Moving bulky kit to the roof can free boot space, but an all-on-the-roof plan can exceed the allowance even when the box has spare volume.
Inputs and assumptions. Hypothetical camping inventory: sleeping kit 8kg, clothing 12kg, tent fabric 9kg and bags/containers 3kg, giving 32kg. A further 27kg of poles, pegs, chairs and ordinary cooking equipment is assigned to the boot. Fuel, gas and specialist transport items are excluded. Assume 75kg roof allowance, 5kg rack, 23.2kg empty box, 75kg rack carried-load and box contents limits.
| Illustrative packing plan | Roof luggage | Boot camping cargo | Combined camping cargo | Complete roof mass | Roof luggage headroom |
|---|---|---|---|---|---|
| Keep the 27kg lower | 32kg | 27kg | 59kg | 60.2kg | 14.8kg |
| Move the same 59kg to roof | 59kg | 0kg | 59kg | 87.2kg | -12.2kg |
| Add 16kg of extra roof luggage | 48kg | 27kg | 75kg | 76.2kg | -1.2kg |
Moving all 59kg into the roof box makes the complete roof load 87.2kg, exceeding the assumed roof allowance by 12.2kg. The total camping cargo is still 59kg; the change is its location.
The 32kg roof allocation leaves 14.8kg in this model. Adding 16kg on the return trip exceeds that allowance by 1.2kg. Include bags, additions and the actual wet or packed state, and confirm overall vehicle and axle weights alongside secure loading. The suggested inventory locations must also suit the particular vehicle and equipment instructions.
Calculation method and sources
Roof mass = rack + empty box + roof luggage. Compare roof luggage with the minimum of all three load allowances, which is 46.8kg under these inputs. Roof and boot cargo together remain part of overall vehicle payload; relocating an item does not reduce that total.
- DVSA loading guidance for cars: Position and secure loads using the vehicle and carrying-equipment instructions.
- Thule roof-box safety instructions: Complete roof load, restraint, fit and operating checks remain separate requirements.
- Motion 3 family instructions: PDF pages 14–15: exact Sport, XL and XL Low rows; maximum dimensions do not describe the whole packing envelope.
Download the inputs and workings (CSV). Source review: October 2026.
Pack for arrival and for the wet return
Keep the items needed first at the campsite accessible: suitable clothing, lighting and the parts needed to pitch the shelter. Plan a safe place to open the box and a controlled unloading order. Do not depend on reaching across an unstable stack or opening the lid in strong gusts.
Reserve a suitable separation method for damp fabric and dirty footwear. Avoid trapping clean sleeping equipment beside wet kit and do not leave damp gear sealed after the journey. The wet and dirty equipment guide covers containment, closure space and drying in detail.
Before leaving, use the pre-journey checklist and verify the measured total height. Weight, fit and secure packing must all remain correct after the final last-minute bag is added.
Sources checked October 2026: Thule box safety and packing requirements, DVSA car-loading guidance, Calor cylinder transport and Osprey Daylite Duffel 45 specifications. Follow the actual tent, bag, vehicle and box instructions.
Frequently asked questions
Can a tent go in a roof box?
Potentially, if its actual packed size, mass and material requirements suit the box and the complete permitted load. A tent bag can contain heavy poles and pegs, so do not classify it as light fabric without checking. Secure it at the box’s prescribed restraint points.
Should camping gas go in the roof box?
Do not include fuel or gas cylinders in this guide’s suggested roof-box packing plan. Follow the gas supplier’s transport instructions, vehicle requirements and any ferry or shuttle restrictions. A sealed bag or enclosed boot is not by itself an approved solution for hazardous goods.
Are sleeping bags good roof-box luggage?
Their light, bulky shape can make them useful candidates within a suitable box. Keep them dry with an appropriate inner bag, measure the packed shape and secure the load. A roof box or ordinary duffel should not be assumed watertight.
Can I split tent poles from the fabric?
Only if the tent’s packing and care instructions allow it. Label and protect separated components, secure long or rigid pieces appropriately and keep all parts together in your inventory. Do not put loose poles against the shell, hinges or locking mechanism.
Do four 75L bags mean every 300L box can take the full set?
No. Nominal litres do not establish geometric fit. The actual packed dimensions, tapered shell, mounting hardware, lid movement and restraint access determine what fits. Check each filled bag and the exact box interior rather than adding advertised volumes.