
Upgrade guide / Roof boxes and ownership
Replacing Your Roof Box While Keeping Your Existing Bars
Upgrade your roof box without assuming the old rack still fits. Check bar condition, mounting profile, spacing, hatch clearance and the new luggage allowance.
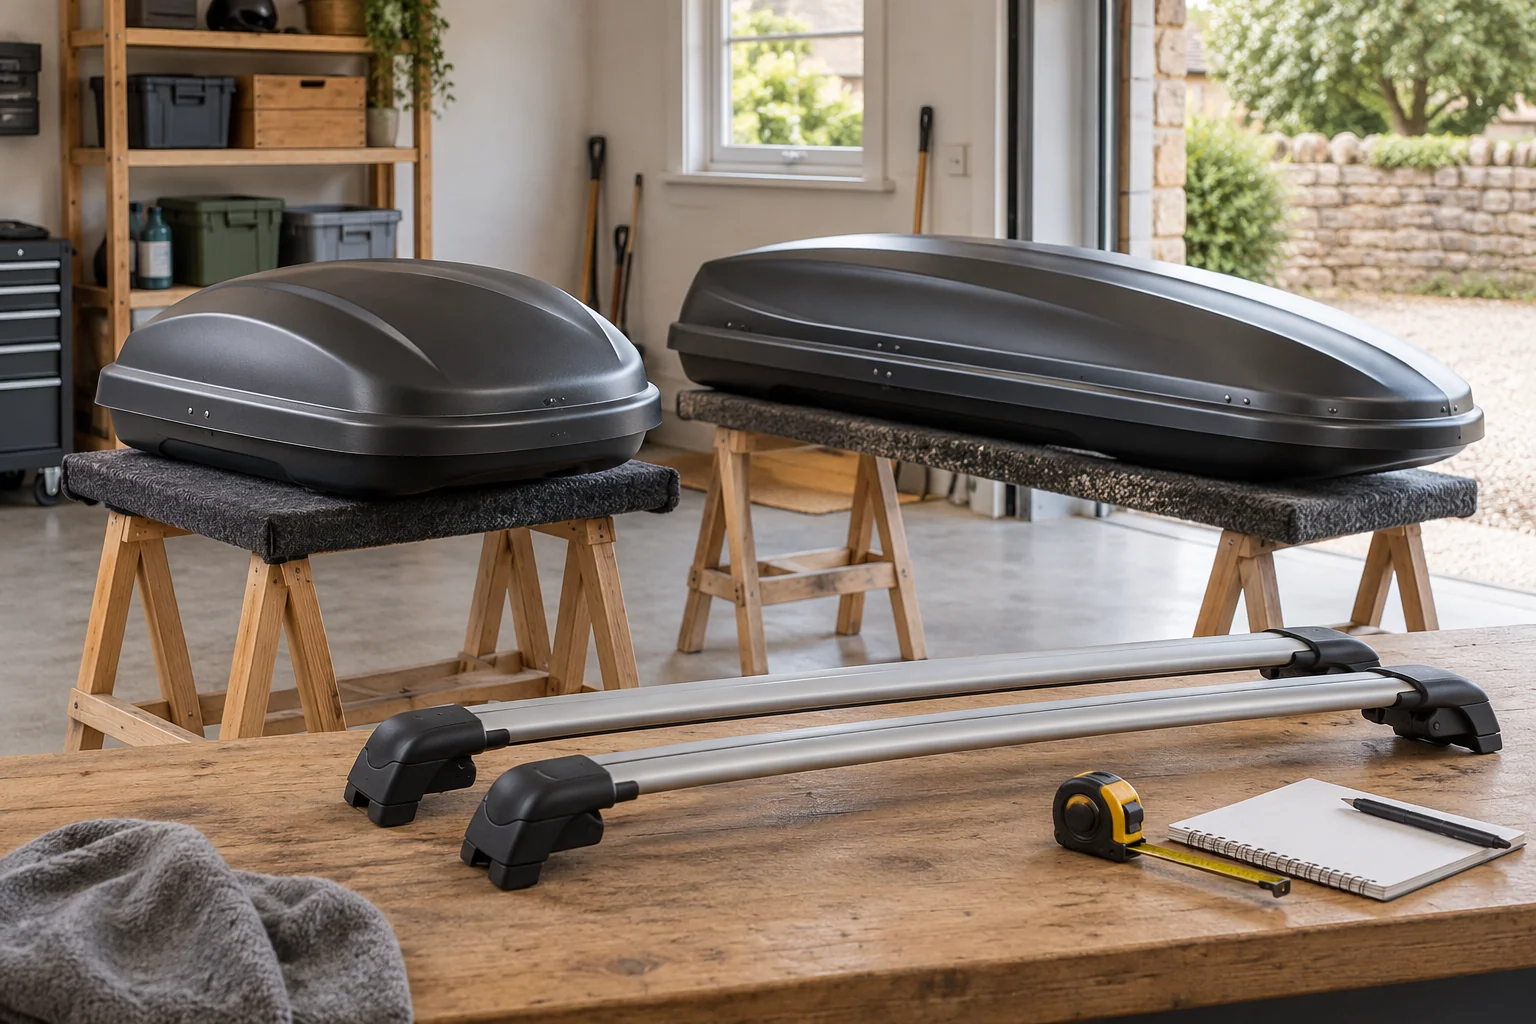
You can keep an existing rack when it remains approved for the car and accepts the new roof box within every relevant limit. Start with the rack you actually own, then shortlist boxes that work with it. Replacing the shell is not simply a matter of matching litres.
The most useful upgrade improves the carrying job without creating an unexpected mounting, weight or clearance problem. A larger box can hold bulkier bags yet leave less luggage allowance if its empty weight rises.
Confirm the rack is still a sound starting point
Identify the bars, feet and vehicle kit, including the installation instructions and any subsequent changes. Confirm that the complete combination is still appropriate for the exact car and roof. A rack inherited with the vehicle should not be treated as verified simply because it has stayed in place.
Inspect the bars and attachment components before spending on a new shell. Look for movement, deformation, corrosion, damaged threads and degraded contact pieces. Resolve uncertain condition through the rack maker or an appropriate assessor.
If the car has changed too, begin with moving bars to another vehicle. That is a separate component-reuse decision, even when the roof box replacement happens at the same time.
Describe what the replacement needs to improve
Write down the actual limitation of the old box: usable packed length, bag access, hatch interference, sharing the roof or storage space. Measure the luggage rather than assuming that a larger advertised volume solves it.
A lower shell may help with a height-sensitive routine but can reduce usable height inside. A wider shell can take different bag shapes while restricting a neighbouring bike carrier. Link the upgrade to a practical need before comparing the product range.
For interior shape and capacity, use the existing size guide and usable-dimensions guide. This article concentrates on what changes when the rack stays.
Compare the new mounting system with the actual bars
Measure the bar profile and check it against the replacement box's permitted width, height and shape. Inspect the entire clamp or bracket below the bar. Include bolt ends, foot covers and the roof gap at the intended mounting points.
A new quick-clamp system can have different clearance needs from an old U-bolt arrangement. The same brand's next generation may also use different hardware. Obtain the new box instructions rather than transferring dimensions from the box being retired.
Do not move old mounts into a new shell unless the manufacturer approves the exact combination. Drilling a shell or changing the fastening arrangement to retain an old part can alter the designed mounting structure.
Check spacing before buying the shell
Measure centre-to-centre spacing at the positions the vehicle/rack permits. Compare it with the new box's allowed range. If the rack has fixed positions, choose a box that accepts them; the box's adjustment slots do not authorise relocating vehicle mounts.
The linked current Force 3 and Motion 3 tables give 555–930mm for the named examples discussed here. That is exact-model information to verify against the actual supplied box. It is not a replacement spacing instruction for the existing rack.
Use the spacing guide if the permitted rack positions and box range do not obviously overlap.
Assess an adapter only for a documented mismatch
Where the box maker offers an approved channel adapter, it can provide an alternative to the original around-bar hardware. Confirm the exact adapter, channel and box model, including the fitting procedure and required components.
If the rack's profile is outside the permitted connection and no approved alternative exists, choose another compatible box or an approved rack change. Extra packing, longer improvised bolts or partially engaged clamps are not substitutes.
Recalculate luggage allowance with the new empty weight
Keep the existing rack weight but replace the old empty-box input with the new verified figure. Include any additional mounting hardware as required. Compare the result with the new box's own limit and the complete rack limit.
For a hypothetical 75kg vehicle allowance and 6kg complete rack, a 15.4kg box leaves 53.6kg under the vehicle limit. A 23.2kg box leaves 45.8kg. The 7.8kg difference is luggage capacity lost to the heavier empty box, before applying any lower equipment limit.
These figures illustrate the calculation, not permission to load either box to that result on your car. Enter the exact limits in the roof-load calculator.
Check whether the replacement still carries the intended luggage
Keeping approved bars can avoid another equipment purchase, but the new empty shell and any new accessories still consume the same roof allowance. Compare the intended luggage against the complete revised setup.
Inputs and assumptions. Assumed vehicle roof allowance and rack carried-load rating 75kg; existing complete rack 6kg. Compare Force L Sport at 15.4kg planning empty with Motion XL at 23.2kg. Both have 75kg box contents limits. Extra roof load is either zero or a hypothetical 10kg of separately counted equipment and load. The luggage target is an assumed 40kg.
| Box candidate | Other roof load | Calculated luggage ceiling | Difference from 40kg target | Weight-target result only |
|---|---|---|---|---|
| Force L Sport 645600 | 0kg | 53.6kg | 13.6kg | Target below ceiling; verify full setup |
| Force L Sport 645600 | 10kg | 43.6kg | 3.6kg | Target below ceiling; verify full setup |
| Motion XL 639800 | 0kg | 45.8kg | 5.8kg | Target below ceiling; verify full setup |
| Motion XL 639800 | 10kg | 35.8kg | -4.2kg | Target exceeds ceiling |
Changing from the 15.4kg shell to the 23.2kg shell consumes 7.8kg more of the same allowance. With the extra 10kg roof load, the Motion example leaves 35.8kg and cannot meet the 40kg target; Force leaves 43.6kg under the same assumptions.
The combined change in shell and other load reduces the old 53.6kg ceiling to 35.8kg, a 17.8kg reduction. Check the actual replacement’s clamp spacing, bar profile, hatch and total height as well; a compatible weight total cannot establish that the existing bars may be reused.
Calculation method and sources
Calculate the smallest remaining vehicle, rack and box luggage allowance for each replacement. Then subtract the 40kg target. A negative target difference means that luggage target cannot be carried under the stated weight assumptions, regardless of spare volume.
- Force 3 family instructions: PDF pages 14–15: dimensions, spacing, mass and contents limit; model labels must match.
- Motion 3 family instructions: PDF pages 14–15: exact Sport, XL and XL Low rows; maximum dimensions do not describe the whole packing envelope.
- Thule roof-rack safety guidance: Exact vehicle-kit positions and applicable accessory instructions take precedence over general spacing advice.
Download the inputs and workings (CSV). Source review: October 2026.
Repeat the hatch, roof and height checks
A different nose, base shape or mounting position can change the shell's relationship with the car. Check the permitted fore-and-aft adjustment and the manufacturer's hatch-clearance reference. Include the real spoiler sweep, antenna and any glass restrictions.
| Result | Appropriate next step |
|---|---|
| Rack approved, sound and compatible | Complete the clearance and load checks |
| Only an approved adapter is needed | Confirm exact parts, instructions and full cost |
| Spacing cannot match permitted positions | Choose another compatible box or approved rack arrangement |
| Hatch or roof clearance fails | Check permitted adjustment or change the proposed equipment |
| Useful luggage allowance becomes too small | Consider a lighter box or different carrying plan |
| Rack condition or identity remains uncertain | Resolve that before ordering or loading the box |
Measure total height after fitting. A replacement marketed as low profile can still change the completed installation compared with the old shell.
Check the complete cost, storage and handover
Add any approved adapter, replacement rack parts, compatible packing accessories and storage changes. A longer or wider shell may no longer fit the existing wall support or cover. Check those accessories against their own instructions before assuming they transfer.
Keep the new box manual, component references and fitting record together. Remove obsolete instructions from the travelling kit so a later refit does not use the old clamp procedure. Retain the old box's original parts if it will be sold or passed on.
Complete the pre-journey checks on the final setup. The upgrade is complete when the new box serves the intended load and the retained rack still meets all its requirements.
Sources and variants checked October 2026: Force 3 instructions, Motion 3 instructions and 697-6 instructions. Where manufacturer figures differ, the examples retain the higher weight and more restrictive dimensions for planning.
Frequently asked questions
Can I put a new roof box on the bars I already have?
Often this is possible, but confirm the existing complete rack remains approved and sound, then verify the new box's bar interface, spacing, clearance and load. The old box fitting does not establish the new one.
Can I transfer the old box's clamps to a new shell?
Only if the manufacturer expressly approves those exact mounts for the replacement model and generation. The box base and mounting system form a designed arrangement; a similar bolt pattern or brand name is not sufficient.
Does a bigger roof box let me carry heavier luggage?
Not necessarily. A heavier empty box uses more of the vehicle's roof allowance, while the rack and box also impose limits. More volume may help bulky light items but can leave less permitted luggage weight.
Can a T-track adapter solve an incompatible existing bar?
Only where the exact box, adapter and channel combination is approved. An adapter can address a specific connection; it does not fix unsuitable bar spacing, hatch interference, a damaged rack or insufficient load allowance.
Do I need to measure the fitted height again?
Yes. The new shell and mounting arrangement can change overall height even when the bars are unchanged. Recheck parking, garage and booking dimensions using the completed installation.