
Accessory buying guide / Boxes and accessories
Roof Box Liners and Protective Mats: Fit, Usable Space and Restraint Access
Choose a roof-box liner by exact model, not litres. Check floor shape, clamp and strap access, added mass, closed-lid clearance and cleaning before buying.
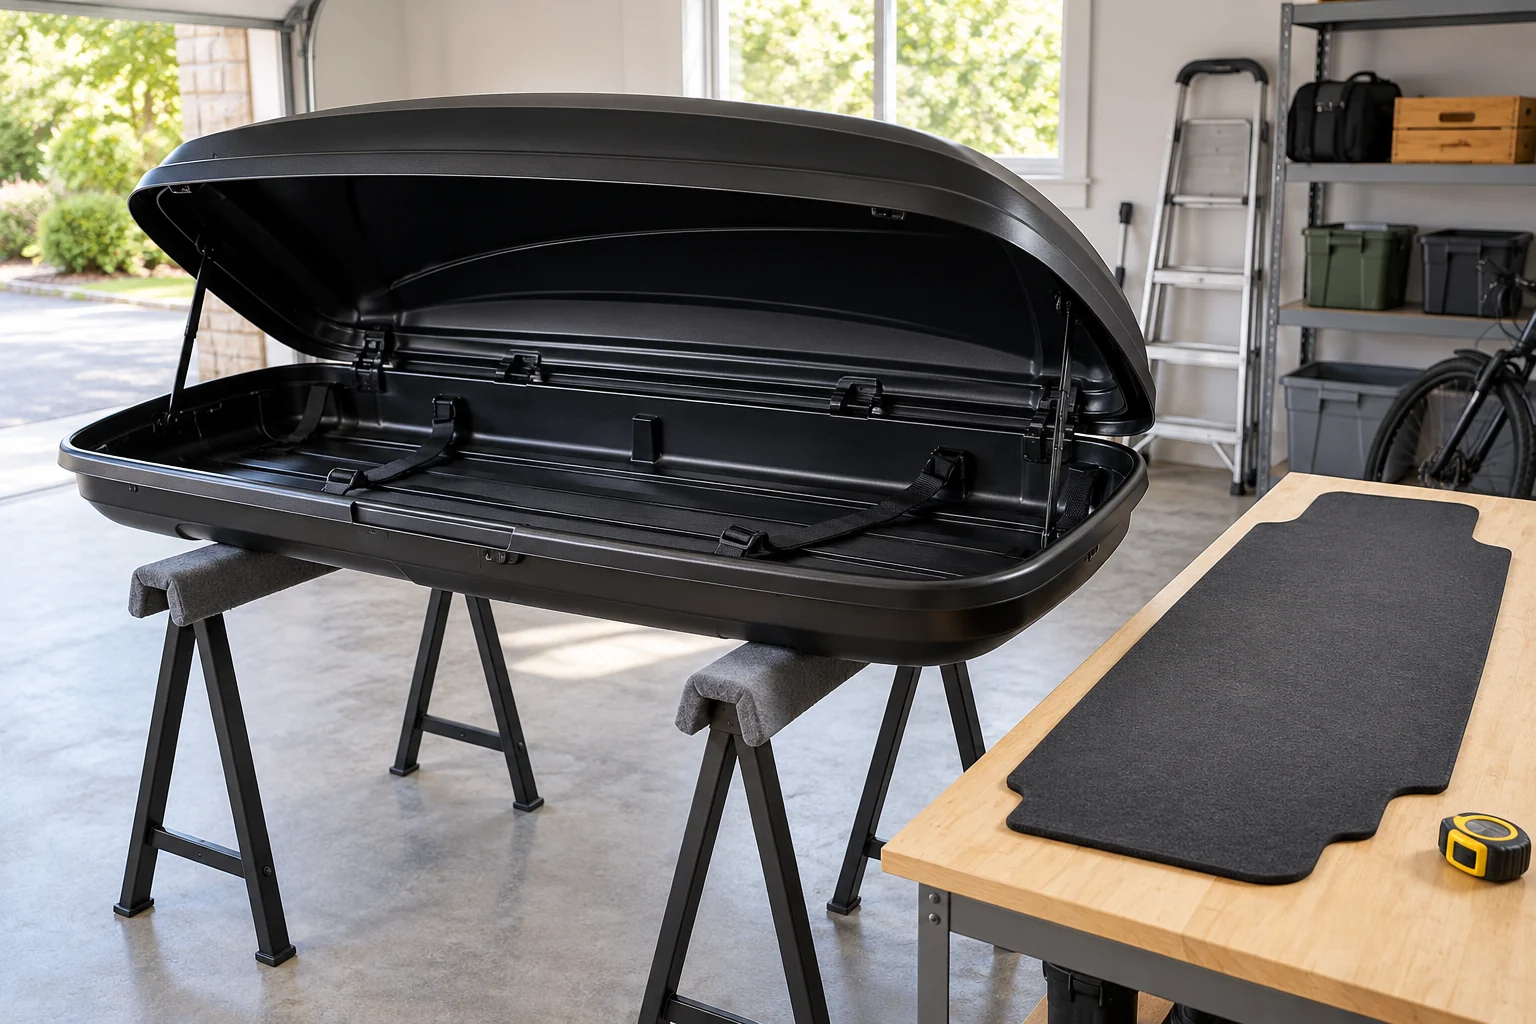
Choose protection around the box you actually own
A liner can protect the floor from everyday luggage contact and make small spills easier to manage. Its usefulness depends on fitting the actual interior while leaving the box’s working parts accessible. A large rectangle that covers most of the floor is not automatically a suitable roof-box accessory.
Start with the full box name, size and model number. Check the manufacturer’s accessory mapping before considering colour, price or advertised non-slip performance. Similar outside dimensions and matching litre labels do not establish the same floor shape.
A liner is an optional accessory, not a remedy for a damaged shell or a substitute for the prescribed luggage restraints. If you are protecting a suspicious crack or covering a wet mounting area, resolve that underlying problem first.
Understand shaped liners and flat mats
A purpose-made liner may follow the floor and its edges, with a profile designed around a named box. A generic flat mat can behave differently around mounting housings, tapered sections and strap routes. The two products should not be treated as interchangeable solely because both are described as protective.
Think about the actual contact you want to manage: ordinary scuffing from bags, a washable layer for a particular permitted load or protection from a hard suitcase edge. A liner does not make a sharp, hazardous or otherwise prohibited item appropriate cargo.
Do not assume a waterproof material turns the complete interior into a watertight tray. Seams, edges and the way the product sits matter, and its protection claim may cover routine spills rather than complete containment. Follow the maker’s stated purpose instead of extending it to chemicals or wet storage.
Match the exact Motion 3 size where applicable
Thule’s liners are size-specific. The verified Sport product is 649600, with a published 174.8 × 56.5cm footprint and 1.2kg mass. The manufacturer separately identifies 649800 for Motion 3 XL and XL Low, with a 200 × 79.6cm footprint and 2kg mass.
Those figures explain why a family name is insufficient when ordering. A Sport liner is not a cheaper XL liner, and the XL/XL Low mapping does not establish a Force 3 fit. Confirm the exact label rather than choosing whichever variant a grouped retailer page opens first.
Choose the size specified for your box. A different liner is not an acceptable substitute merely because it is available or cheaper. Confirm the exact part and supplied size before ordering rather than adapting a nearly matching liner to the floor.
Measure the floor and working areas
Record the usable floor outline and the locations of mounts, sliders, reinforcement areas and restraint points. Use the exact manual to identify what must remain exposed. A widest-point interior figure cannot describe every change in width or every protruding component.
With a safe, unloaded setup, check whether the intended accessory lies naturally in its specified position. It should not need to be forced into a corner, pushed under a mount or folded across a strap point. Do not loosen structural hardware to tuck a liner underneath unless the manufacturer expressly instructs it.
If you need to photograph the floor for support, remove luggage first and keep the lid controlled normally. Do not climb onto the car to obtain a top-down picture. Explain any area that cannot be inspected safely.
Keep mounts and restraints accessible
A liner must leave every prescribed mount operable and inspectable. You still need to see correct clamp contact and reach the tightening controls in the way the box manual requires. Covering them with a tidy mat can make an installation harder to check.
Check that straps pass through their intended routes without being trapped beneath a folded edge. The load must remain restrained after any mat is added. Non-slip marketing describes surface behaviour; it does not create an alternative anchor system.
After packing, keep strap tails away from the lid’s closing edge. If the liner shifts while arranging luggage, correct it before completing the closure checks. The packing and restraint guide covers the main loading routine.
Recheck height and usable bag shape
Adding material beneath a bag changes its position relative to the tapered lid. A rigid suitcase that previously fitted with little clearance may no longer do so. Check the complete packed shape, including corners, handles and any fitted interior light.
Do not read a product’s overall height field as the thickness of its floor layer. Thule’s liner pages show 10.88cm in the height field, but that is not a reason to claim that the entire load rises by 10.88cm. Obtain the actual profile where the distinction affects your packing plan.
The internal-dimensions guide explains why maximum length, width and height do not describe one full rectangular space. A liner cannot create extra room below the sloping shell.
Count the accessory in the travelling mass
The liner’s weight uses part of the remaining roof allowance. For a simple invented example, a setup with 30kg left for contents has 28.8kg left after adding a 1.2kg liner. A heavier 2kg accessory would leave 28kg if every other assumption stayed the same.
That illustration compares mass only; it is not permission to fit the larger liner to the smaller box. Enter accessories consistently in the roof-load calculator, without counting the same item twice. The box’s own luggage ceiling and vehicle payload still apply.
For a roof with limited allowance, decide whether the protection is useful enough to justify the mass. Removing unnecessary luggage may be more valuable than adding accessories to solve an avoidable packing problem.
Remove, clean and dry after the journey
Follow the liner’s cleaning instructions separately from the shell’s. Lift it out as directed so dirt and moisture beneath it can be checked. Do not assume a cleaner suitable for one material is suitable for the other.
Dry removable pieces and the interior properly before prolonged storage. A liner left over damp debris can conceal the condition of the floor. The wet-kit guide explains separation on the return journey, while the cleaning guide covers preparing the box for storage.
Before buying, confirm exact model, size, package contents and return conditions on Amazon. Choose an approved fit that preserves normal operation; avoid cutting, gluing or drilling to make a nearly matching accessory seem compatible.
Sources checked October 2026: Thule Motion 3 Sport liner649600, XL/XL Low liner649800 specifications and Motion 3 loading and maintenance instructions. Named fit and published dimensions do not establish compatibility with another box.
Frequently asked questions
Will a 300L liner fit any 300L roof box?
No. Capacity does not define the floor outline, mounting positions or restraint access. The selected Thule 649600 is specified for Motion 3 Sport. Do not transfer that fit to Force 3 L Sport or another 300L box.
Does the published 10.88cm liner height mean that much foam thickness?
Do not interpret an overall product-height field as the thickness of the floor material. A shaped liner can have raised or formed sections. Confirm its actual profile and effect on luggage clearance from the exact product or manufacturer before planning a tight fit.
Can a non-slip liner replace luggage straps?
No. Use the roof-box maker’s prescribed restraints and attachment points. A non-slip surface helps manage contact with the floor but does not secure the load against all driving forces or restore a damaged restraint point.
Can I cut a generic mat around the clamps?
Only use a material and adaptation method expressly accepted by the box manufacturer. Do not cut the shell or drill new points. If a mat obstructs mounts, tracks, straps or closure, remove it and choose an approved arrangement rather than improvising around the obstruction.
Will a liner stop water entering the roof box?
No. Interior protection is separate from diagnosing water entry, correct closure and structural condition. Remove and dry the liner as instructed after spills or wet use; it can conceal trapped moisture if left in place.