
Troubleshooting guide / Bike carrying
Roof Bike Rack Rattles and Movement: Finding the Cause Before Travelling
Find roof bike rack rattles by checking the vehicle-to-rack, carrier-to-bar and bike-to-carrier interfaces. Know when to stop, replace a matched part or seek help.
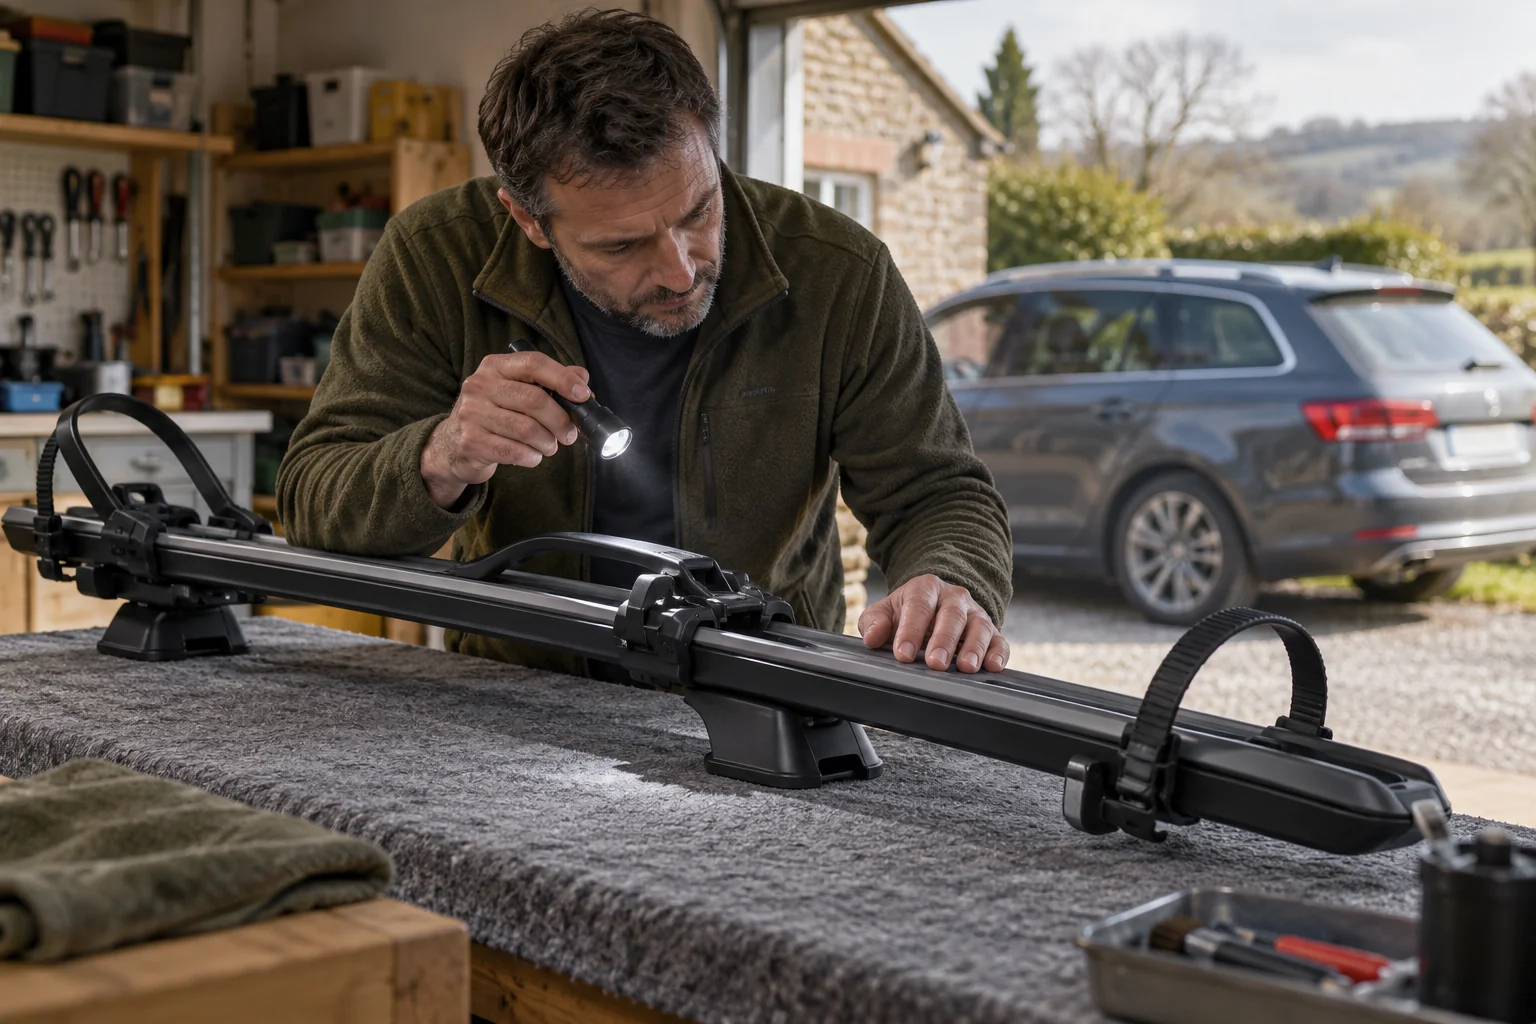
Treat a new roof-bike-rack rattle as a reason to inspect the carrying system before continuing. Wind noise and mechanical movement are different problems. Do not assume that a noise heard at speed is harmless, or that another turn on every fastener is the right repair.
If a bike or carrier moves unexpectedly, stop in a safe place and follow the checks for the actual equipment. If you cannot establish and correct the cause, do not continue travelling with the bicycle in that arrangement.
Stop safely and describe the symptom
Note when the sound began and whether the bike, carrier or rack appears to move. Did it start after fitting another bicycle, changing a wheel holder, moving bars to another car or reinstalling equipment from storage? That history can help identify the changed interface.
Do not ask a passenger to lean out, open a roof panel or touch equipment while moving. Avoid repeated test drives with an unresolved fault. Carry out the inspection while parked safely, with the vehicle secured and adequate space to work.
If there is visible damage, loss of restraint or an attachment that will not engage, take the equipment out of service. Arrange an appropriate alternative for the bicycle rather than relying on extra ties to finish the journey.
Separate the three load-bearing interfaces
Work through the system in order: vehicle to roof rack, carrier to bars, then bicycle to carrier. A bike that rocks can be responding to movement lower down, so looking only at its wheel strap can miss the actual fault.
Where the instructions require it, remove the bike before investigating. Support and unload equipment in a controlled way. Do not loosen a loaded attachment to find out whether it was the cause of the noise.
| Interface | What to establish | Action if unclear |
|---|---|---|
| Vehicle to rack | Correct feet/kit, seating, approved positions and sound contact areas | Stop and check complete vehicle fit and rack instructions |
| Carrier to bars | Approved mounting hardware, full seating and prescribed fastening | Unload and resolve exact bar/carrier interface |
| Bike to carrier | Permitted contact, correct wheel support and all restraints engaged | Remove bike and inspect the specific components |
| Other items | Detached wheel holder, locks, accessories and loose travelling pieces | Secure or remove only as their instructions permit |
A lock’s security function is separate from mechanical engagement. A locked carrier can still have an incorrectly seated mount, and a ratchet sound does not prove that a wheel strap follows the correct path.
Inspect the rack-to-vehicle connection first
Confirm the exact car and roof variant still match the fitted bars, feet and kit. Check prescribed positions, contact surfaces and any model-specific protective pieces. If the rack has recently moved between vehicles, use the reuse guide rather than assuming the original fit carries over.
Look for missing or displaced parts, damage, contamination at contact areas and evidence of incorrect seating. Follow the rack maker’s inspection and fastening procedure. Do not tighten against a body panel or contact pad that is incorrectly positioned.
A loose cap or strip can make noise, but distinguish it from a moving load-bearing foot or bar. The roof-bar replacement-parts guide helps identify those separate pieces. Replacing trim will not correct an unsuitable vehicle attachment.
Check the carrier’s bar mounting hardware
Confirm that the carrier uses the approved hardware for the actual bar profile and track. A T-bolt that slides into a slot is not automatically the right head size or approved attachment. An around-bar bracket must sit and close as the carrier instructions show.
Check that required hardware is present, fully located and within the permitted mounting areas. A mount partly over an unusable bar section, a missing plate or a wrong spacer can create movement that extra tightening cannot safely resolve.
Use the tightening method and any specified setting for that exact connection. There is no single torque value for every carrier or generation. If threads, levers, plates or the bar interface show damage, obtain the approved repair or assessment before carrying a bike again.
Inspect the bike’s intended support and restraints
For a frame-clamping carrier, check that the bike maker permits the contact and the clamp meets the correct tube without trapping cables or sitting on an excluded shape. Do not keep tightening a clamp that cannot make its prescribed contact.
For a wheel-holding design, check the wheel range, tyre support, hook position and any excluded mudguard. For a fork mount, verify the exact axle adapter, fork seating and rear-wheel restraint. A different tyre, wheel or fork can change compatibility even when the bicycle is otherwise familiar.
Check each wheel support and strap separately. Look at the strap teeth, ratchet, routing, protective piece and receiving assembly. A strap that backs out, a cracked holder or a wheel outside the support’s range needs the correct remedy; none is resolved by tightening an unrelated bar mount.
Select a spare only after identifying the fault
If an approved replaceable wheel-holder assembly is the confirmed fault, match the exact carrier revision and front or rear position to its diagram. The selected ProRide 598 examples below have different references at the two ends.
Use the replacement strap and wheel-holder guide for part identification. If the rail, mounting structure or receiving mechanism is damaged, a new small component may be insufficient. Ask the manufacturer to assess the exact unit where the repair boundary is unclear.
Distinguish loose accessories from airflow noise
After the mechanical checks pass, inspect separate front-wheel holders, unused attachment parts and other accessories in their approved travelling positions. Keep loose pieces inside the car securely, and stow or remove components only as their instructions permit.
Airflow can produce a whistle or hum without an attachment fault, but that is a conclusion after inspection, not an assumption based on the sound alone. The motorway noise guide discusses broader roof-equipment checks; do not apply roof-box fixes to a bike carrier without its maker’s approval.
Do not use tape, foam, drilled holes or cable ties to compensate for a moving load-bearing connection. Silencing contact can conceal the fault while leaving the retention unchanged.
Resume only after the prescribed checks pass
Complete the full installation and inspection sequence after any approved correction. Confirm the bike, carrier, rack and accessories together, then follow the maker’s required early and in-journey rechecks. Repeated loosening needs further assessment, not a habit of adding more force.
Keep a note of the identified cause, replacement reference and instructions used. Review the pre-journey checklist before the next trip, especially after storage or a change of bicycle. If you remain uncertain about the source of movement, keep the affected equipment out of service.
Sources and selected Amazon packages checked October 2026: rack safety, ProRide instructions, UpRide instructions, FastRide instructions and current ProRide 598 spare-parts diagram.
Frequently asked questions
Can I keep driving if the bike rack only rattles a little?
Do not assume a new rattle is harmless. Stop safely and inspect the prescribed attachments and restraints. If movement, damage or its cause cannot be resolved using the correct instructions, do not resume travel with the bike in that arrangement.
Should a roof bike rack have any movement?
Some components have designed movement when unloaded or during operation, but unexpected movement at a secured load-bearing interface needs investigation. Use the exact manufacturer instructions; there is no universal acceptable amount of play that can be judged from another rack.
Will tightening every bolt stop a rattle?
It can damage parts or mask a wrong fit. Identify the moving interface first, then follow its specific assembly and tightening instructions. Do not apply one generic torque to feet, carrier mounts, wheel straps and frame mechanisms.
Can a damaged wheel holder make the whole bike feel loose?
It can affect wheel support or restraint, but similar symptoms can come from the strap, ratchet, carrier rail, bar attachment or roof rack. Identify the cause with the bike removed as required. A replacement holder is appropriate only for the correct model and a sound receiving structure.
Can I use foam or cable ties to quiet the carrier?
Do not use improvised packing or extra ties to compensate for an unresolved attachment fault. Use only manufacturer-approved parts and methods. A noise that disappears after padding may still leave an unsafe mechanical connection.